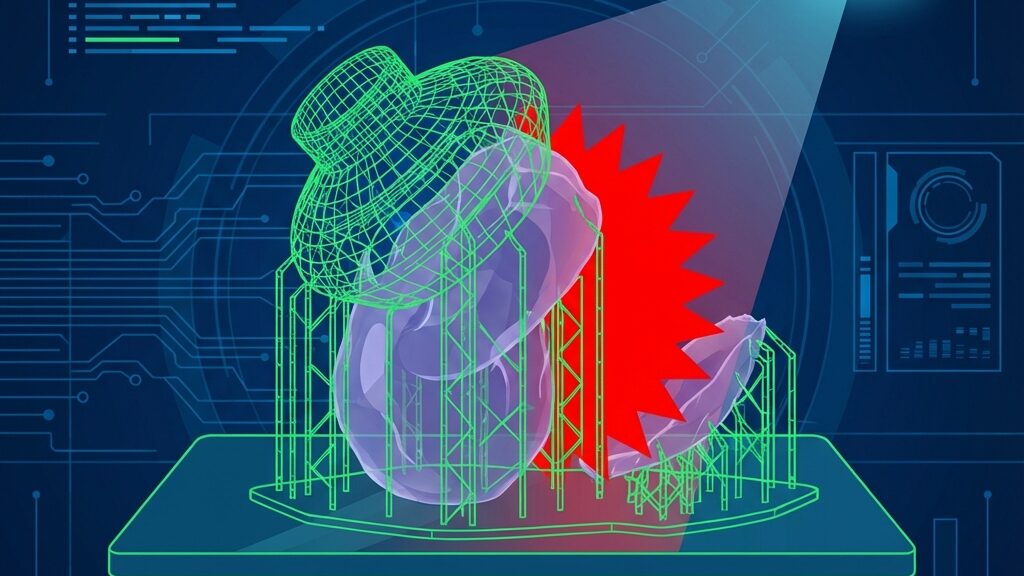
The 14K Shock: AI Sensors Guarding “Micro-Architecture”
Resin 3D printer resolution has reached 14K and 16K, enabling prints where jaggies (stair-stepping) are invisible to the naked eye. Combined with AI camera sensors and built-in heaters, failure rates have dropped dramatically. This guide covers everything from how 14K/16K resin printers work to model comparisons, AI sensor capabilities, practical techniques, and monetization ideas.
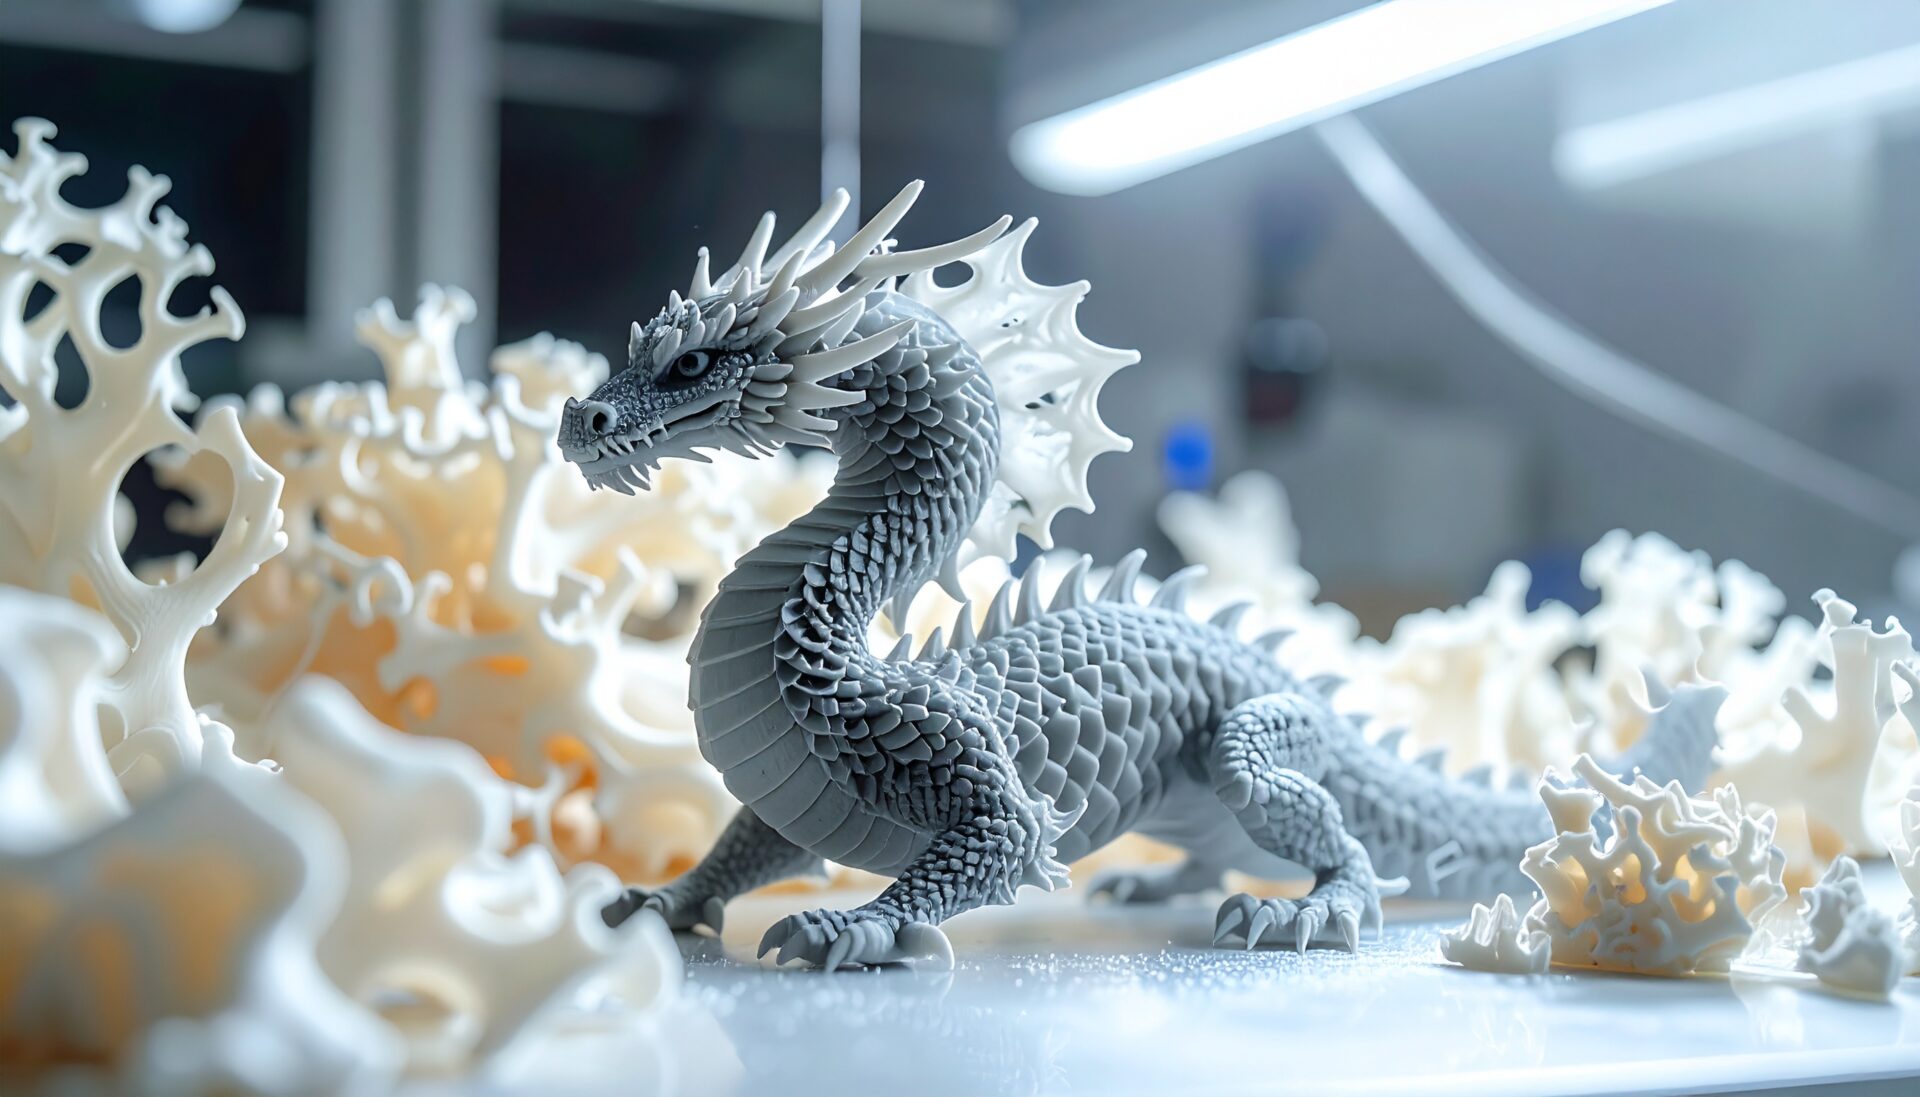
What 14K and 16K Resolution Means: Micron-Level Precision
The “K” in 14K and 16K refers to the LCD panel’s horizontal resolution. 14K has approximately 13,312 pixels; 16K has approximately 16,200 pixels horizontally, shrinking the XY pixel size to 16–19 microns. That is less than one-quarter the width of a human hair (~70 microns), making layer lines virtually invisible to the naked eye.
Resolution Comparison: The Evolution from 4K to 16K
- 4K (3,840 pixels): XY pixel size ~50 microns. Layer lines visible on miniatures.
- 8K (7,680 pixels): XY pixel size ~28 microns. Sufficient quality for precision models.
- 14K (13,312 pixels): XY pixel size ~16.8 microns. Competition-grade miniature ultra-high definition.
- 16K (16,200 pixels): XY pixel size ~14 microns. The highest resolution available — can reproduce skin texture.
2026 Latest 14K/16K Resin Printer Comparison
Elegoo Saturn 4 Ultra (16K): Best Overall with AI
- 16K resolution (16200×5760), XY pixel size 14×19 microns — current highest-class detail
- AI camera for real-time anomaly detection: auto-detects build plate spin-outs, model warping, and resin shortage
- Built-in heater maintains resin temperature at 30°C automatically for stable curing in any environment
- Build volume 218.88×122.88×220mm, max print speed 150mm/h. Price ~$520
Anycubic Photon Mono M7 Pro (14K): The Speed King
- 14K resolution (13312×5120), XY pixel size 16.8×24.8 microns
- COB LighTurbo 3.0 for uniform exposure. Max print speed 170mm/h — fastest in class
- Dynamic temperature-controlled resin vat and auto-resin refill for reduced hassle
- Price ~$480. Best for speed-focused users
Creality HALOT-MAGE S (14K): The Budget Option
- 14K resolution, XY pixel size 16.8 microns
- Strong integration with the Creality ecosystem. Remote monitoring via Creality Cloud
- Best for budget-conscious users seeking 14K quality
The AI sensors in 2026 resin printers go beyond simple camera monitoring — they form an integrated quality management system.
AI Camera Anomaly Detection
- Build plate spin-out detection: AI detects when the model fails to adhere to the plate right after print start, preventing resin waste.
- Model warping/peeling detection: Instantly notifies if the model peels from the plate mid-print. Auto-pause minimizes damage.
- Resin level monitoring: Optical sensors continuously monitor resin level, alerting before shortage causes print failure.
- Lamp panel temperature anomaly: Detects LED light source overheating, preventing printer damage and fire risk.
Technical Benefits of Built-in Heaters
Resin viscosity is highly temperature-dependent. Below 15°C, viscosity increases, causing poor layer adhesion and insufficient curing. Built-in heaters automatically maintain resin at 30°C, ensuring consistent print quality regardless of season or environment. With 24-hour preheat support, unattended overnight printing is worry-free.
Practical Techniques for 14K/16K Printers
Slicer Settings to Maximize High Resolution
- Layer thickness: 0.02–0.03mm recommended for precision. 0.05mm is sufficient for standard prints.
- Exposure time: 16K allows shorter exposure for curing. 1.5–2.5 seconds is typical for the Elegoo Saturn 4 Ultra.
- Anti-aliasing: Enable grayscale anti-aliasing to further reduce XY jaggies.
- Support settings: Use contact point size below 0.2mm for virtually invisible removal marks.
Choosing the Right Resin
- Standard resin: Elegoo Standard / Anycubic Basic. Best cost-performance for practice. ~$20–30/L.
- High-detail resin: Siraya Tech Tenacious / Phrozen Aqua. Good balance of flexibility and precision for miniatures.
- Engineering resin: Siraya Tech Blu / Lychee Tough. For functional parts needing strength and heat resistance.
- Easy-clean resin: Water-washable resin (Elegoo Water Washable). No IPA needed for post-processing. Great for beginners.
4 Monetization Ideas with 14K/16K Resin Printers
- Custom miniature sales: Sell original miniatures for TTRPG/Warhammer on Etsy. $5–$30 per figure. Selling digital STL files means zero inventory risk.
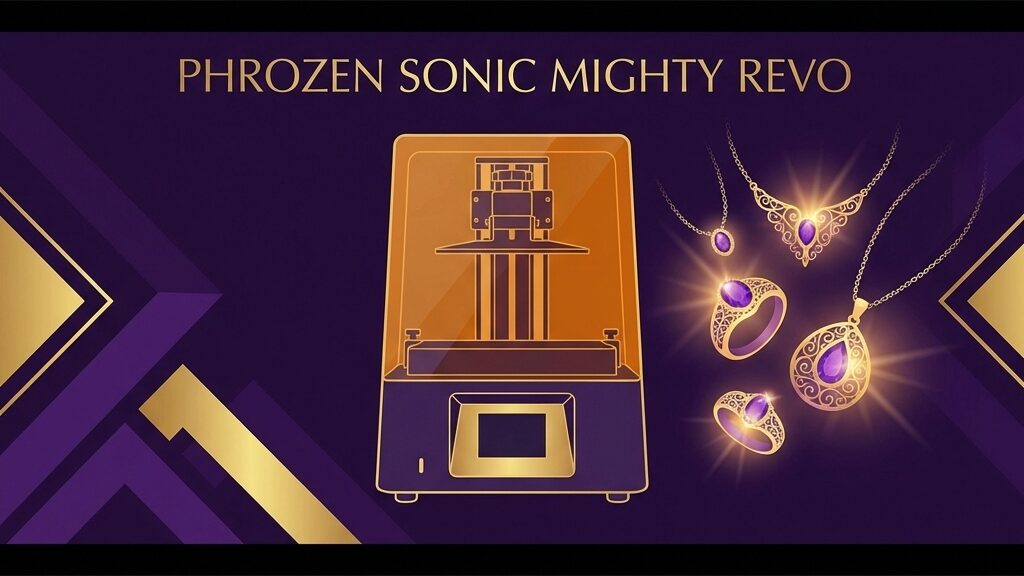
- Jewelry master production: Create wax-cast masters for jewelry designers. $50–$300 per piece. 16K precision outputs casting-quality masters directly.
- Dental/medical model services: Produce study models for dental labs and medical institutions. $30–$100 per piece. High precision requirements support premium pricing.
- Architectural model services: Create scale models for architecture firms. $100–$500 per project. High-detail resin faithfully reproduces intricate architectural details.
Complete Post-Processing Guide for Resin Prints
Post-processing critically affects resin print quality. Master the correct procedure:
Step 1: Washing
Remove the print from the build plate and wash in IPA (isopropyl alcohol), or water for water-washable resins. Automatic wash stations like the Anycubic Wash and Cure complete uniform washing in 2–3 minutes. Use 95%+ concentration IPA. Two-stage washing improves finish quality.
Step 2: Post-Curing
After washing, perform secondary curing in a UV curing station. Cure time varies by resin type, but typically 3–10 minutes under 405nm UV light. Post-curing increases strength 2–3× and eliminates surface tackiness.
Step 3: Support Removal and Finishing
Carefully remove supports with nippers, then sand contact marks with 400–800 grit sandpaper. With 16K printers and support contact points set to 0.2mm or less, removal marks become virtually invisible. Apply surfacer primer before painting to hide minor imperfections.
Common Troubleshooting
- Print won’t stick to plate: Extend bottom exposure by 5–10 seconds. Sanding the plate with 400-grit sandpaper also helps.
- Layer gaps (delamination): Resin temperature may be too low. Heat to 30°C or extend exposure by 0.5 seconds.
- Supports break and model collapses: Increase support density or use medium supports. Ensure tilt angle of 45° or more.
- Print warps or distorts: Hollow large flat surfaces and add drain holes. This reduces resin shrinkage.
- Print sticks to FEP film: FEP may need replacing. Upgrading to nFEP/PFA film significantly reduces peel force.
1-Week Roadmap to Start 14K/16K Resin Printing
- Day 1: Choose your printer. ~$480 budget → Anycubic M7 Pro. ~$520 budget → Elegoo Saturn 4 Ultra.
- Day 2: Unbox, set up, auto-level, and run the included test print file.
- Day 3: Learn slicer basics (Chitubox/Lychee). Practice support placement and layer thickness settings.
- Day 4–5: Print original models or free STLs from MyMiniFactory. Experience the full post-processing workflow (wash, cure, sand).
- Day 6: Try painting. Acrylic paint + brush for your first paint job. Primer improves paint adhesion.
- Day 7: Photograph your work and list on Etsy/social media. Start selling and collect your first feedback.
High-Resolution Resin Printer Outlook: 2026 and Beyond
The resolution race continues. Phrozen has announced next-generation models for 2026, with 20K+ resolution and faster print speeds expected. AI sensors will evolve to enable automatic support optimization and real-time inter-layer quality checks. Research into multi-material resin printing (simultaneously outputting hard and flexible materials) is progressing, bringing the era of single-printer production of parts with diverse properties ever closer.
AI-Enabled Remote Monitoring Tools Comparison
- Obico (formerly The Spaghetti Detective): Open-source AI failure detection platform. Supports both FDM and resin. Self-hostable with a free plan available.
- OctoEverywhere Gadget: Next-gen AI algorithm detects spaghetti, layer shifts, and peeling. Auto-pause capability. SMS/email/Discord notifications.
- SimplyPrint: Cloud-based print management platform. AI detection plus multi-printer management and remote operation.
- Cloud 3D Print: Built-in spaghetti and failure detection engine. Automatic timelapse generation for documenting print processes.
Resin Printer Safety Checklist
- Ventilation: Install an exhaust fan or open windows for airflow. Resin fumes are harmful with prolonged inhalation.
- Protective gear: Wear nitrile gloves (not latex), safety glasses, and a mask with activated carbon filter when needed.
- Resin storage: Store in opaque bottles away from direct sunlight in a cool place. Keep out of reach of children and pets.
- Waste disposal: Expose used IPA to UV light to cure residual resin, then filter. Follow local waste disposal regulations.
- Fire prevention: IPA is highly flammable — keep away from open flames. Avoid use near electric heaters. Keep a fire extinguisher handy.
- FEP replacement care: Thoroughly clean the resin vat before replacing FEP film. Immediately wash any resin that contacts skin with soap.
Frequently Asked Questions (FAQ)
Q1: Can you see the difference between 14K and 16K?
On miniatures smaller than 30mm, the difference is noticeable — especially in facial expressions and skin texture where 16K shows clear superiority. For models over 50mm, 14K provides sufficient quality. Choose based on your primary use case.
Q2: Can AI sensors really prevent failures?
Major failure causes like build plate peeling and resin shortage are detected with high accuracy. However, subtle warping and internal support breakage that are difficult to spot visually also challenge AI detection. Think of AI sensors as “insurance against major failures.”
Q3: Can you get high-quality prints without a built-in heater?
If room temperature stays above 20°C, no problem. In cold environments like winter or garages, a DIY enclosure (cardboard box + small heater) works as a substitute. However, considering the hassle of manual temperature management, built-in heater machines offer excellent value.
Q4: How should resin be handled safely?
Uncured resin is a skin irritant — nitrile gloves are mandatory. Work in well-ventilated areas and maintain ventilation during IPA washing. Used resin can be fully UV-cured and disposed of as regular waste.
Q5: How much does electricity cost for resin printing?
Typical resin printers consume 60–120W. An 8-hour print costs roughly $0.10–$0.20 in electricity — about half the running cost of an FDM printer.
Q6: FDM or resin — which is better for beginners?
It depends on your use case. FDM for large structural parts and functional components; resin for precision miniatures and jewelry. Resin requires post-processing (washing and curing), but 14K/16K machines with auto-leveling make the printing itself straightforward.
Q7: Which slicer software supports 14K/16K?
Chitubox (free/Pro), Lychee Slicer (free/Pro), and UVtools (free) are the main options. Manufacturer slicers (Elegoo MARS Slicer, Anycubic Photon Workshop) also support 14K/16K resolution.
Q8: What happens if you print existing 8K model data on a 16K printer?
It prints without issues. The slicer automatically slices at 16K resolution, so existing STL/OBJ files work as-is. However, if the original model data resolution is low, the printer’s higher resolution will not be fully utilized.
Conclusion: Build a “Desktop Jewel Workshop” with AI-Equipped 14K/16K Printers
With 14K/16K resin printers and built-in AI sensors, micron-level ultra-precision printing is now accessible to anyone. The Elegoo Saturn 4 Ultra (~$520) delivers the trifecta of 16K resolution, AI camera, and built-in heater, covering everyone from beginners to professionals.
Start with standard resin and a small miniature to experience this world of “micro-architecture” for yourself.
For more information, visit All3DP.
ブラウザだけでできる本格的なAI画像生成【ConoHa AI Canvas】
ABOUT ME
AIを使って、毎日の生活をもっと快適にするアイデアや将来像を発信しています。
初心者にもわかりやすく、すぐに取り入れられる実践的な情報をお届けします。 Sharing ideas and visions for a better daily life with AI.
Practical tips that anyone can start using right away.