AI 3D Printing Comparison 2026: Which AI Tool Is Best for Making Things
swiftwand swiftwand.ai
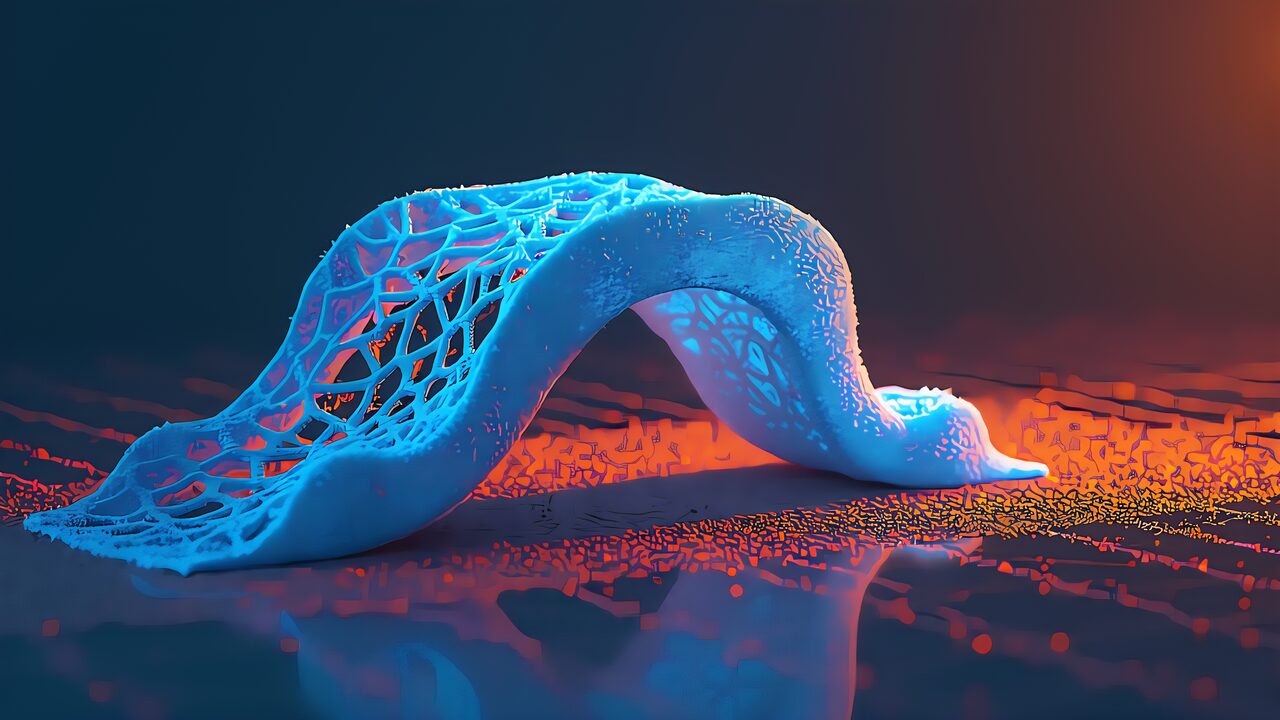
Take a look at the part you designed in CAD this week. Straight lines, right angles, uniform wall thickness? That’s because your mouse-and-keyboard human brain finds it “rational”—and because subtractive machining and injection molding demanded it. But a 3D printer doesn’t care about straight lines. It actually dislikes them. Nature doesn’t build with blocks; it builds with webs, lattices, and organic curves. Generative design is the software revolution that lets us design for the 3D printer, not just with it.
Topology optimization mathematically optimizes material distribution within a given design space under load and constraint conditions. It’s an established technique with over 20 years of history—not something that appeared overnight with AI.
The most widely used approach is SIMP (Solid Isotropic Material with Penalization). The design space is divided into finite elements, each assigned a density value between 0 (void) and 1 (solid).
The result: organic shapes reminiscent of bone or tree branches. Unintuitive to a human designer, yet mathematically the most efficient material arrangement.
These are separate technologies, though marketing often conflates them. Topology optimization starts with an existing CAD model and optimizes material distribution; input is “shape + loads + constraints,” output is “one optimized shape.” Generative design takes only requirements as input and has AI generate multiple design candidates from scratch, factoring in manufacturing method (FDM, CNC, etc.).
Topology optimization answers “how do I pare down this shape?” Generative design answers “what should I make?” Use topology optimization to lighten existing parts; use generative design to explore new designs.
Traditional SIMP is computationally expensive—300 FEA loops on a complex shape can take hours to days. AI/machine learning is revolutionizing this:
Caveat: AI models are domain-specific. A network trained on aircraft brackets won’t work out of the box on medical implants. A hybrid approach (AI for rough optimization → classical methods for refinement) is realistic.
Airbus A320 Nacelle Hinge Bracket: Redesigned via topology optimization + metal 3D printing, achieving a 64 % weight reduction. Deployed on actual A320 family aircraft.
GE Jet Engine Bracket: Made famous by GE’s “Bracket Challenge.” Topology optimization delivered a 70 % weight reduction while meeting all functional requirements under engine operating conditions. A benchmark frequently cited in academic papers.
NASA Parker Solar Probe Antenna Bracket: 50 % mass reduction with a shape printable without supports. In space hardware, every gram saved translates directly to launch-cost savings.
FreeCAD + BESO (completely free): Add the BESO (Bi-directional Evolutionary Structural Optimization) add-on to open-source FreeCAD. Uses the CalculiX solver. Zero cost—ideal for learning.
Fusion 360 + Generative Design: Base plan is $85/month. Topology optimization included; generative design extension costs an additional $200/month. Non-commercial personal-use version available for free.
Altair Inspire (Personal Edition, free): The industry-grade Altair Inspire offers a Personal Edition—free for one year for hobby/personal use with full topology optimization features. Best value for makers.
ANSYS Discovery (Student Edition, free): Real-time simulation capabilities. Student version is free. Commercial licenses are quoted individually, but the student version is more than enough for learning.
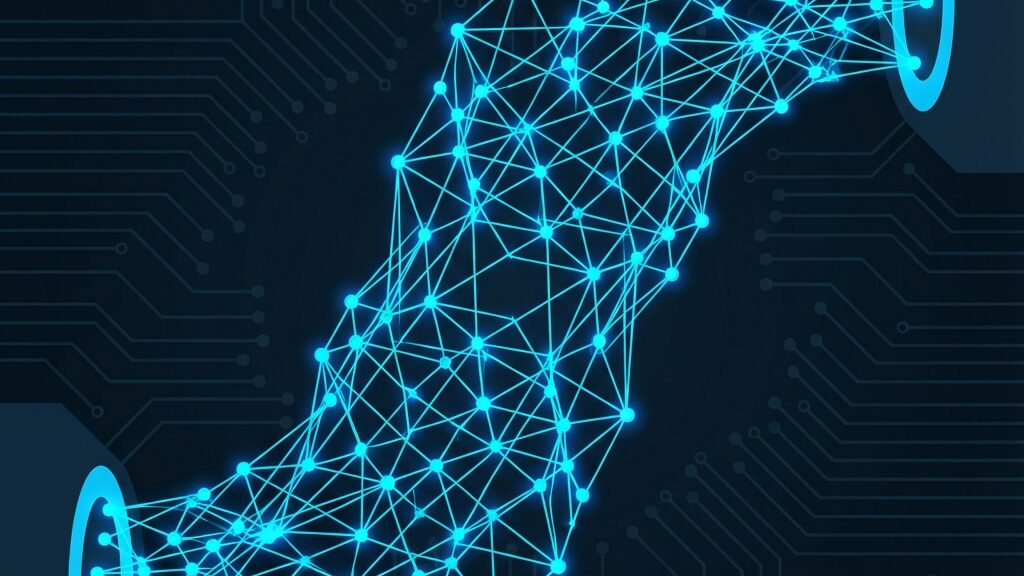
Lattice structures and TPMS (Triply Periodic Minimal Surfaces) are gaining attention alongside topology optimization.
Discovered by physicist Alan Schoen in 1970, the gyroid is a type of TPMS featuring two interlocking channel networks repeating in 3D. Experiments confirm it maintains higher strength under compressive loads than other TPMS patterns.
The benefits are clear: interlocking lattices distribute forces evenly, reducing fracture risk. The high surface-area-to-volume ratio provides excellent heat dissipation. Weight savings of 40–70 % compared to solid parts are achievable.
Caveat: Do NOT simply swap a topology-optimized solid for a lattice. Load-transfer characteristics differ between lattice and solid, so you must re-run structural simulation after the substitution.
Slicers can leverage lattice/gyroid too. PrusaSlicer, Cura, and OrcaSlicer all support gyroid infill patterns. A practical hybrid approach: determine the outer shell shape with topology optimization, then adjust infill density and pattern in the slicer. Gyroid infill at 15–30 % density is considered a good balance between strength and weight savings.
For post-processing, free mesh-editing tools like MeshLab and Meshmixer are invaluable. Import the optimized STL, then smooth → remesh → check minimum wall thickness → export. This workflow yields a clean, print-ready mesh.
Here are six steps for putting topology optimization into practice.
Step 1 — Problem Definition: Clarify the objective: weight reduction, stiffness maximization, or cost reduction. Set a volume constraint (30–70 % of the original).
Step 2 — Define Loads and Constraints: Specify fixed surfaces (bolt holes, etc.), load types (point loads, distributed loads, thermal loads), and keep-out zones.
Step 3 — Run the Optimization: The software computes the optimal material distribution over 100–300 iterations. Computation time depends on shape complexity—minutes to hours.
Step 4 — Post-Processing: The raw result is a jagged mesh. Smoothing and conversion to CAD geometry are required. This step is the most labor-intensive.
Step 5 — Verification FEA: Re-run finite element analysis on the cleaned-up model to confirm it still meets requirements.
Step 6 — STL Export and Slicing: Export to STL and process in the slicer. Optimized complex shapes typically increase slice time by 30–300 %.
Topology-optimized shapes look stunning, but printing them comes with unique challenges.
No special printer is needed. Standard FDM, SLA, and SLS printers can handle optimized parts. However, higher precision yields better results. A layer height of 0.1–0.2 mm is recommended.
Several persistent misconceptions surround this field. Let’s set the record straight.
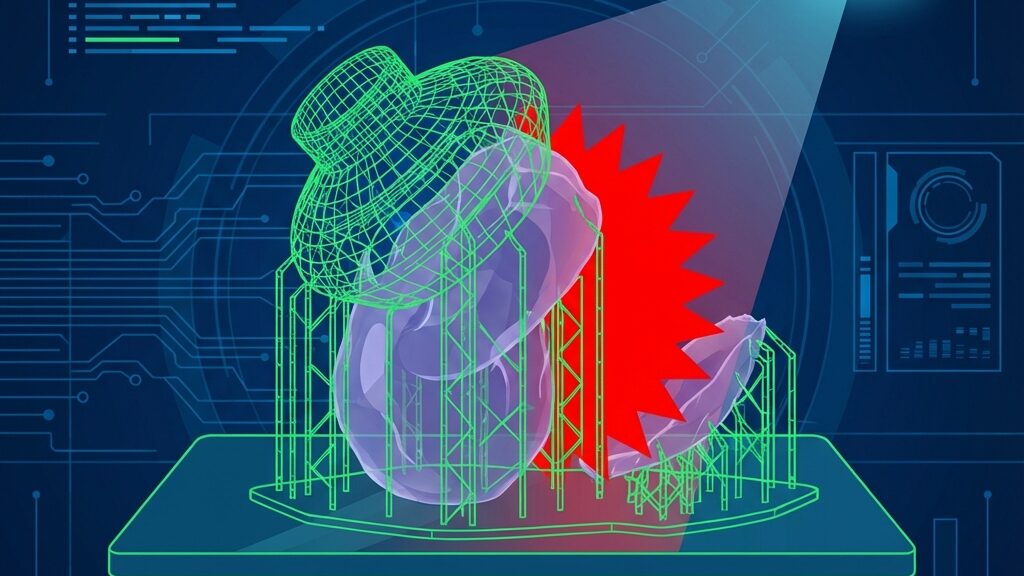
“You can print the optimization result as-is.” — Wrong. Raw output contains coarse meshes, discontinuous structures, and jagged edges. Printing without post-processing leaves structurally weak spots and unprintable thin walls.
“Generative design and topology optimization are the same thing.” — They’re not. Some software vendors conflate them for marketing purposes, but they are technically distinct.
“Topology optimization is a new AI-era technology.” — It isn’t. The SIMP method has existed for over 20 years. AI is accelerating it, but the underlying technique is mature.
“You need a special 3D printer.” — You don’t. Standard FDM/SLA/SLS printers work fine. Higher precision yields better results, but no special hardware is required.
“Manufacturing constraints are handled automatically.” — They’re not. Minimum wall thickness, support structures, and print orientation must be explicitly set by the user.
FPV racing drone frames demand both lightness and rigidity. Topology optimization has been used to redesign carbon-fiber frame mounting brackets, achieving over 40 % weight reduction. This directly translates to longer flight times and increased payload capacity.
More and more makers are topology-optimizing metal parts like stems, seatpost clamps, and brake mounts, then manufacturing them via SLS or metal 3D printing. The result: organic designs impossible with off-the-shelf parts, combined with significant weight savings.
Robot arm joints and brackets have clearly defined load conditions, making topology optimization highly effective. The workflow of designing in FreeCAD + BESO and FDM-printing in PETG or nylon is becoming standard practice in hobby robotics.
Q: Can I print the topology optimization result as-is?
A: No. Raw optimization output is a jagged mesh requiring post-processing—smoothing, CAD conversion, and minimum wall-thickness checks. Skipping this step leads to print failures or broken parts.
Q: Are free tools sufficient for meaningful optimization?
A: For learning and basic optimization, FreeCAD + BESO is more than adequate. For complex constraints or multi-material optimization, commercial tools are needed. Altair Inspire Personal Edition—free and feature-rich—is a top recommendation.
Q: Is there any point in optimizing parts printed in PLA?
A: Absolutely. Weight reduction is beneficial regardless of material strength. PLA is ideal for prototyping and validation. For production use, consider switching to PETG, ASA, nylon, or other engineering filaments.
Q: Do I need a GPU for optimization?
A: Traditional SIMP is CPU-bound. AI-accelerated methods benefit greatly from an NVIDIA GPU (CUDA-compatible). However, for maker-scale problem sizes, a typical desktop CPU is perfectly sufficient.
Q: Can I combine gyroid infill with topology optimization?
A: Yes, but with caution. When applying gyroid infill to a topology-optimized outer shell, load-transfer characteristics change, so re-simulation is mandatory. Simply using the slicer’s infill settings as-is is not enough.
Q: Can Grasshopper + Karamba3D be used outside architecture?
A: Yes. Combining Grasshopper’s parametric design capabilities with Karamba3D’s structural analysis applies to product design and art as well. Note that a Rhinoceros 3D license is required (trial version available), and the learning curve is fairly steep.
Q: What materials does topology optimization support?
A: It’s material-agnostic. Metals (titanium, aluminum, stainless steel), polymers (PLA, PETG, nylon, carbon-fiber composites), ceramics—as long as you input the material properties (Young’s modulus, Poisson’s ratio, yield stress), optimization works with any material.
Topology optimization was once the exclusive preserve of NASA and Airbus. But in 2026, free tools like FreeCAD and Altair Inspire Personal Edition let you run the same algorithms from your desktop at home. AI acceleration is slashing computation times by orders of magnitude.
The workflow of transforming a “part sketched on a napkin” into a “mathematically optimal organic shape” and printing it on your home 3D printer is now real. There’s no reason to cling to straight-line, right-angle designs anymore.
Before starting your usual CAD routine on your next project, give FreeCAD’s BESO a try. The AI will almost certainly propose a shape you never would have thought of. That is the true value of topology optimization.
For more information, visit All3DP.