AI Resin Printing Complete Guide 2026: AI Failure Detection, Tilt Release, Elegoo Saturn 4 Ultra, Obico Comparison, Monetization, and FAQ
swiftwand swiftwand.ai
Yesterday’s print was perfect. Same filament, same settings. However, today’s print failed. In other words, 3D printing is a “science of reproducibility.” When the environment changes, everything changes.
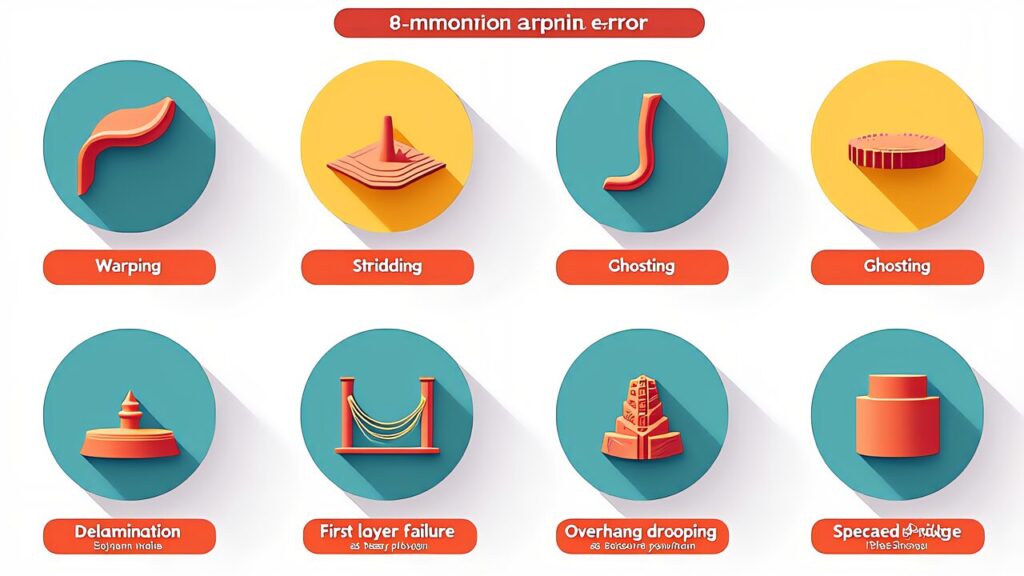
There are problems every beginner faces by their 2nd or 3rd print. Specifically, these include warping, stringing, and delamination. Furthermore, first layer failures and nozzle clogs are also common. These are not “malfunctions” but issues solved through “adjustments.”
This article explains 3D print failure troubleshooting. Specifically, we organize the symptoms, causes, and solutions for 7 major errors. Additionally, we introduce AI-powered image diagnosis techniques.
Many variables affect 3D print quality. For example, nozzle temperature and bed temperature matter. Furthermore, print speed and layer height also have impact. These are “controllable variables.” However, environmental factors also exist.
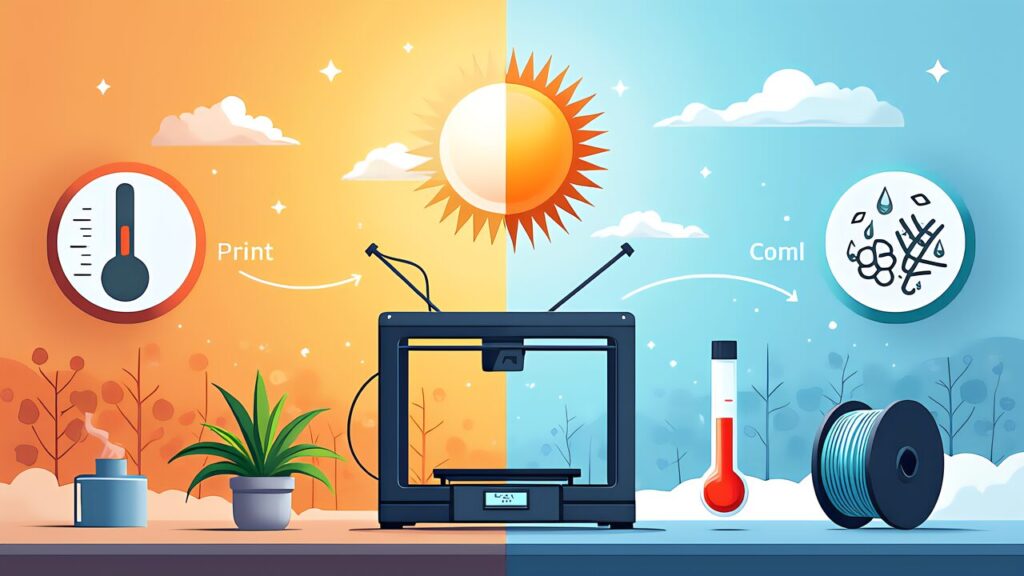
Room temperature is the most impactful external variable. Specifically, PLA can warp in rooms below 15°C during winter. On the other hand, high humidity in summer causes filament to absorb moisture. In other words, the same settings yield different results depending on the season.
Filament condition is also a critical variable. For example, PLA opened 3 weeks ago has absorbed water. Moisture-laden filament generates steam inside the nozzle. Consequently, this causes microscopic bubbles on the surface.
Furthermore, spool remaining amount also matters. As the spool depletes, the winding diameter changes. Therefore, the feed tension to the extruder varies. This leads to inconsistencies in print quality.
The basics of 3D print failure troubleshooting follow 3 steps. First, “observe the symptoms.” Next, “narrow down the cause.” Finally, “fix the settings” to resolve the issue.
Symptoms: The corners and edges of the print curl upward. The bottom separates from the bed and won’t stay flat. Notably, larger prints exhibit more severe warping.
Cause: As the resin cools, it shrinks and internal stress accumulates. When this stress exceeds the bed adhesion force, warping occurs. Specifically, PLA has a shrinkage rate of about 0.3–0.5%. ABS has an even higher shrinkage rate.
Solution: First, increase bed temperature by 5–10°C (PLA: 60°C, PETG: 80°C, ABS: 100–110°C). Next, reduce initial layer speed to below 20mm/s. Additionally, enable Brim (a feature that adds a thin rim around the model). In Orca Slicer, select “Build Plate Adhesion Type” → “Brim” with 5–8mm width. Furthermore, maintain room temperature above 20°C. For ABS, an enclosure keeping internal temperature at 35–45°C is recommended. Finally, clean the PEI build plate with IPA to remove oil. Avoid touching the plate with bare hands after cleaning.
Symptoms: Thin string-like plastic strands appear on the print surface. Particularly, “spider web” patterns form between pillars and towers.
Cause: Melted filament strings out during nozzle travel moves. In other words, the temperature is too high or retraction settings are inadequate. Furthermore, Bowden setups require longer retraction distances than direct drive systems.
Solution: First, lower nozzle temperature by 5°C. For PLA, try 200°C→195°C as a guideline. Next, increase retraction distance by 0.5mm. For direct drive, 0.5–2.0mm is appropriate. On the other hand, Bowden systems need 4–6mm. Furthermore, set retraction speed to 30–45mm/s. Additionally, increase travel speed to 150mm/s or above. Shorter travel time means thinner strings. Also, check filament dryness, as moisture worsens stringing. Specifically, enabling “Wipe while retracting” in Orca Slicer is effective for wiping residual resin from the nozzle tip.
Symptoms: Ripple-like patterns appear on the print surface. They are particularly common near corners. Echo-like steps are visible right after sharp angles. You can verify this with test models like “CUBE” or “Benchy.”
Cause: The printer’s frame and belts vibrate during high-speed printing. These vibrations affect nozzle positioning accuracy. Symptoms worsen dramatically near resonant frequencies. Furthermore, CoreXY machines require special attention, as X and Y axes may have different resonant frequencies.
Solution: First, enable Input Shaping (vibration compensation). Bambu Lab A1 mini and P1S come with this feature built-in. Furthermore, Klipper’s ADXL345 sensor can accurately measure resonant frequencies. Next, reduce print speed—specifically, try changing from 300mm/s to 200mm/s. Also, slowing only the outer wall is effective, for example setting outer wall to 40mm/s and inner wall to 150mm/s. Additionally, verify that the installation surface is stable, as a wobbly table worsens symptoms. Finally, check belt tension, since loose belts amplify vibrations.
Symptoms: Gaps form between layers of the print. Also, when force is applied, the print splits along a specific layer. This is especially dangerous for mechanical parts that bear loads, as they may fracture during use.
Cause: Insufficient inter-layer adhesion is the primary factor. Specifically, nozzle temperature may be too low. Also, excessive cooling fan speed can cause this. Furthermore, filament moisture absorption is another factor. Layer heights above 0.3mm also reduce adhesion strength.
Solution: First, increase nozzle temperature by 5–10°C. For PLA, target 210–215°C. For PETG, try 240–245°C. Next, reduce cooling fan speed. For PLA, set the fan to 0% for the first 5 layers. Furthermore, dry your filament—nylon is particularly susceptible to moisture. Additionally, try changing layer height to 0.2mm. This increases the contact area between layers and improves adhesion. Also, slightly increasing flow rate to 102–105% can be effective.
Symptoms: The first layer doesn’t adhere to the bed. The filament turns into a mess. On the other hand, the nozzle can also be too close. When this happens, filament gets squished and the surface becomes rough. This frustrating error ruins the print within the first few minutes.
Cause: Improper nozzle-to-bed distance (Z-offset) is the main issue. Also, insufficient bed temperature can cause it. Furthermore, build plate surface contamination is another factor. Additionally, plate flatness matters—the center may be correct while corners are off by 0.1–0.2mm.
Solution: First, re-run AI auto-leveling. On Bambu Lab machines, “Auto Leveling” completes 49-point compensation. Next, fine-tune Z-offset in 0.02mm increments. The proper gap is about one sheet of paper (approximately 0.1mm). Furthermore, clean the build plate with IPA. Acetone works for stubborn residue, but use caution on non-PEI plates. Additionally, increase bed temperature—PLA needs 55–65°C, PETG needs 75–85°C. Also, reduce initial layer speed to 15–20mm/s. Setting flow rate to 105–110% improves adhesion.
Symptoms: Parts that overhang at 45° or more droop downward. The shape collapses. Overhangs above 60° are particularly severe. Without support, the surface becomes rough and unusable.
Cause: FDM works by stacking layers on top of each other. Therefore, filament sags where there is no support below. This is an inherent limitation, not a “malfunction.” Furthermore, insufficient cooling worsens the problem, as molten resin droops under its own weight before solidifying.
Solution: First, enable support material. Turn on “Support” in Orca Slicer. The default overhang angle is 45°. However, PLA can sometimes tolerate up to 55°. Next, try changing model orientation—rotating 90° can sometimes solve the issue. Specifically, Orca Slicer’s “Auto Orient” feature is useful, automatically calculating the angle that minimizes support. Furthermore, increase cooling fan speed. For PLA, 100% is recommended. Additionally, reducing print speed is effective—set outer wall speed to 30–40mm/s.
Symptoms: Filament extrusion suddenly decreases. Or it stops completely. You may hear a “clicking” sound from the extruder slipping. Nozzle clogs are an error even experienced users encounter frequently.
Cause: Carbonized filament buildup inside the nozzle is the primary factor. Also, residual resin from switching between different materials can cause clogs. Furthermore, impurities in cheap filament are another cause. Additionally, heat creep at the heat break is also a contributing factor. This is more likely during extended prints in poorly cooled environments.
Solution: First, try a cold pull. Heat the nozzle to 230°C. Then cool to 90°C and slowly pull out the filament. If contamination is attached to the tip, it worked. Repeat this process 3–5 times. Furthermore, use the included cleaning needle. Insert it into the heated nozzle to clear the blockage. Also, for complete clogs, nozzle replacement is the most reliable fix. Standard nozzles for Bambu Lab machines cost about $2–3 each. Therefore, keep them stocked as consumables. Additionally, prevention is important—perform sufficient purging when switching materials.

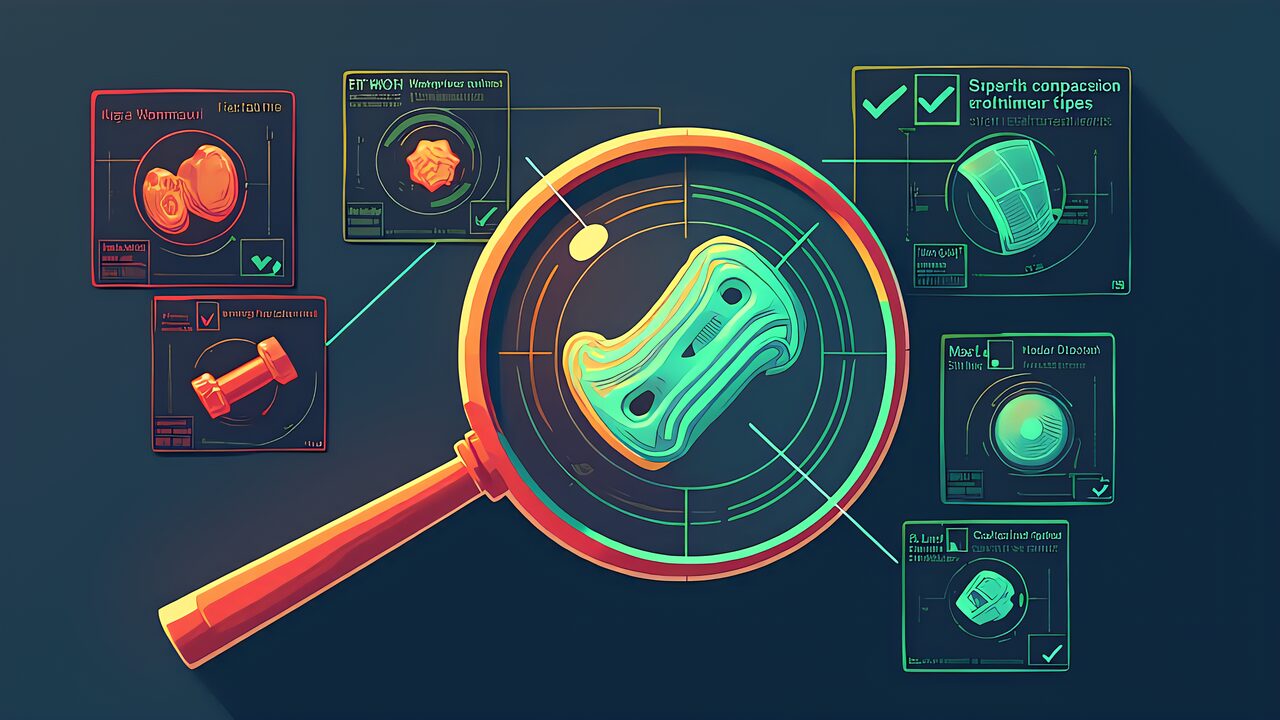
After looking at the 7 major errors list, many people may wonder “which one is actually my issue.” This is where AI comes to the rescue.
Take a smartphone photo of your failed print. Then upload it to ChatGPT or Claude. Simply ask “Please identify the cause of this 3D print failure.” The AI reads symptoms from the image. Furthermore, it suggests possible causes and solutions.
There are 3 tips for taking effective photos. First, photograph the problem area from the front. Next, shoot in bright lighting to avoid shadows. Finally, if possible, photograph from multiple angles and add descriptions like “here are photos from this angle and that angle.”
To further improve accuracy, add context to your query. Specifically, share your equipment and settings. For example, write “Printer: Bambu Lab A1 mini.” Include “Filament: PLA, nozzle temp 200°C” as well. Add “Print speed 150mm/s, layer height 0.2mm” too. Describe the symptom specifically, like “the bottom corners warped up about 5mm.” By sharing such details, AI diagnostic accuracy improves dramatically.
However, don’t take AI answers at face value. The habit of cross-referencing with the 7 major error list is important. Judge for yourself whether “the AI diagnosis seems reasonable.” AI can misidentify issues due to image resolution or shooting angle. Therefore, verify answer consistency through multiple queries.
Obico, introduced in the AI monitoring agent article, is a powerful tool. It analyzes camera footage in real-time during printing. Specifically, it automatically detects signs of spaghetti failure and first layer peeling. Furthermore, you can install Obico on a Raspberry Pi 5, adding AI monitoring capability to the A1 mini or SPARKX i7 after purchase.
Obico’s strength lies in detecting problems “during printing.” It can catch anomalies that humans miss. This is because computer vision cross-references against past failure patterns. Detection accuracy is approximately 85% according to official data. Spaghetti detection is particularly strong—this is the phenomenon where filament tangles in mid-air.
Obico’s free plan monitors one printer. You receive push notifications on your smartphone when anomalies are detected. On the other hand, the paid Pro plan ($4/month) offers more. It can automatically stop the printer upon detection. Therefore, you can safely run unattended overnight prints.
One-time AI diagnosis is useful. However, “failure logs” are more effective for long-term quality stability. Specifically, record data in a spreadsheet or Notion. Log “date, room temperature, humidity, filament brand.” Also add “days since opening, error type, remedy applied.” Patterns unique to your environment will emerge. For example, you might discover “PETG stringing always worsens above 60% humidity.” Or that “surface quality degrades 14 days after opening.” Tracking these metrics numerically enables proactive error prevention.
Many 3D print failure solutions can be achieved through Orca Slicer setting changes. Below are 7 “silver bullet” settings for common troubles.
| Trouble | Orca Slicer Setting | Recommended Value |
|---|---|---|
| Warping | Build Plate Adhesion → Brim | Brim width 5mm |
| Stringing | Retraction Distance | 0.8–1.5mm (Direct Drive) |
| Ghosting | Input Shaping | Enabled (Automatic) |
| Delamination | Nozzle Temperature | +5–10°C |
| First Layer Failure | Initial Layer Speed | 15–20mm/s |
| Overhang | Support | Tree Support recommended |
| Nozzle Clog Prevention | Max Volumetric Speed | PLA: 15mm³/s |
“Tree Support” is a particularly powerful feature for beginners. It uses less material than traditional block-style supports. Furthermore, removal is much easier. The latest version of Orca Slicer 2.3.1 Alpha has further improved the tree support algorithm.
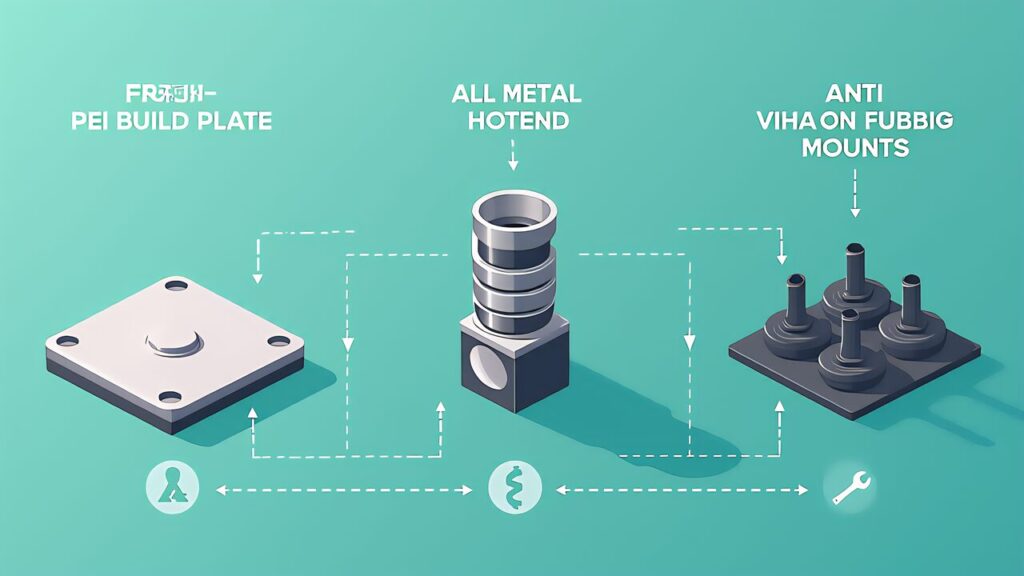
When slicer setting adjustments don’t solve the problem, hardware replacement or upgrades may be necessary. Here are 3 hardware solutions every beginner should know.
Worn PEI plates lose their surface texture. As a result, filament adhesion decreases. If “the first layer just won’t stick,” suspect the plate’s lifespan. A new PEI plate ($15–30) dramatically restores adhesion.
Also, PEI plates come in two types: Smooth and Textured. The textured type is suitable for PLA. On the other hand, PETG adheres too strongly to Smooth PEI. Therefore, the textured type is recommended for PETG as well. Plate lifespan is about 6–12 months with 5–10 prints per week. Visible scraper marks signal it’s time to replace.
Standard PTFE-lined hotends have limitations. PTFE degrades with prolonged use above 250°C. This results in nozzle clogs. Furthermore, above 260°C there’s a risk of harmful gas emission. For PLA-focused use, the standard hotend is fine. However, frequent PETG or ABS use requires caution. Specifically, the Micro Swiss all-metal hotend is a strong candidate. The E3D V6 all-metal hotend is also a classic choice. The price range is $20–60. They handle 300°C+ temperatures with improved reliability. All-metal hotends are essential for nylon and polycarbonate.
Ghosting may persist even with Input Shaping. In that case, try anti-vibration rubber mounts. Use anti-vibration pads available at hardware stores ($4–8). Simply place them at the 4 corners of the printer. They block vibration transmission from the table and improve print quality.
Wooden desks and thin shelves require special attention. The desk itself can resonate with printer vibrations. Therefore, here’s a more effective solution. Get concrete blocks ($2–3 each). Place anti-vibration pads on top. Then set the printer on top. This “mass + damping” two-layer approach is a proven, low-cost, high-effectiveness solution.
Often overlooked, filament moisture management is important. It’s one of the highest cost-performance investments. Specifically, the SUNLU FilaDryer S2 (approximately $30–40) is convenient. You can dry filament while printing with it still loaded. Especially in Japan’s rainy season and summer, indoor humidity exceeds 70%. As a result, opened filament degrades within days. Sealed containers with silica gel are also effective for storage. However, a dryer is necessary to restore already-moisture-absorbed filament.

The most important lesson in 3D print failure troubleshooting is this: “failure is a normal part of the process.” Even veteran users experience print failures. The only difference is “whether you can identify the cause and fix it.”
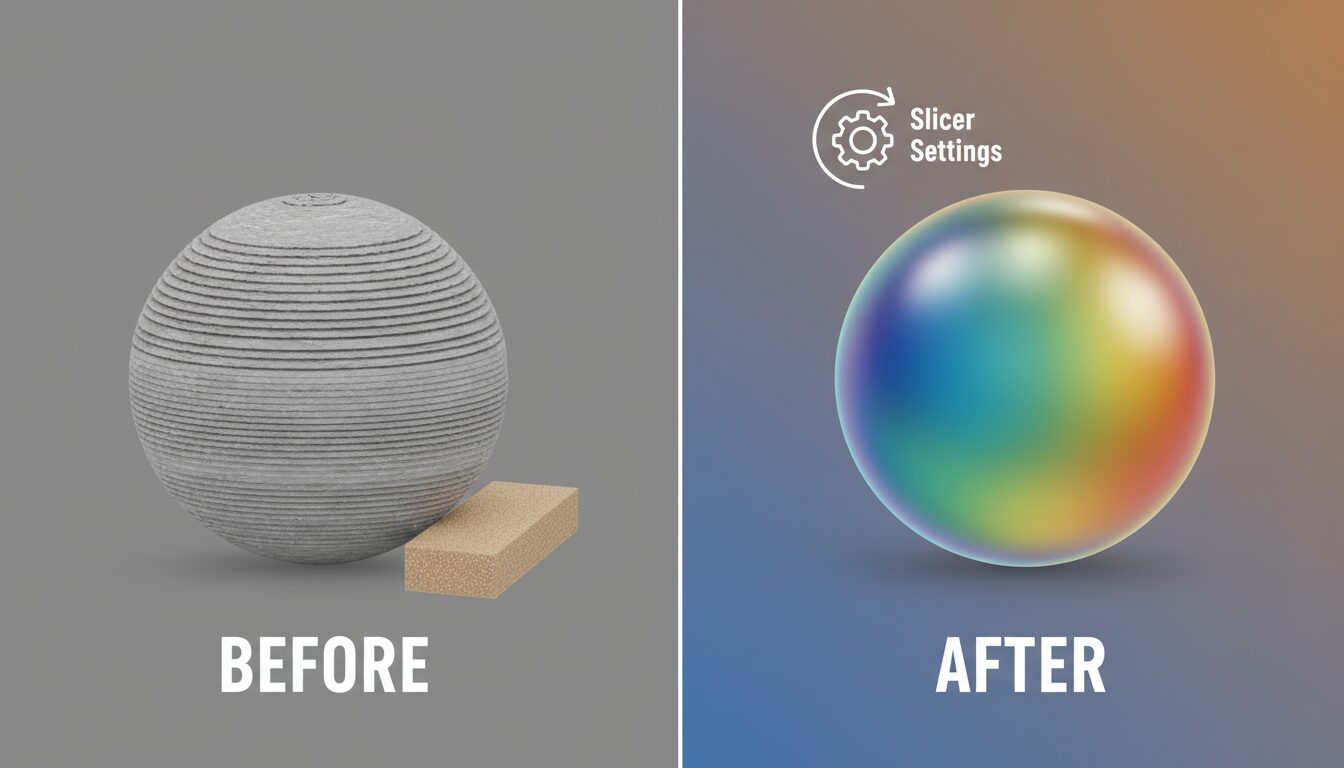
Learning the symptoms of the 7 major errors is the first step. Furthermore, master Orca Slicer’s silver bullet settings. Additionally, learn how to use AI troubleshooters. With these skills, you can solve most problems yourself. The technology introduced in graduating from visual inspection with AI automated quality control shows a future that further automates this problem-solving process.
Tomorrow’s Series Part 6 is “3D Print Post-Processing Basics.” The print succeeded but layer lines are visible—we’ll explain how to solve that without painting.