3D Print Filament Moisture: How Drying Your Filament Fixes Stringing, Layer Issues & Print Failures
swiftwand swiftwand.ai
The print succeeded. The shape is correct. It functions properly. But it feels “cheap” in your hands. The fine horizontal lines on the surface—layer lines—create that unmistakable “obviously 3D printed” look.
These layer lines trigger the desire to “make it look better.” However, the first solutions that come to mind—sanding and painting—are the worst approach for beginners. Sanding requires skill and patience. Furthermore, painting demands specialized tools and environment. In short, both cost time and money.
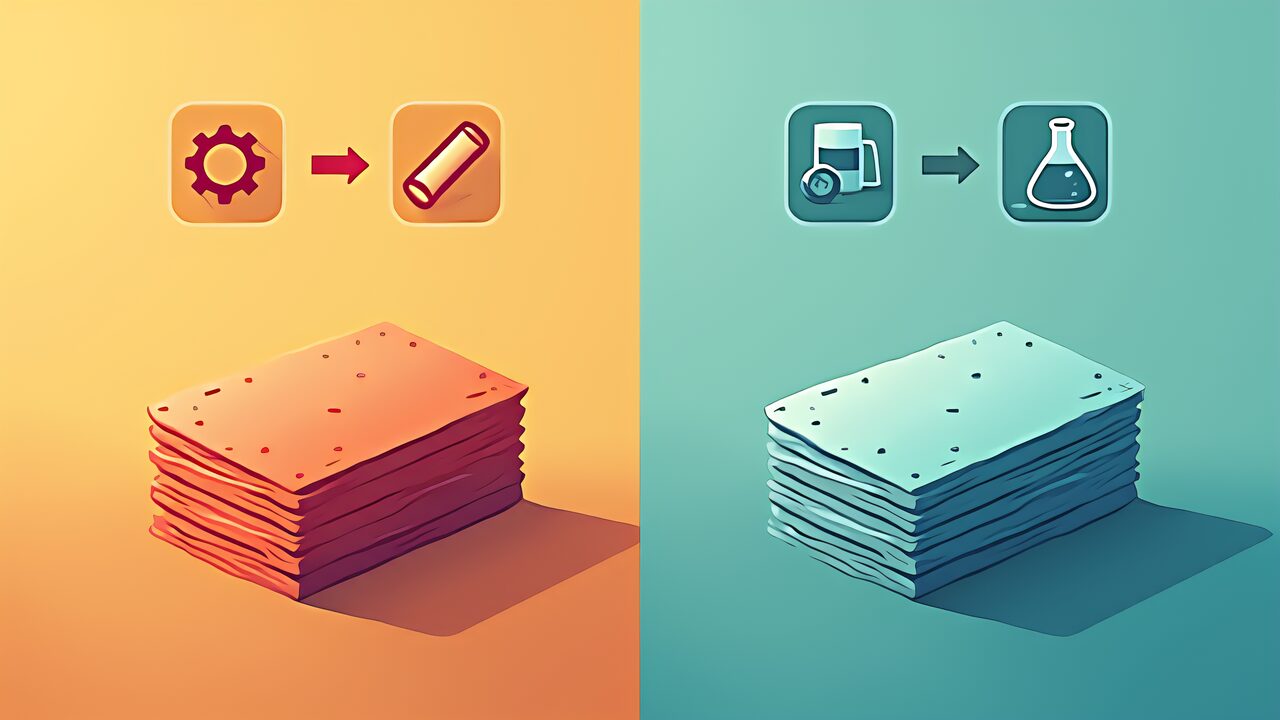
This article organizes 3D print post-processing into three layers (Software/Physical/Chemical). We demonstrate that Level 1 “slicer AI settings” alone can solve 80% of surface issues. No painting, no special tools—just better prints straight from the machine.
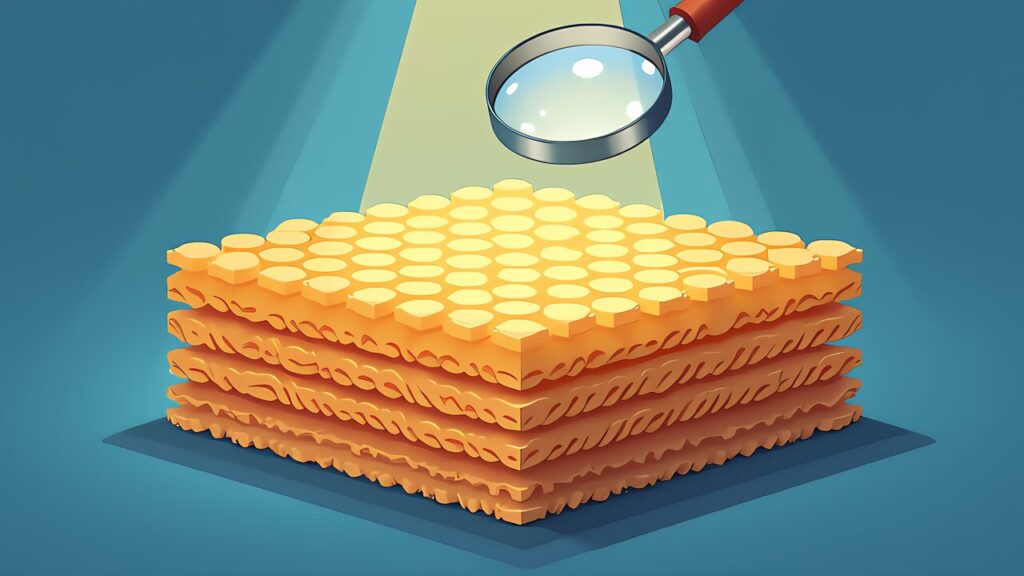
The reason layer lines stand out isn’t actually their “height.” While human fingertips can detect differences as small as 0.01mm, our eyes recognize layer lines primarily through “light reflection patterns.”
Under a microscope, each FDM layer has an elliptical cross-section. This is because the filament gets squished as it extrudes. When these ellipses stack, the surface develops regular “steps” and “valleys.” Furthermore, light hitting this surface scatters at the steps. Shadows form in the valleys. Our brain perceives this regular light-dark pattern as “cheap.”
Let’s look at some specific examples of how this creates a “cheap” appearance.
First, a white PLA smartphone stand. Under fluorescent light, layer lines cast shadows that create horizontal stripes across the entire surface. Placed next to an injection-molded retail product, the 3D print clearly looks more “handmade.”
Next, let’s examine figurine curved surfaces. On gentle curves like spheres or heads, 0.2mm layers create visible stair-stepping. Dark colors like black or dark gray emphasize light scattering. Therefore, layer lines become even more noticeable. Conversely, transparent filament also has issues. Micro-bubbles between layers cause light to scatter randomly. As a result, transparency drops significantly. The phenomenon of transparent PETG vases looking “frosted glass” white is caused by this.
One overlooked factor is “texture.” The roughness felt when running a finger across the surface emphasizes “cheapness” more than visual perception alone.
Try giving a 3D-printed small accessory box as a gift. When the recipient first touches it, they immediately sense the layer ridges. That tactile experience overrides the visual quality. Therefore, post-processing is key for items people will hold or touch frequently.
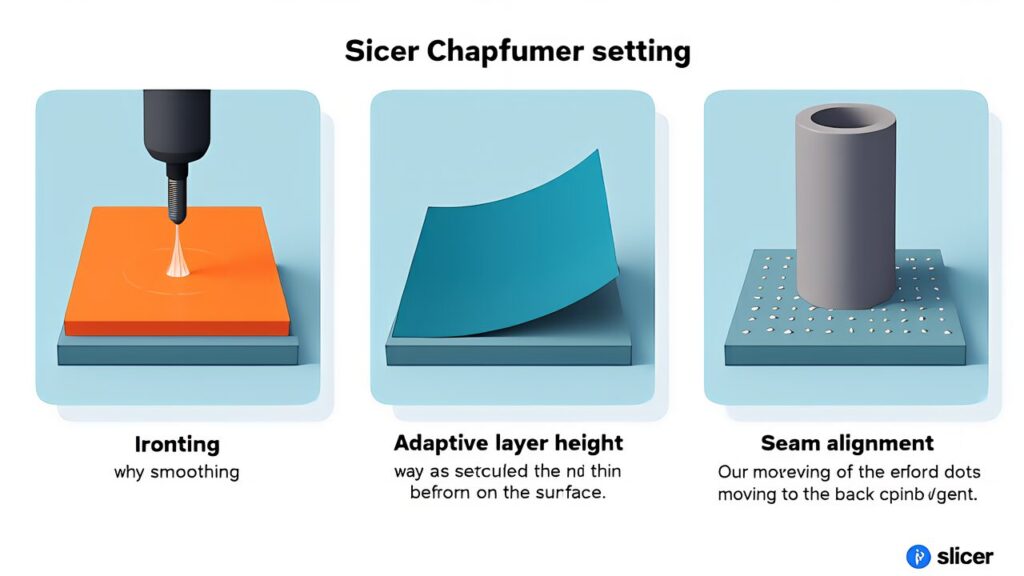
The most efficient approach to 3D print post-processing is optimizing slicer settings before printing. The pro tips for eliminating layer lines with slicer settings article covered this in detail. Here, we revisit the three core settings.
Ironing is a feature where the nozzle makes an additional pass over the top surface to remelt and smooth it. The result is a dramatically smoother top layer.
The setup is simple. Just turn ON “Quality” → “Ironing.” Default settings provide excellent results. Specifically, the top surface Ra value drops to less than half. This works especially well on nameplate text surfaces and coaster tops. In other words, it’s most effective on “flat surfaces people directly see.”
For finer control, here are the detailed settings. “Ironing Flow” controls extrusion amount. The default is 15%. However, for PLA, lowering it to 10% prevents uneven surfaces. “Ironing Speed” at the default 15mm/s works fine. However, for PETG, dropping to 10mm/s reduces stringing.
Note that ironing increases print time by 10–20%. Also, it has no effect on side surfaces. In other words, use this feature when you want “only the top smooth.” Furthermore, complex top shapes can increase time by up to 30%. Therefore, check estimated time in the slice preview before printing.
Adaptive layer height automatically varies layer thickness based on model geometry. Near-vertical walls use thick layers (0.2–0.28mm) for speed. Curves and slopes use thin layers (0.08–0.12mm) to minimize visible stepping.
The latest version has further improved the adaptive layer algorithm. Just turn ON “Quality” → “Adaptive Layer Height.” Curved surface appearance improves significantly without major time increase.
This feature is particularly effective on curved models like spheres and figurine heads. Print time increase is typically 5–15% depending on model geometry.
Let’s demonstrate with numbers. Printing a 50mm sphere at 0.2mm fixed produces visible steps near the poles. However, with adaptive layers ON, the pole areas automatically drop to 0.08mm. As a result, steps become nearly invisible. Meanwhile, the near-vertical equatorial walls stay at 0.24mm thick layers. Therefore, total print time increases by only about 12%. Compared to printing all layers at 0.08mm fixed (which would take 2.5x longer), the efficiency is clear.
Every layer of a 3D print has a start/end point called a “seam.” This appears as a tiny bump or line on the surface. By default, many slicers scatter seams randomly across the surface, making the entire print look rough.
Change “Seam Position” to “Aligned.” All seams will line up at the same position. They typically gather at the least visible corner. Therefore, the front view looks much cleaner. For cylindrical models like vases and pen holders, placing seams at the back is particularly effective.
There’s also a more advanced technique. Set “Seam Position” to “Nearest.” Additionally, add sharp edges to your 3D model as hints. For example, add a 0.5mm rib to the back of a box-shaped case. The slicer will then select that rib as the seam concentration point. This method controls seam placement precisely without compromising functionality.
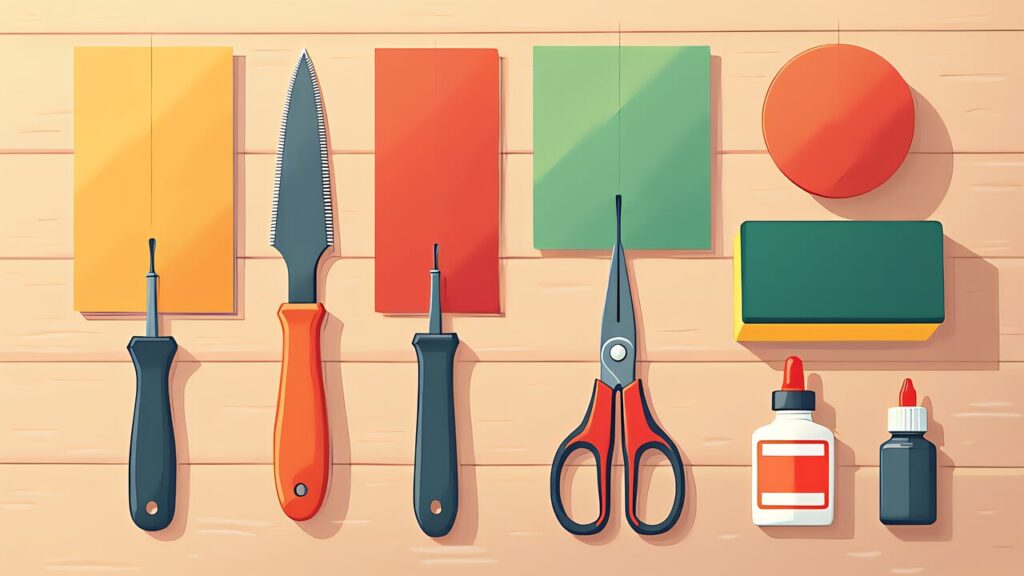
For issues digital post-processing can’t solve—like support removal marks or blobs—physical post-processing is needed. However, expensive tools are unnecessary. A kit from a dollar store and hardware store is all you need.
| Tool | Purpose | Source | Est. Price |
|---|---|---|---|
| Design Knife | Support removal, deburring | Dollar store | $1 |
| Wet Sandpaper (#400, #800, #1200) | Surface sanding | Hardware store | $3/set |
| Flush Cutters | Rough support removal | Dollar store | $1 |
| Sponge Sanding Pad | Curved surface sanding | Dollar store | $1 |
| Super Glue | Part bonding, gap filling | Dollar store | $1 |
The golden rule of sanding is “coarse to fine grit.” Here are the detailed steps for each stage.
Step 1: #400 rough sanding (about 5 min per 5cm square). Start with #400 wet sandpaper to remove large bumps. The goal is to shave off the “peaks” of layer lines. Sand perpendicular to the layer lines. Sanding parallel just slides along the grooves. Move to the next step when you can’t feel steps with your fingertip.
Step 2: #800 medium finishing (about 3 min per 5cm square).
At #800, you’re removing the scratch marks from #400. Rotate your sanding direction 90 degrees here. If you sanded vertically with #400, sand horizontally with #800. Move on when previous scratches disappear and the surface is uniformly matte.
Step 3: #1200 finish sanding (about 3 min per 5cm square).
At #1200, a slight gloss begins to appear. Rotate direction 90 degrees again and sand in circular motions. After this step, surface roughness is essentially gone to the touch.
Always work with water (wet sanding) throughout all steps. This prevents debris from clogging and yields a smoother finish. Specifically, fill a small bowl with water. Dip the sandpaper as you work. Furthermore, sponge sanding pads work well for curved surfaces.
Be careful not to press too hard when sanding PLA. The glass transition temperature is only about 60°C. Therefore, friction heat from fast rubbing can soften the surface. It may turn cloudy white. Sand slowly and evenly. Specifically, use about two-finger-light pressure as a guideline.
For final polish, Tamiya’s “Compound (Fine)” applied with a soft cloth (lens cleaner is ideal) produces glass-like clarity on transparent filament. White and black PLA also gain a glossy sheen.
If you plan to paint, applying Mr. Surfacer (1000 grit) after sanding fills micro-imperfections and creates a smooth paint base. The gray color makes remaining layer lines easy to spot. However, this is optional and only needed if painting.
Lv2 physical post-processing is the “guaranteed results” method. Slicer settings depend on model shape and filament compatibility. However, sanding physically removes bumps. Therefore, it delivers consistent results regardless of material or model shape.
Limited to ABS material, acetone vapor smoothing achieves an “injection-molded” smoothness that human hands cannot replicate. Print a model from the Meshy 6 3D print auto-pipeline in ABS and apply acetone finishing—the result rivals retail products.
Acetone vapor chemically dissolves the ABS surface. The melted surface flows naturally and re-solidifies. As a result, layer lines vanish and a glossy smooth surface forms. However, PLA and PETG don’t dissolve in acetone. Therefore, this method is ABS-exclusive.
Here’s the chemistry explained. Acetone selectively dissolves the styrene component of ABS. Approximately 0.05–0.1mm of the surface temporarily liquefies. Furthermore, surface tension flattens the irregularities. The acetone then evaporates, and the melted layer re-solidifies. This process typically takes 30–60 minutes.
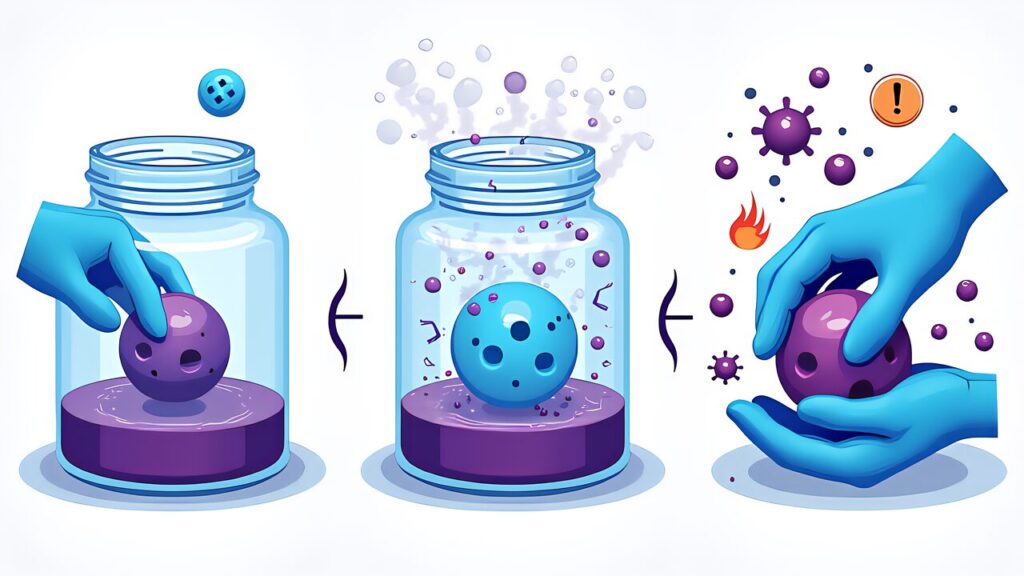
Place paper towels soaked with acetone along the inner walls of a glass or metal container. Set your ABS print on a raised platform inside. Seal the container and let acetone vapor fill the space.
Too much processing time causes over-melting and detail loss. For figurine faces or small text engravings, check surface condition by opening the container every 20 minutes. Also, practice on an expendable test piece first. A 3cm cube works well for finding optimal processing time.
Acetone is highly volatile and flammable. Its flash point is minus 20°C. Therefore, keep away from flames and work in well-ventilated areas. Furthermore, wear nitrile gloves. Avoid directly inhaling the vapor. Specifically, outdoor or balcony work is recommended.
For beginners, Lv3 acetone processing is an “advanced technique.” Lv1 slicer settings and Lv2 sanding when needed are sufficient for everyday quality finishes.
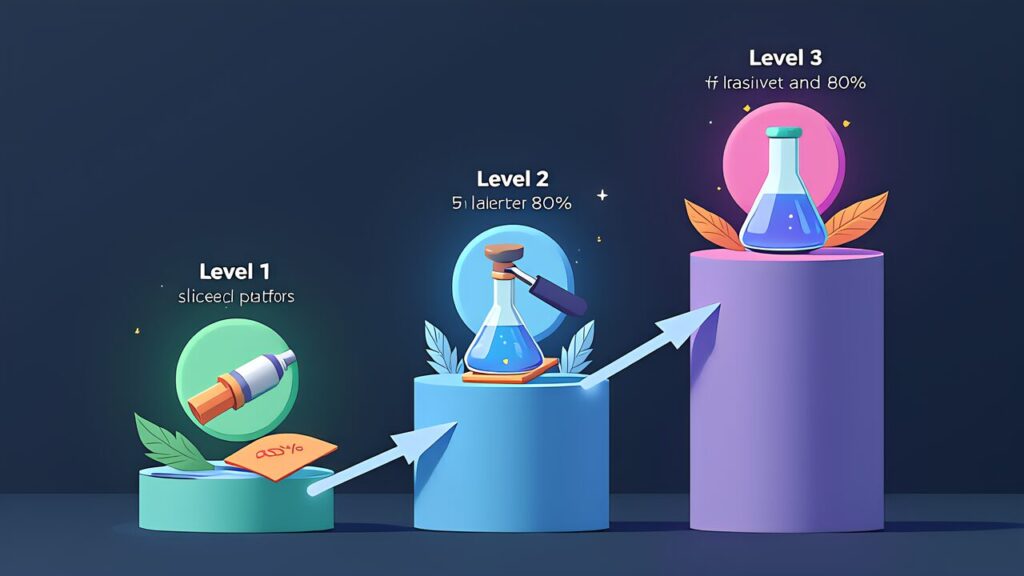
We’ve organized the world of 3D print post-processing into three layers.
| Level | Method | Difficulty | Cost | Improvement |
|---|---|---|---|---|
| Lv1 | Slicer Settings (Ironing/Adaptive Layer/Seam) | Beginner | $0 (settings only) | 70–80% |
| Lv2 | Physical (Sanding/Surfacer) | Intermediate | ~$15 | 90% |
| Lv3 | Chemical (Acetone Vapor/ABS only) | Advanced | ~$4 | 95%+ |
Beginners should start with Lv1. Ironing, adaptive layer height, seam position optimization. Just turning on these three settings transforms your print quality—at zero additional cost and zero extra work.
Combined with the pro surface finishing shortcuts article, you’ll have a complete picture of 3D print post-processing.
Tomorrow’s series finale is “AI 3D Print Workspace Setup.” We’ll explain how to build a “home fab lab” environment for under $100, leveraging everything learned this week.