Complete 3D Printer Maintenance Guide: Daily Cleaning, Troubleshooting & Parts Replacement
swiftwand swiftwand.ai
Over the past week, you have learned how to get started with 3D printing. You selected a printer, understood filaments, completed your first print, mastered troubleshooting, and learned post-processing basics. Now it is time to build a dedicated AI 3D print workspace.
You might think a dedicated workspace sounds excessive. However, there is a huge difference between clearing the kitchen table every mealtime and having a station ready to print anytime. In other words, “environment shapes behavior” is a fundamental principle of psychology.
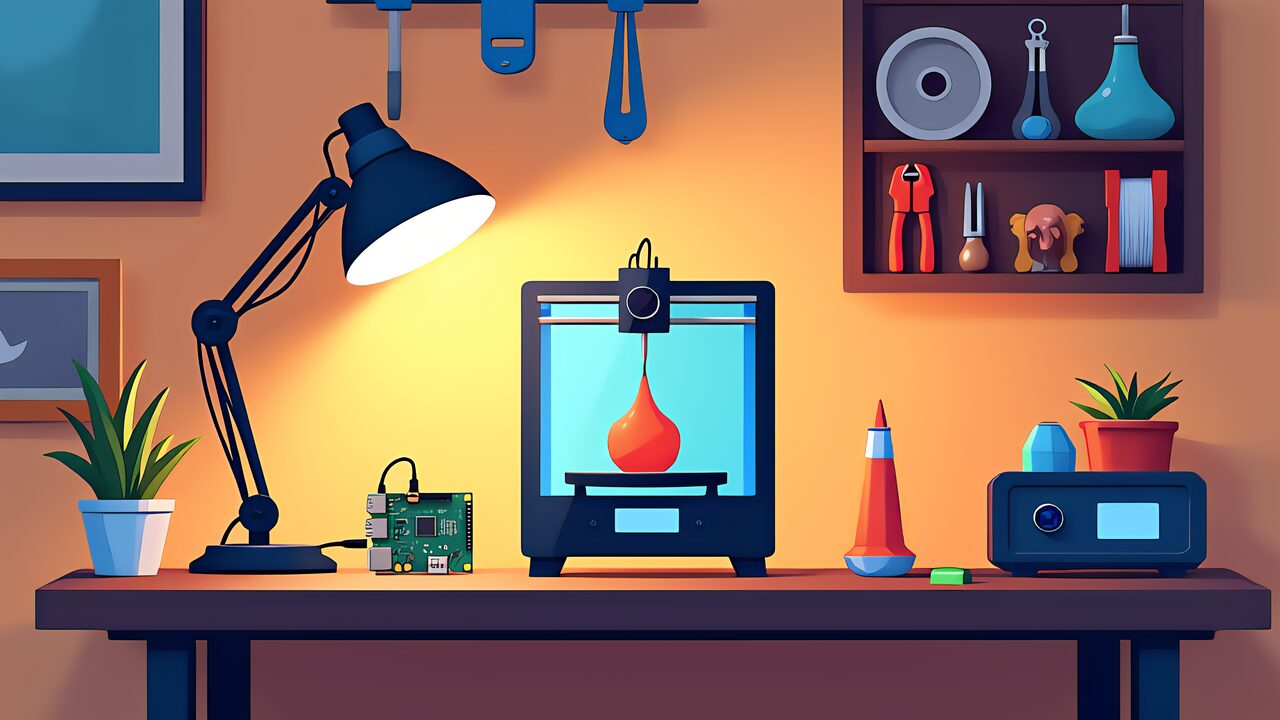
This article builds your AI 3D print workspace in four layers. Specifically, these are the physical layer (vibration dampening, drying, tools), digital layer (Raspberry Pi + AI monitoring), software layer (Orca + Meshy + Blender), and community. The cost breakdown for each layer is explained in detail below.

The most important factor for improving at 3D printing is the number of prints you make. You tweak a setting, print, observe the result, and tweak again. Whether you can run this cycle quickly determines the gap between a beginner and an intermediate user.
However, if you must pull the printer off a shelf and set it up every time, this cycle becomes tedious. In other words, “I want to try one more print but it is dinner time” situations steal your learning opportunities.
The minimum requirement for a dedicated space is a 60 cm x 45 cm desk area and a nearby power outlet. For example, the IKEA LACK side table (55 cm x 55 cm, under $10) is beloved by makers worldwide. In other words, a dedicated space does not require a large investment. What matters is not “size” but “dedication.”
First, choose a spot away from direct sunlight. PLA has a heat deflection temperature of about 55 to 60 degrees Celsius, and direct sunlight can cause softening. Furthermore, avoid locations with direct air conditioning airflow. Sudden cooling causes warping. Additionally, a level, stable surface and nearby power outlet are essential conditions. Once you find a spot meeting these criteria, your AI 3D print workspace has taken its first step.
Many makers with dedicated spaces report that “the quality of thinking changes.” Specifically, parallel thinking naturally emerges as you observe a print while sketching your next design. For example, placing a small whiteboard (about $1) next to the printer is very useful. You can record parameter change history and settings to try next, improving experiment efficiency. In other words, a dedicated space is a place that accelerates the “design, manufacture, verify” iteration cycle.

The physical environment of your AI 3D print workspace can be built with five items. The total budget is approximately $40.
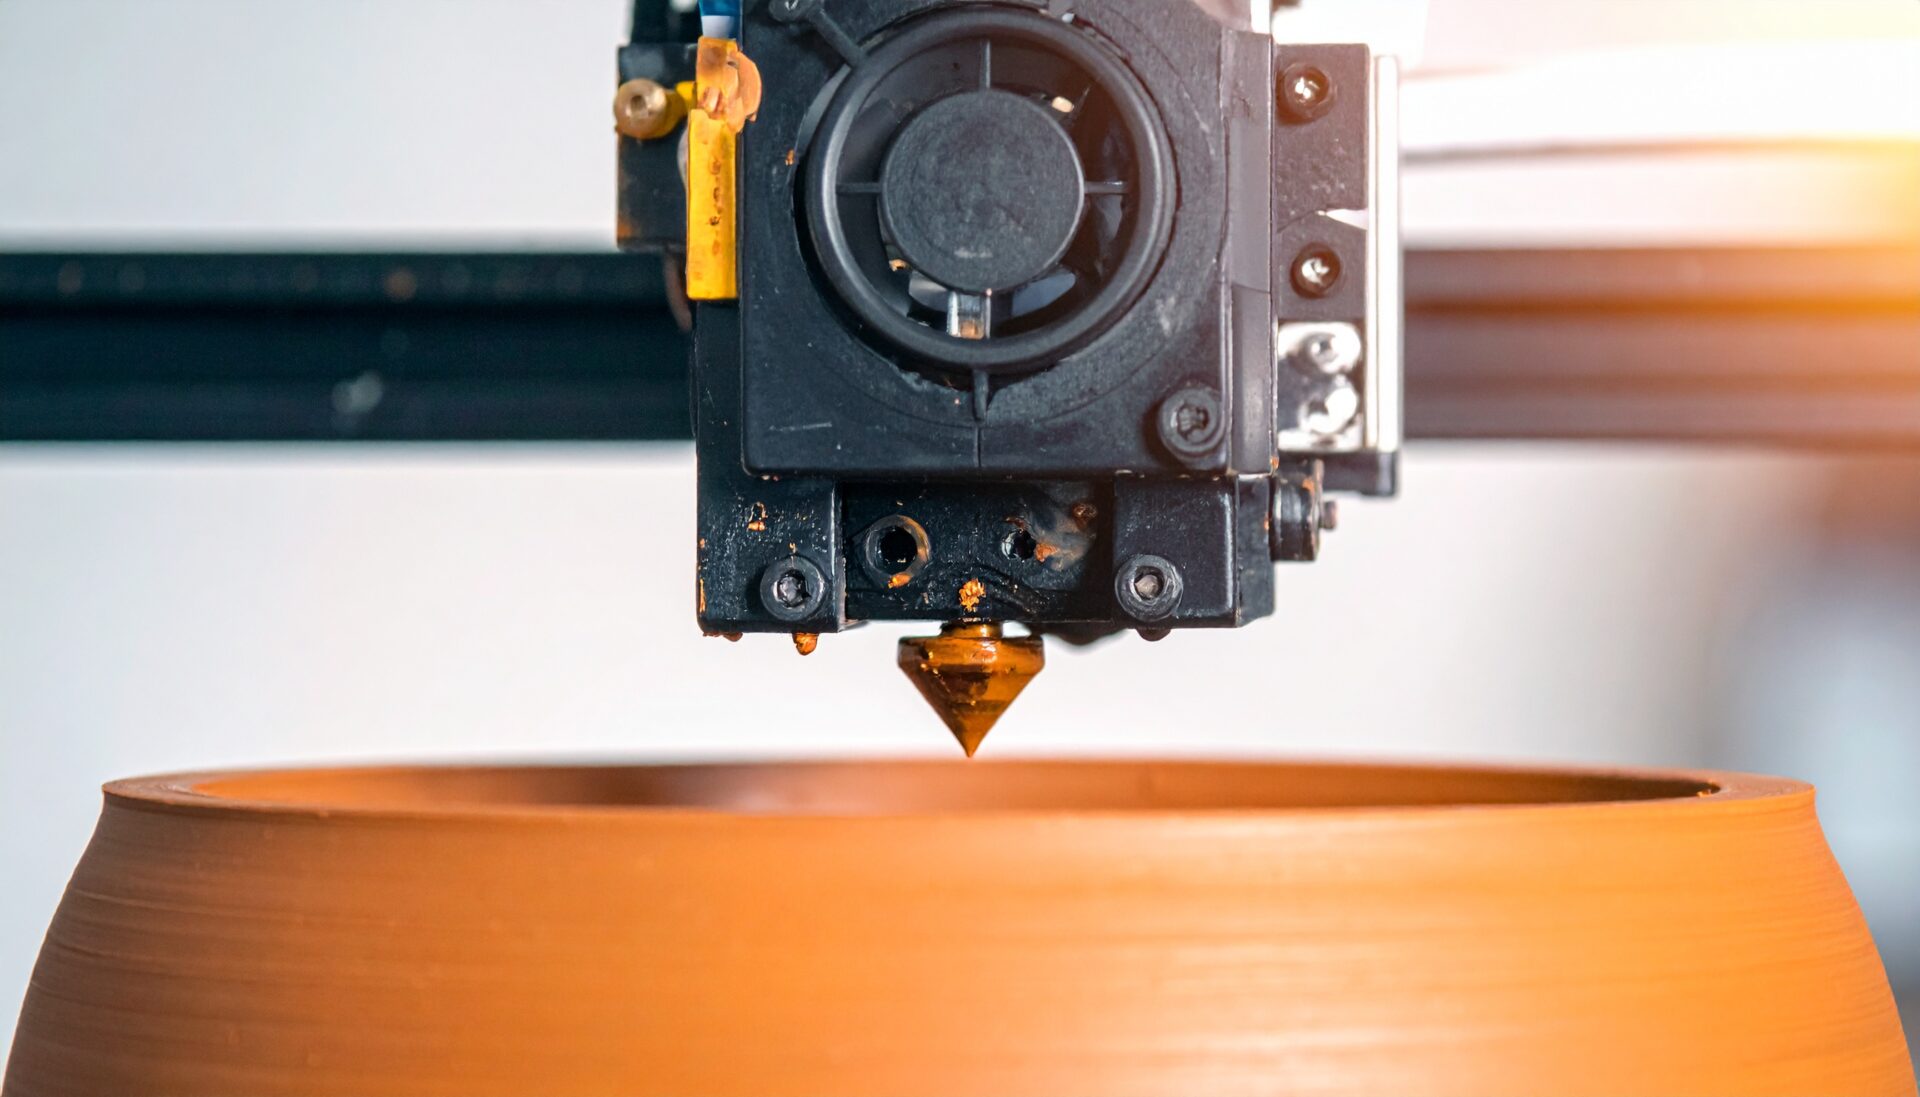
3D printers generate vibration during high-speed printing. This vibration transfers to the table, causing ghosting (surface ripple patterns) and disturbing neighbors.
Anti-vibration rubber pads (washing machine type) placed under the four corners of the printer significantly reduce vibration transfer. For example, the Bambu Lab A1 mini at 500 mm/s can make the entire table resonate. Therefore, installing anti-vibration pads is essential.
For more serious dampening, a concrete block ($2 to $3 each) topped with anti-vibration pads creates an effective two-layer structure. The concrete mass (about 10 kg) absorbs vibration energy. Consequently, many users report a perceived 50% noise reduction. As a result, overnight printing becomes possible, directly boosting productivity.
Moisture absorption in filament is the enemy of print quality. As explained in our filament guide, PETG and TPU begin absorbing moisture within 24 hours of opening. Japanese rainy season humidity (70 to 80%) and similar climates make proper storage crucial.
The easiest method is building a sealed dry box yourself. First, place silica gel desiccant (type B is reusable) inside a large airtight container (5L or larger). Next, drill a hole in the container wall for a PTFE tube. This way, you can feed filament directly from the dry box during printing. Seal around the hole with a glue gun to maintain airtightness. The cost is about $10. Furthermore, adding a small digital hygrometer is convenient. Specifically, aim for humidity below 30% for PLA and below 20% for PETG.
A dedicated filament dryer such as the Sunlu FilaDryer S2 (about $85) can actively “cure” moisture-damaged filament. Consider adding one when your budget allows.
The tools needed for 3D printing are minimal. While premium kits like the iFixit Pro Tech Toolkit (about $85) are ideal, beginners can cover all essentials for about $10.
Proper lighting is essential for quality inspection. In particular, fine defects like layer lines and stringing are invisible under front lighting. On the other hand, side lighting reveals them instantly. This is the same principle as “raking light” used in manufacturing quality inspection.
Attach an LED clip light (about $10) to your desk. Specifically, angle the light at 15 to 30 degrees to the print surface for best results. This reveals surface defects down to 0.1 mm. Also, daylight LEDs (5000K to 6500K color temperature) are optimal. In contrast, warm white bulbs (3000K) make it easy to miss defects on white PLA. Furthermore, proper lighting also improves AI monitoring camera accuracy.
When removing prints from a PEI build plate, forcing them off by hand risks damaging the plate or the print. Therefore, use a thin metal scraper. It slides smoothly under the print edge. Specifically, a paint scraper (about $5) works perfectly. Also, if your printer has a flexible build plate, simply bending the plate releases the print.
| Item | Price |
|---|---|
| Anti-vibration pads | ~$5 |
| Filament storage set (airtight container + desiccant) | ~$10 |
| Tool set (calipers + flush cutters + knife + tweezers) | ~$10 |
| LED work light | ~$10 |
| Scraper | ~$5 |
| Total | ~$40 |
The remaining $55 will be invested in the digital layer.

The true value of your AI 3D print workspace emerges when you build an AI monitoring station. The autonomous print farm concept introduced in our dark factory article becomes accessible at a personal scale.
Build your AI monitoring environment around a Raspberry Pi 5 (8GB) with the following components.
| Component | Estimated Price |
|---|---|
| Raspberry Pi 5 8GB | ~$165 |
| microSD card (64GB or larger) | ~$10 |
| USB power supply (27W PD) | ~$13 |
| USB webcam (Logitech C270 or similar) | ~$20 |
| Total | ~$205 |
This exceeds the initial $100 budget. However, the Raspberry Pi 5 serves multiple purposes beyond AI monitoring. It runs OctoPrint (remote printer control), Obico (AI spaghetti detection), and time-lapse recording. Therefore, it is a worthwhile long-term investment.
OctoPrint is an open-source software for remotely controlling 3D printers via Raspberry Pi. Specifically, you can upload G-code, start and stop prints, and monitor temperatures from a browser. Furthermore, real-time camera monitoring is also available.
Additionally, Obico (formerly The Spaghetti Detective) can be installed as an OctoPrint plugin. This enables AI image recognition-based spaghetti detection. The free plan supports AI monitoring for one printer. Also, anomaly detection triggers email notification and automatic pause.
Bambu Lab A1 mini users can also use the official Bambu app for remote monitoring. However, the OctoPrint plus Obico combination offers more advanced features. In particular, AI-powered automatic pause is a vendor-independent universal solution.
Obico’s free plan provides 10 hours of failure-detection-enabled printing per month. Specifically, the AI analyzes camera footage every second. When it detects a “bird’s nest” of extruded filament from the nozzle, it automatically pauses the print. Furthermore, a notification is sent to your smartphone. Consequently, you can decide to “resume” or “stop” remotely even while away from home. In other words, industrial-grade AI inspection technology is now available on your personal desktop.
First, use Raspberry Pi Imager to write the official OS (64-bit) to a microSD card. Next, enable Wi-Fi settings and SSH, then boot the device. After that, run the official OctoPrint installation script. Access it from a web browser, and once the USB camera feed appears, the basic setup is complete. Furthermore, the Obico plugin can be installed directly from the Plugin Manager. Simply link it with a free Obico account to finish configuration. The total setup time is approximately 30 to 45 minutes.

The software environment of your AI 3D print workspace consists of three free tools.
Orca Slicer, which has appeared throughout this series, is the core tool that converts STL files to print data. Specifically, it offers AI calibration, adaptive layer height, and tree supports for free. Furthermore, the profile management feature lets you save settings for different filaments like PLA and PETG. Consequently, once you find optimal parameters for each filament, you can switch between them instantly.
Meshy is an AI service that automatically generates 3D models from text prompts or images. For example, natural language instructions like “dragon figurine” produce printable STL files. In other words, you can create original works without learning CAD. Furthermore, the free plan allows several model generations per month.
Blender is a free 3D modeling software. In particular, it is useful for repairing 3D print models. For example, if a downloaded STL has errors, the “Make Manifold” feature can automatically fix them.
Blender is the industry-standard modeling tool. However, beginners do not need to master it immediately. First, enjoy generating models with Meshy. Then, learn Blender operations gradually as you need to modify specific parts. This approach is the most efficient.
Here is the workflow connecting these three tools. First, enter a text prompt in Meshy to generate a 3D model. Next, open the generated STL in Blender to check for issues. Specifically, the 3D Print Toolbox add-on can detect non-manifold meshes. If fixes are needed, use the Make Manifold feature for automatic repair. Finally, load the STL file into Orca Slicer for slicing. In other words, the entire pipeline runs on free software alone.

3D printing is not a solitary hobby. Makers worldwide share knowledge, showcase their creations, and help each other troubleshoot online. Joining a community exponentially accelerates your learning and provides motivation to keep creating.
The most valuable activity in these communities is sharing your failures. Post a photo of a failed print to r/FixMyPrint, and veteran users will diagnose the cause within hours. Furthermore, that experience becomes searchable knowledge that helps future beginners.
There are also thriving local communities in many regions. For example, the Bambu Lab official Discord servers host active troubleshooting discussions. Also, Printables regularly holds design contests with prizes. In other words, you can level up from “user” to “creator” to “contributor.”

Building your AI 3D print workspace marks the completion of this series. Let us review the skills you have acquired over seven days.
| Day | Theme | Skills Acquired |
|---|---|---|
| 1 | Getting Started | Understanding FDM/SLA/DLP principles and AI automation |
| 2 | Choosing a Printer | Machine selection using AI beginner suitability scores |
| 3 | Filament | PLA to PETG to TPU progression route |
| 4 | First Print | Complete unboxing to slicing to printing workflow |
| 5 | Troubleshooting | Diagnosing and fixing the 7 most common errors |
| 6 | Post-Processing | Slicer settings and physical finishing techniques |
| 7 | Workspace Setup | Physical/digital/software/community four-layer environment |
You are no longer a “3D printing beginner.” Specifically, you understand AI auto-leveling mechanisms. Furthermore, you can read filament property values and diagnose print failures yourself. Also, you can slice with Orca Slicer and generate models with Meshy. Additionally, Obico AI monitoring makes overnight printing worry-free.
From here, your journey as an “intermediate user” begins. For example, you can explore multi-color printing and engineering filaments. Furthermore, there is the path of designing original models with Fusion 360. However, the most important thing is to “keep creating.” In other words, your AI 3D print workspace is the ultimate foundation for that journey.
Here are three habits to get the most out of your completed AI 3D print workspace. First, “try one new setting each week.” For example, changing retraction distance by just 0.2 mm can change the finish. Second, develop the habit of “recording a print log.” Record the date, filament, key settings, and results in a spreadsheet. Ultimately, after three months you will have built your own personal “print knowledge base.”