Bambu Lab 3D Printer Complete Guide: High-Speed Multi-Color Printing for Beginners (2026)
swiftwand swiftwand.ai

In the first three articles of this series. We explored the AI coding tools themselves. Furthermore, in this fourth installment. We shift focus to what happens after the AI generates a 3D model.
Specifically. The journey from “AI-generated model” to “successful physical print” involves critical steps that determine whether you get a beautiful finished product or a failed spaghetti mess.
Many beginners assume that once AI creates a 3D model. The hard part is over. However. The reality is that AI-generated models often require post-processing before they’re ready for printing. Moreover. Understanding this complete workflow is what separates frustrated beginners from confident makers.
The first step after AI model generation is exporting to STL format. Additionally. Whether you used Blender MCP or OpenSCAD. The export process requires attention to specific settings. Particularly. Ensure you export as binary STL (not ASCII) for file size efficiency. Universal slicer compatibility.
During export. Verify the model dimensions. For example. Blender defaults to meters. Most slicers expect millimeters. Furthermore.
A model that appears as 70mm in Blender might import as 70,000mm in your slicer if scale conversion is not handled correctly. Consequently. Always confirm the bounding box dimensions after importing into your slicer.
AI-generated models sometimes contain mesh errors that prevent successful printing. Specifically. The most common issues are non-manifold edges. Zero-area faces, and inverted normals. Furthermore. These errors may not be visible in the 3D viewport. Will cause slicing failures or print defects.
Use Blender’s 3D Print Toolbox for initial diagnosis. Additionally. You can ask the AI directly: “Check this model for non-manifold edges. Repair them.” Moreover. For persistent mesh issues.
Meshmixer (free) or the online tool Meshlab provide advanced repair capabilities. Consequently. Spending 5 minutes on mesh validation can save hours of failed print time.
Wall thickness is another critical check. Specifically. For FDM printing with a standard 0.4mm nozzle. Minimum wall thickness should be 1.2mm (three perimeters). Furthermore.
Thin walls below 0.8mm will either not print at all or produce extremely fragile structures. Additionally. Ask the AI to “highlight any walls thinner than 1.2mm” during the validation phase.
Once the mesh is clean. Import the STL into Orca Slicer for print preparation. Furthermore. Orca Slicer is recommended for its excellent defaults. Active development. And broad printer profile support. Specifically, it supports Bambu Lab. Creality, Prusa. And virtually all other FDM printers.
Key slicer settings for AI-generated models include layer height (0.2mm for standard quality. 0.12mm for detailed parts). Infill density (15-20% for decorative items. 40-60% for functional parts). And support structures. Moreover.
Pay special attention to overhangs exceeding 45 degrees from vertical—these require support material. Consequently. Designing with the 45-degree rule in mind during the AI generation phase reduces the need for supports.
For AI-generated models. Support requirements often differ from manually designed ones. Specifically. AI may create organic shapes with complex overhangs that require careful support placement. Furthermore.
Use tree supports in Orca Slicer for organic geometries—they use less material. Are easier to remove. Additionally. For functional parts with tight tolerances. Consider designing self-supporting geometries by instructing the AI to “avoid overhangs greater than 45 degrees.”
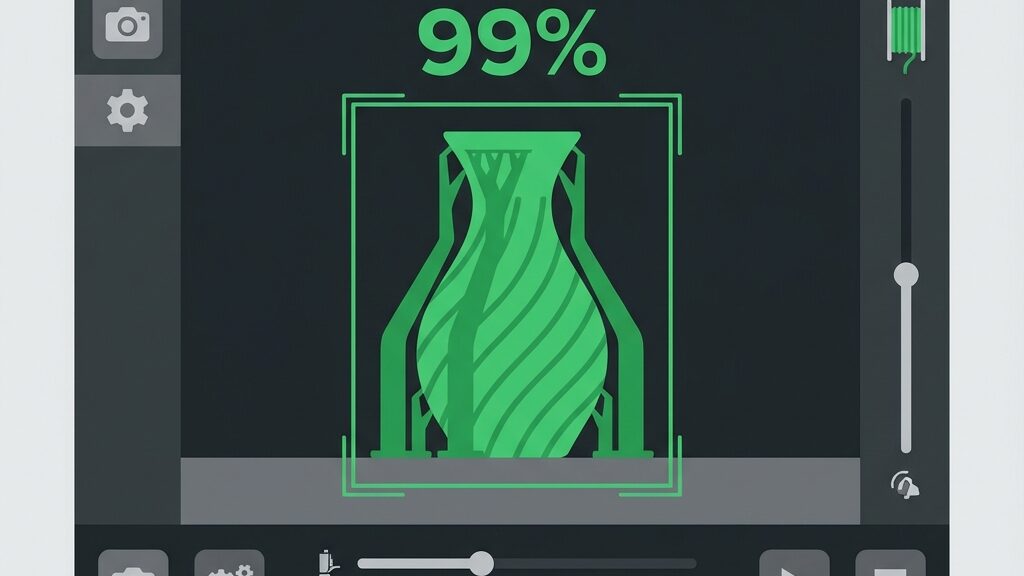
With slicing complete. It’s time to print. For example. If you’re using a Bambu Lab A1 mini (¥29,800). The built-in AI sensor system monitors the first layer.
Detects common failures automatically. Furthermore, for other printers. Monitor at least the first 3-5 layers manually to catch adhesion issues early.
Print settings that matter most for AI-generated models: First layer speed should be reduced to 30-40mm/s for reliable adhesion. Additionally.
Enable “detect thin walls” in the slicer to handle the sometimes-unusual wall thicknesses AI produces. Moreover. For models with many small features. Reduce acceleration settings to prevent ringing artifacts.
After the print completes. Post-processing transforms a “3D printed object” into a “finished product.” Furthermore. Basic post-processing includes support removal. Stringing cleanup. And dimensional verification. Additionally, for functional parts. Test-fit with mating components. Verify tolerances.
The feedback loop is crucial. Specifically. If the print doesn’t meet your requirements. Go back to the AI. Request modifications. For example. “the wall thickness needs to increase by 0.
5mm” or “add 0.3mm clearance to all fitting surfaces.” Consequently. Each print-test-modify cycle improves both the model. Your ability to communicate requirements to the AI.
The complete workflow from AI generation to finished print involves five distinct phases: export. Mesh repair, slicing, printing. And post-processing. Furthermore. Understanding each phase prevents the common frustration of “the AI made a great model. The print failed.
” Additionally. As you gain experience. You’ll naturally incorporate printability constraints into your AI instructions from the start. In the next article. We conduct a comprehensive 6-axis comparison of all three AI tools specifically for 3D printing workflows.