AI Coding Tools for 3D Printing: A Complete Guide to Creating Objects with Words
swiftwand swiftwand.ai
In the previous article, we surveyed three major AI coding tools for 3D printing. Furthermore, in this second installment of the series, we dive deep into Blender MCP—the bridge that connects AI to the world’s most powerful open-source 3D modeling software.
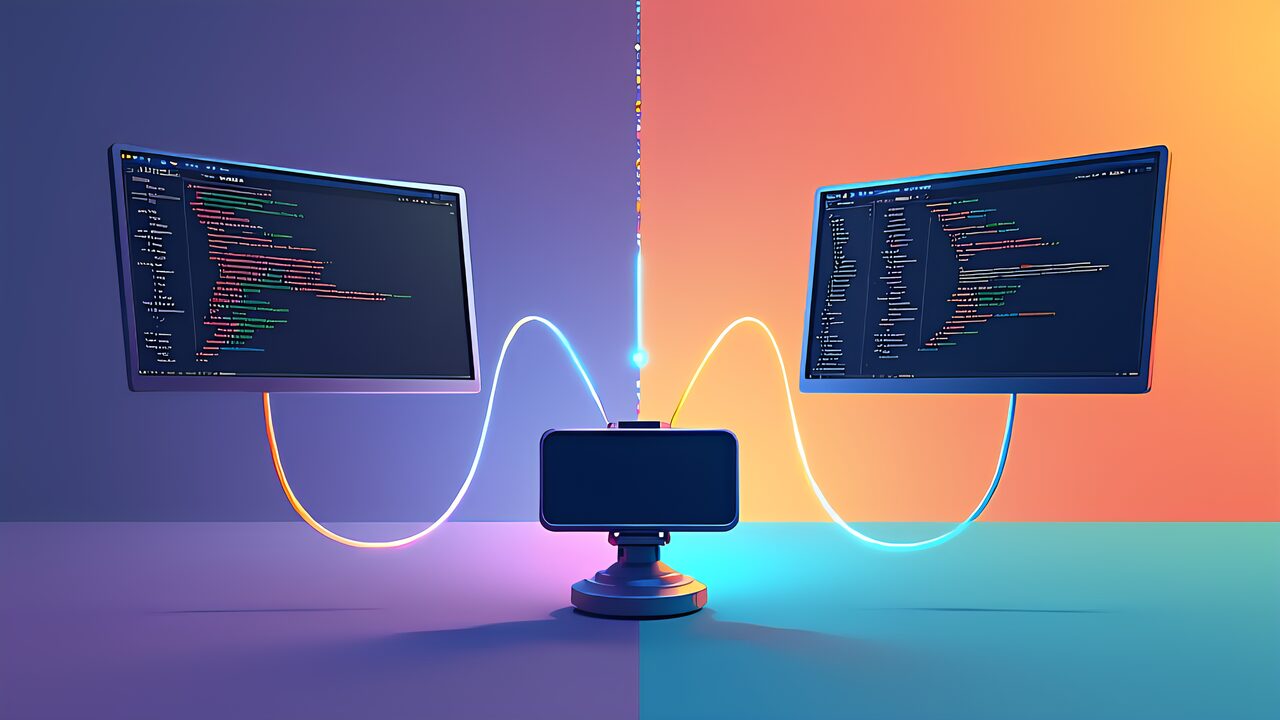
Specifically, we compare two fundamentally different approaches: MCP real-time control. Bpy script generation.
Blender is the industry standard for open-source 3D modeling, used by professionals. Hobbyists alike. However, its learning curve is steep—mastering the interface alone takes weeks.
Moreover, this is precisely. AI integration through MCP changes everything. In other words, instead of learning Blender’s complex UI, you describe what you want in natural language.
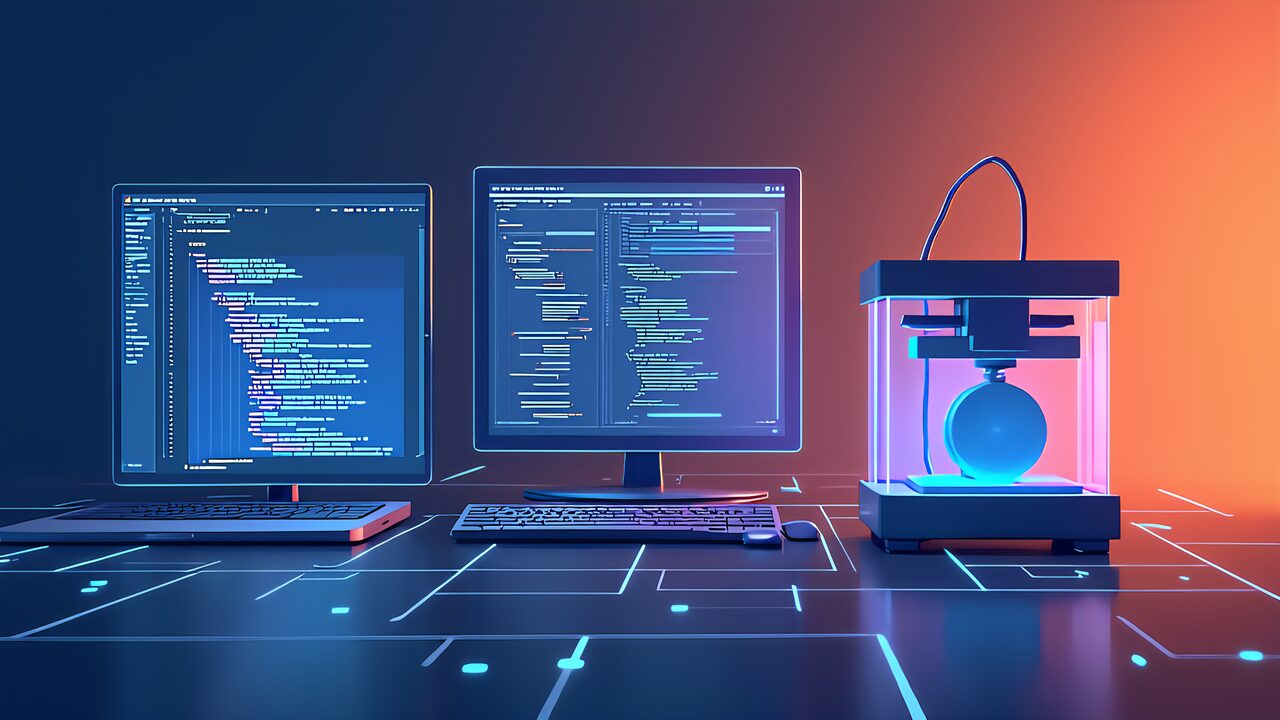
BlenderMCP (ahujasid/blender-mcp) is an MCP server that enables AI agents to control Blender in real time. Additionally, it operates as a bridge between AI coding tools (Claude Code, Antigravity, Cursor).
Blender’s Python API (bpy). Particularly, the communication happens over a local TCP connection on port 9876.
The setup process involves three steps. First. Install the BlenderMCP addon in Blender’s preferences. Furthermore. Configure your AI coding tool’s MCP settings to connect to localhost:9876. Finally.
Verify the connection by asking the AI to perform a simple operation like “create a cube in Blender.” Consequently. Once connected. You can control Blender entirely through natural language.
MCP real-time control means the AI sends commands to Blender. Receives feedback instantly. For example, when you say “create a cylinder with radius 15mm.
Height 40mm,” the AI sends this command through MCP, Blender executes it, and the result appears in the viewport immediately. Additionally, this creates a truly interactive modeling experience.
The real-time workflow is conversational. Specifically, you describe the desired shape, the AI creates it, you evaluate the result visually,. Then request modifications.
Moreover, each modification is applied incrementally—the AI doesn’t rebuild the entire model. Modifies the existing geometry. Consequently, a complex model can be built through a series of simple instructions over 5-10 minutes.
For instance, creating a smartphone stand involves these steps: “Create a rectangular base 70×80mm.” Then, “Add a 15-degree tilted back panel.
” Furthermore, “Cut a 3mm deep groove for the phone.” Additionally, “Add 2mm fillets to all edges.” Each instruction builds on the previous result,. You can see the changes in real time.
The second approach uses AI to generate complete Blender Python (bpy) scripts. In other words, instead of controlling Blender command by command, the AI writes an entire script that creates the model.
Executed. Furthermore, this approach has distinct advantages for reproducibility. Parametric design.
Script generation excels. You need parametric models. For example, the AI can generate a script with variables for width, height,. Angle, allowing you to create variants by simply changing parameter values.
Additionally, scripts can be version-controlled with Git, shared with others,. Modified manually. Consequently, this approach is ideal for creating libraries of reusable 3D components.
However, the script approach has limitations. Specifically, you cannot see intermediate results—you must run the entire script to see the output.
Moreover, debugging complex scripts requires understanding both Python. Blender’s API. In other words,. The entry barrier is lower than manual Blender operation, it’s higher than pure MCP real-time control.
Let’s compare both approaches across key dimensions. For speed of initial creation, MCP real-time control wins—you see results instantly. However, for repeatability. Modification, script generation is superior.
Furthermore, for beginners, MCP real-time control is more intuitive since it works like a conversation. On the other hand, for advanced users building component libraries, script generation offers more flexibility.
The recommendation is to use both approaches strategically. Specifically, start with MCP real-time control to prototype. Explore designs interactively.
Additionally, once you have a design you like, ask the AI to “convert this model into a parametric bpy script.” Consequently, you get the best of both worlds: interactive exploration plus reproducible, modifiable scripts.
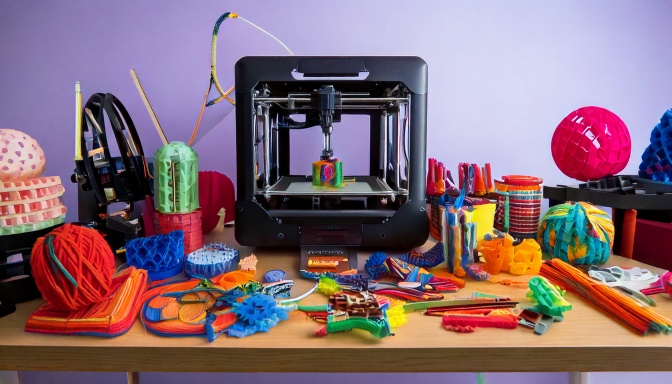
When using Blender MCP for 3D printing, several factors require attention. First, ensure all models are manifold (watertight).
Furthermore, use Blender’s 3D Print Toolbox addon to check for non-manifold edges, zero-area faces,. Wall thickness issues. Additionally, maintain a minimum wall thickness of 1.2mm (three perimeters with a 0.4mm nozzle).
For overhangs, the general rule is that angles greater than 45 degrees from vertical require support structures. Moreover, when designing with AI, explicitly mention “design for FDM printing with minimal supports” in your instructions.
Consequently, the AI will consider printability constraints. Avoid creating geometries that are difficult to print. Finally, always export as binary STL for compatibility with all slicers.
Blender MCP provides two powerful approaches to AI-assisted 3D modeling. Furthermore, MCP real-time control offers an intuitive, conversational workflow perfect for exploration. Rapid prototyping. Additionally, bpy script generation provides reproducibility.
Parametric flexibility for building reusable component libraries. In the next article, we’ll explore Google Antigravity’s IDE integration. Its prebuilt MCP support for an even smoother 3D modeling experience.