Bambu Lab X1E for Manufacturing: Why Factories Are Choosing This 3D Printer for Production
swiftwand swiftwand.ai
Your Ender-3 has been faithfully printing PLA prototypes for years. But what if you could transform it into a home ceramics workshop? With the Eazao ceramic extruder kit, you can turn any standard FDM printer into a clay 3D printer for around $300. This guide covers everything from setup to kiln firing to food-safe glazing—a complete roadmap from “plastic graduation” to ceramic creator.
Three major shifts have made home ceramic 3D printing viable in 2026. First, affordable extruder kits like Eazao have matured beyond early-adopter prototypes. Second, the maker ceramics community has grown exponentially, with shared kiln access and firing services becoming commonplace. Third, consumer demand for handmade and artisanal goods continues to surge on platforms like Etsy, creating real monetization paths for home producers.
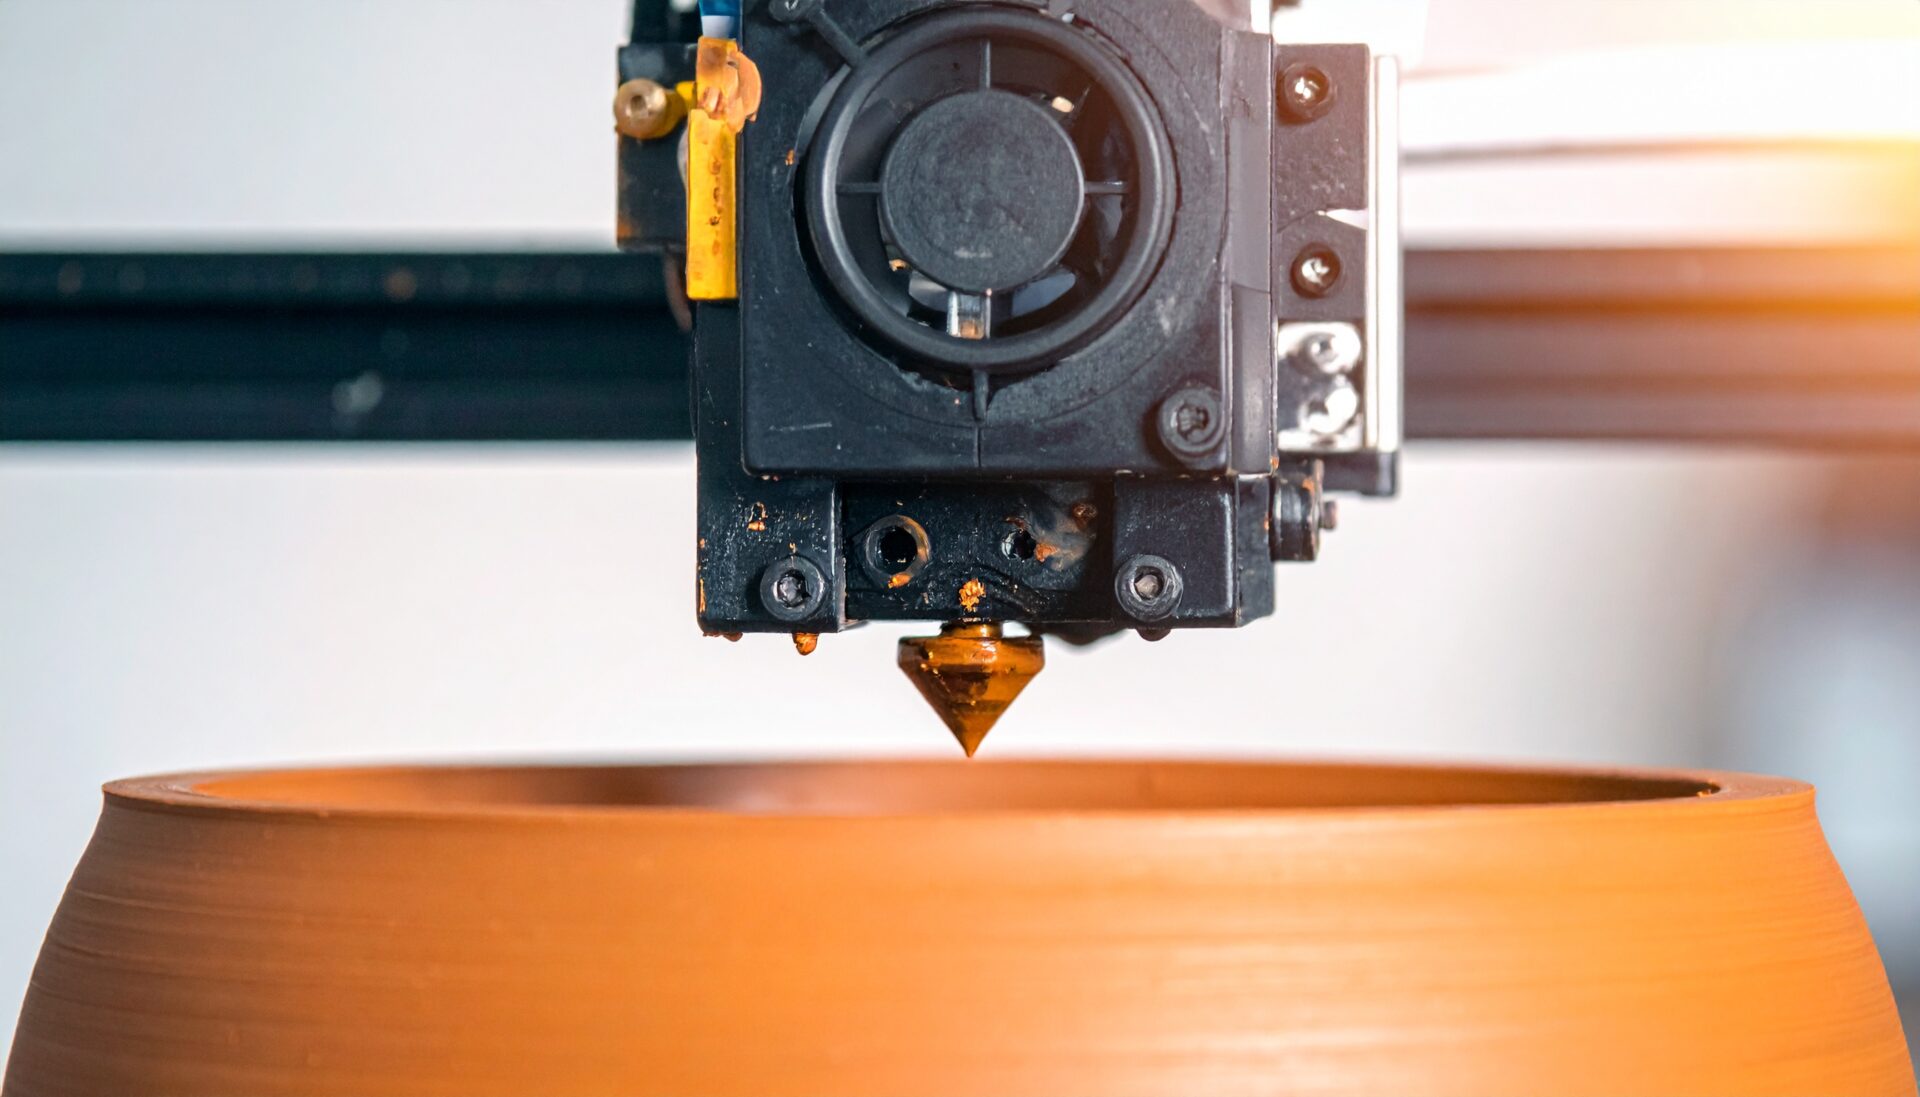
Unlike filament-based FDM that melts plastic, ceramic 3D printing uses a paste extruder to push clay through a nozzle. Think of it like a high-precision frosting gun. The clay is loaded into a syringe-style cartridge, and a stepper motor pushes it out layer by layer following standard G-code paths.
Any Ender-3 variant works—Ender-3 V2, V3, or Pro. The key requirement is a standard mounting system for the extruder swap. Your existing frame, stepper motors, and control board all stay the same.
The Eazao kit replaces your hotend assembly with a syringe-based clay extruder. It includes the extruder body, mounting hardware, syringe cartridges, nozzles (1.5mm and 2.0mm), and a dedicated stepper motor. Installation takes about 30 minutes with basic tools.
You can buy premixed ceramic paste designed for 3D printing, or make your own from powdered clay and water. The ideal consistency is like thick toothpaste—it should hold its shape when extruded but not crack as it dries. Popular choices include porcelain, stoneware, and earthenware clays.
This is the biggest hurdle for most makers. Options include: purchasing a small kiln ($500–$2000), using a local pottery studio or makerspace, or shipping to a kiln-firing service. Many communities have shared kiln access programs that charge per firing.
Remove your existing hotend and mounting plate. Attach the Eazao bracket to the X-carriage using the provided screws. Connect the extruder stepper motor cable to the E0 port on your mainboard (same port your filament extruder used).
Key firmware changes: set nozzle temperature to 0 (no heating needed), adjust E-steps for the paste extruder (Eazao provides recommended values), and increase retraction distance to 3–5mm to prevent oozing. If using Klipper, update your printer.cfg accordingly.
Load premixed clay paste into the syringe cartridge. Remove air bubbles by tapping the syringe or using a vacuum chamber. Air bubbles are the #1 cause of failed prints—they create inconsistent extrusion and weak spots.
Use Cura or PrusaSlicer with these key settings: layer height 1.0–2.0mm (much thicker than PLA), print speed 10–20mm/s (slow is critical), no infill for most designs (solid walls work best for ceramics), and 2–3 wall lines. Start with a simple cylinder or cup shape to calibrate.
After printing, let pieces dry slowly at room temperature. Cover loosely with plastic for the first day to prevent cracking from uneven drying. The piece transitions from “wet” to “leather hard” to “bone dry.” Never rush drying with heat—thermal shock cracks are irreversible.
The first firing hardens the clay into a porous ceramic. Key points: ramp temperature slowly (100°C/hour up to 600°C to burn off moisture), hold at peak temperature for 1–2 hours, then cool naturally. The result is a hard but porous piece ready for glazing.
Apply glaze by dipping, brushing, or spraying. For food-safe results, use tested commercial glazes labeled food-safe and fire to the correct cone temperature. Glaze firing vitrifies the surface, making it waterproof and (with proper glazes) safe for food contact.
Ceramic 3D printing opens several revenue streams for makers:
Cause: Clay too wet or printing too fast. Fix: Thicken the clay paste, reduce print speed to 10mm/s, and consider adding pauses between layers for tall pieces to let lower layers firm up.
Cause: Uneven or too-rapid drying. Fix: Dry in a enclosed space with controlled humidity. Cover pieces loosely with plastic wrap. Ensure uniform wall thickness in your designs—thin and thick sections dry at different rates and crack at the junction.
Cause: Air bubbles in clay, clogged nozzle, or incorrect E-steps. Fix: De-air clay thoroughly before loading, clean nozzle between prints, and recalibrate extrusion multiplier. The syringe should move smoothly with consistent pressure.
Cause: Residual moisture or trapped air. Fix: Ensure pieces are completely bone-dry before firing. Slow ramp rate below 600°C is critical. Thick-walled pieces (>10mm) need extra-slow ramping. A moisture meter can help verify dryness.
Yes. The Eazao kit is designed for easy swap. You can switch between the clay extruder and your original hotend in about 15 minutes. Many makers keep both setups ready and swap as needed.
For functional ceramics, yes. Air-dried clay is fragile and not waterproof. However, you can start by printing and air-drying decorative pieces while you arrange kiln access. Many pottery studios offer pay-per-firing services starting around $10–$30 per piece.
Premixed ceramic paste for 3D printing costs roughly $15–$30 per kg. A typical mug uses about 200–300g of clay, so material costs are very low—under $10 per piece before firing and glazing costs.
It can be, with proper glazing and firing. Use commercial food-safe glazes, fire to the correct temperature, and ensure complete glaze coverage on food-contact surfaces. When uncertain, have your pieces tested or use them for decorative purposes only.
Cracking is the most common issue for beginners. The usual fixes are: slow down drying (cover loosely for the first 1–2 days), ensure uniform wall thickness in your designs, use paper clay for better wet strength, and avoid drafty drying locations.
Ceramic 3D printing with an Ender-3 and Eazao kit is one of the most rewarding upgrades a maker can pursue. For about $300 in equipment, you unlock an entirely new material and creative domain. The learning curve is real—especially around drying and firing—but the results are functional, beautiful, and sellable products that no PLA print can match. Start with test cylinders this weekend, line up kiln access, and ship your first ceramic piece within 30 days.
さらに詳しい情報はAll3DPでご覧いただけます。