Metal Filament 3D Printing Complete Guide: How to Make Real Metal Parts at Home with Sintering in 2026
swiftwand swiftwand.ai
undefined
First, insert the filament spool holder into the slot on the back of the printer. No screws or clips needed — just push it in along the guide. A click sound confirms it’s locked in place.
Next, place the filament spool on the holder. Pay attention to the rotation direction. Specifically, the filament should unwind from the right side when viewed from above. If mounted backwards, the filament will snag on the holder. Moreover, this can cause mid-print filament feed failures.
Cut the filament tip diagonally with nippers. Then insert it into the extruder inlet. On the A1 mini, the screen displays a “Load Filament” prompt. Therefore, simply push the filament in following the on-screen instructions. When melted filament emerges from the nozzle tip, loading is complete.
Next, connect the power adapter to the printer. Plug it into an outlet and flip the power switch. The touchscreen will boot up immediately. Furthermore, the initial setup wizard launches automatically.
The initial setup only requires three things.
Additionally, a firmware update almost always occurs on first boot. Do not turn off the power during the update. After completion, the printer will automatically restart.
Checking the PEI build plate is also important. Specifically, confirm it’s properly seated on the magnetic base. The plate should have its textured surface facing up. In particular, avoid touching the surface with bare hands. Finger oils reduce filament adhesion. What if you accidentally touch it? Simply wipe it with isopropyl alcohol. Water alone won’t fully remove the oils, leading to adhesion problems.
You’ve reached the 15-minute mark. No tools were needed at all.
Bed leveling is the most important preparation in 3D printing. In other words, it’s the process of precisely calibrating the print bed’s horizontal alignment. What happens if the bed is tilted? The nozzle-to-bed distance becomes uneven. Consequently, poor first-layer adhesion is the number one cause of print failures.
The A1 mini makes this simple. Navigate to “Calibration” in the menu. Then just tap “Auto Leveling.” The sensor scans the entire bed surface. Furthermore, it measures each point by touching 36 positions on the bed. The results are stored in firmware. Therefore, the Z-axis is automatically fine-tuned during printing.
The process takes about 3–5 minutes. Meanwhile, traditional manual leveling took over 30 minutes. In other words, one button press replaces the entire process with dozens of times better accuracy.
Similarly, the SPARKX i7 also supports auto leveling. It uses a strain sensor approach. While not as precise as the A1 mini, it provides more than enough accuracy for your first 3D print.
Your printer is ready. Next, decide what to print. 3D printing requires a digital model file. Specifically, you’ll use a format called “STL files.”
Beginners don’t need to learn 3D modeling. Designers worldwide share free STL files that anyone can use.
| Site | Features | Recommended For |
|---|---|---|
| Thingiverse | Largest library, massive community | General-purpose browsing |
| Printables | Curated quality, Prusa community | Verified, high-quality models |
| MakerWorld | Bambu Lab ecosystem, AI-optimized | Bambu Lab printer owners |
| MyMiniFactory | Guaranteed printable models | Figurines and art pieces |
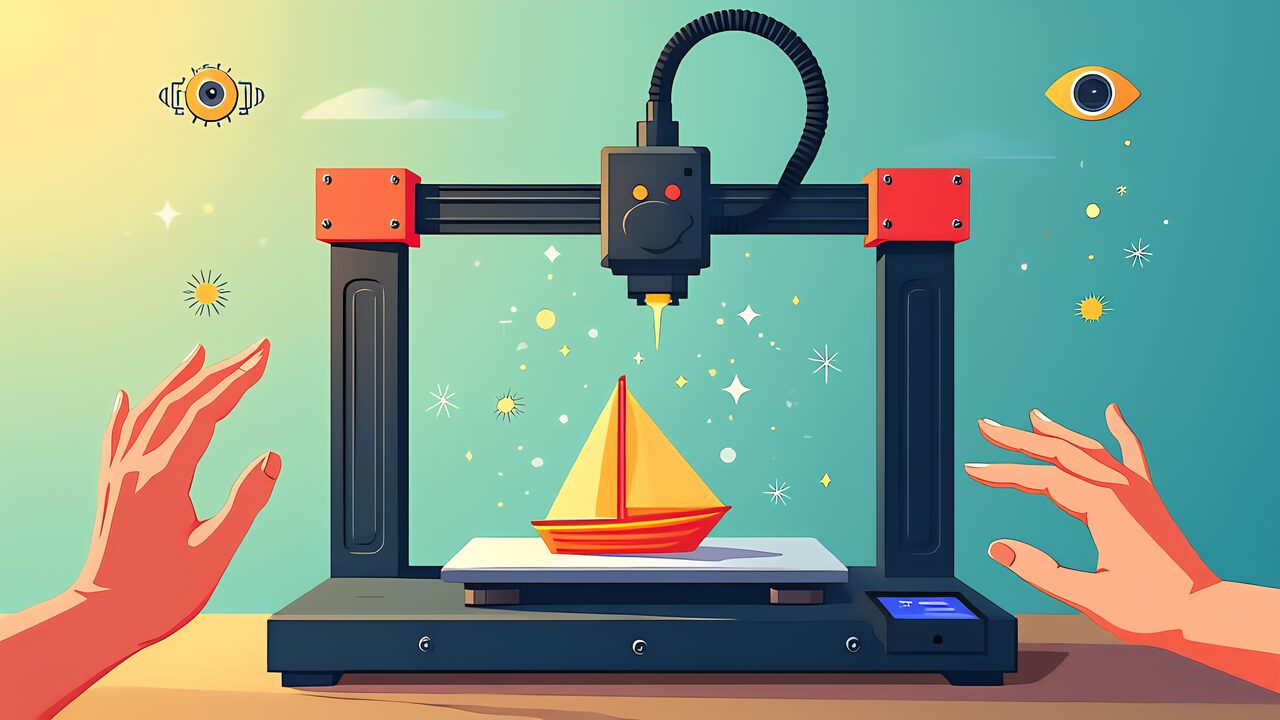
For your first 3D print, we highly recommend “3DBenchy.” It’s a small boat measuring 60mm long by 48mm tall. Print time is approximately 30–50 minutes. In particular, this model is perfect for testing printer performance. For example, it includes overhangs, bridges, and other challenging features. Furthermore, you can evaluate cylindrical shapes and fine details.
A successful 3DBenchy print confirms your printer is working properly. Therefore, examine the surface finish carefully. The fine details reveal your printer’s true capabilities.
If you’d prefer printing something practical instead of a boat, consider these alternatives.
Beginners should keep these points in mind when selecting STL files.
Once you have your STL file, it’s time for the next step. Specifically, you’ll convert it to print data using a “slicer.” A slicer is software that divides a 3D model into thin layers. In other words, it creates motion instructions your printer can understand.
Orca Slicer is a free yet feature-rich slicer. Even beginners can complete their first slice in 10 minutes. Therefore, it’s the ideal choice for your first slicer.
At this stage, there’s no need to change any settings. In other words, just select the right printer and filament presets. The default settings will produce nearly perfect results.
When you press the button, the software executes the following processes.
After conversion, a preview screen appears. You can check each layer using a slider. Furthermore, the nozzle travel paths are visualized with color coding. Initially, you don’t need to examine things closely. However, just watching the layer-by-layer movements deepens your understanding of 3D printing.
Parameters like layer height, infill density, and print speed are best left at defaults for beginners. The manufacturer’s presets are already optimized for standard use cases.
Additionally, Bambu Lab A1 mini owners can use Bambu Studio as an alternative. It’s a slicer designed exclusively for Bambu printers. Seamless device integration is its key advantage. However, print results are virtually identical with either option. Therefore, choose whichever you prefer.
Once printing starts, visually check the first few layers. Specifically, confirm that the first layer adheres evenly to the bed. Furthermore, verify that filament is being extruded without interruption. If the first layer succeeds, the rest will likely complete without issues.
After that, let AI camera monitoring take over. For example, the SPARKX i7 has a built-in camera for real-time monitoring. Meanwhile, the A1 mini lets you check progress via the official app. In other words, you can monitor your print from your smartphone.
During the first 5–10 minutes after printing starts, visually check the following items.
There’s one mistake beginners make most often. Specifically, it’s bumping or moving the printer during printing. Table vibrations and touching the printer body are strictly forbidden. These cause layer shifts in the printed object. Therefore, don’t touch the printer while it’s running. While AI monitors your print, you’re free to do other things.
Furthermore, some beginners stop the print midway out of anxiety. The nozzle’s speed might seem alarming at first. Additionally, brief pauses and tiny Z-axis movements can look concerning. However, these are all perfectly normal operations. The AI camera sends automatic alerts if it detects any real problems. In other words, no notification means everything is proceeding smoothly.
Once your 3DBenchy is complete, remove the build plate from the printer. Since it’s magnetic, simply lift it off by hand. Then gently flex the plate to pop off the printed object. In particular, PLA prints on PEI plates often release on their own as the plate cools.
Pick up your completed 3DBenchy and check the following points.
If everything checks out, your first 3D print is a complete success. Even if there are issues, don’t worry. The next article on “troubleshooting print failures” will help you solve any problems.
Let’s review the entire process of your first 3D print.
In conclusion, your first 3D printed creation is complete in about one hour total. The thrill of holding that small boat in your hands is truly unforgettable.
Furthermore, tomorrow’s Series Part 5 covers “3D Print Failure Troubleshooting.” We’ll explain how to handle the issues you’ll encounter in your second and third prints. Don’t fear failure — keep printing and experimenting!