Digital Twin × 3D Printing: Eliminating Failures Before Printing with AI Simulation
swiftwand swiftwand.ai
“I want to make metal parts at home” — this is every maker’s ultimate dream, and it used to be synonymous with “impossible.” After all, everyone assumed you needed multi-million-dollar SLM (Selective Laser Melting) machines. But did you know that your desktop FDM printer costing a few hundred dollars can produce real stainless steel parts? Filaments infused with metal powder and binder are turning homes into miniature foundries.
The core of this technology is metal powder bound together with plastic (binder) and extruded into filament form. The printing process itself is virtually identical to regular PLA — just bump up the nozzle temperature slightly and swap to a wear-resistant nozzle.
The freshly printed object is called a “green part” — it feels like slightly fragile clay. When you debind and sinter this part through a specialized service (or your own small electric kiln), the binder burns away and the metal particles fuse through diffusion bonding, producing a metal part with 80-95% density (over 96% under optimal conditions).
As of 2026, there are three main lines of filaments available for desktop metal printing:
For beginners, The Virtual Foundry’s Filamet 316L stainless steel has the lowest barrier to entry — you can start with your existing FDM printer like an Ender-3 or Prusa MK4.
No special modifications needed for metal filament printing. You just need two things:
Print speed should be kept to around 30-50mm/s. Slower than normal PLA, but this ensures proper layer adhesion of metal particles. Since trace amounts of gas from the binder component are released during printing, work in a well-ventilated environment.
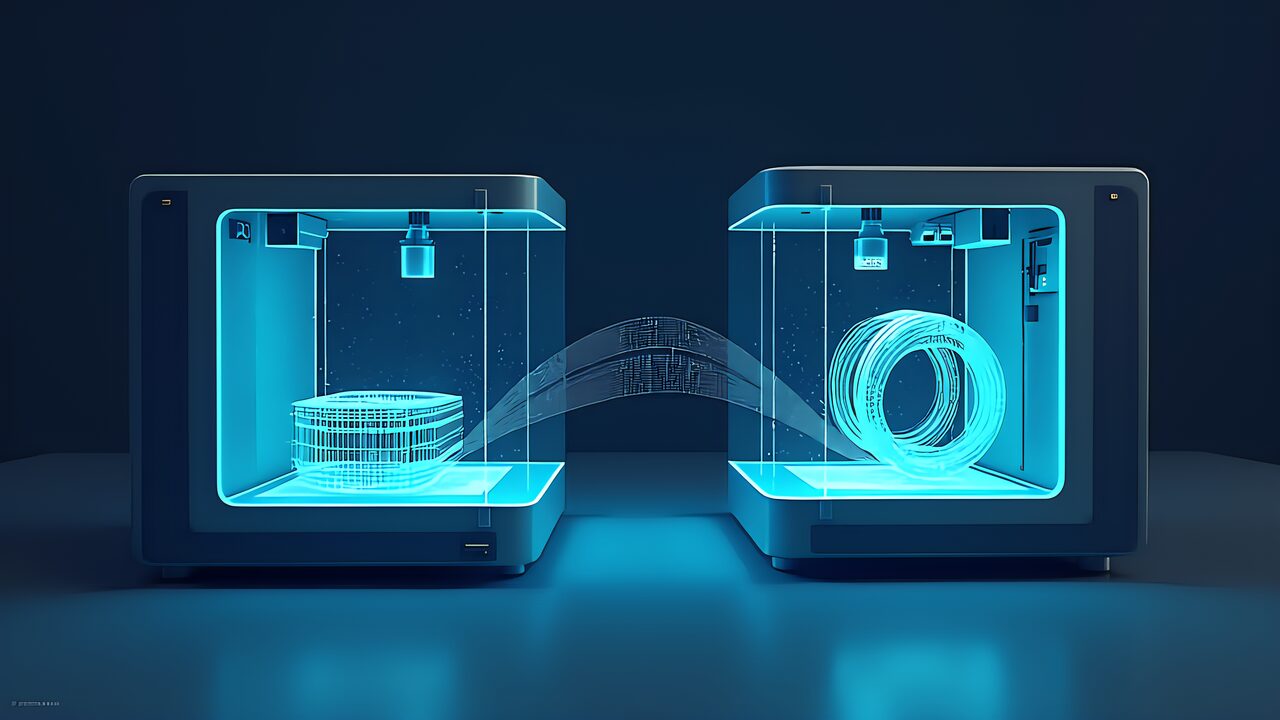
There’s one aspect that requires expertise: shrinkage. During sintering, as the binder burns away, parts shrink approximately 16-20% in all directions. You need to scale up your model in advance using slicer software. Mastering this “scale factor” is the essential skill of the modern-day metalsmith. Once you nail the parameters, you can even produce hollow metal balls and nozzles with internal cooling channels.
Sintering is the process that transforms the printed green part into actual metal. It’s both the most critical and most costly step.
During sintering, the binder (plastic component) burns away completely and metal particles bond through diffusion. Shrinkage of 16-17% in XY and 19-20% in Z direction occurs. Incorporating this shrinkage into your CAD design scaling is mandatory.
Traditional metalworking for complex shapes requires expensive machines and skilled operators. Investment casting (lost wax) involves lengthy pattern-making and mold-embedding processes. With the metal filament approach, material costs are about $70-150 per spool (1kg). Small parts cost just a few dollars. Lead time drops from weeks (with outsourcing) to days.
Step 1: CAD Modeling — Create a model scaled to 120-125% of your target dimensions to account for shrinkage. Use the “Scale” function in Fusion 360 or FreeCAD. Standard values for 316L stainless: 1.19x in XY, 1.24x in Z.
Step 2: Slicer Settings — In OrcaSlicer or PrusaSlicer, set nozzle temperature 200-210°C, bed temperature 70°C, print speed 30-40mm/s, layer height 0.15-0.2mm. Minimum 70% infill, 100% recommended for structural parts. Retraction distance 1.5-2mm (direct drive).
Step 3: Print — Operations are nearly identical to PLA printing. Note that metal-filled filament is much heavier (about 4x the density of regular 1.75mm filament), so ensure your spool holder rotates smoothly. Turn on ventilation during printing.
Step 4: Debinding and Sintering — Send the green part to a sintering service or load it into your kiln. First, thermally decompose the binder at 400-600°C for several hours (debinding), then ramp up to 1,300-1,380°C and hold for 3-6 hours. Cool naturally inside the kiln.
Step 5: Post-Processing — Finish sintered parts with sandblasting or tumble polishing. Machine critical dimensions with drill and tap after sintering. For stainless steel, passivation treatment improves corrosion resistance.
BASF’s Ultrafuse Metal series uses proprietary Cold Metal Fusion technology. The key difference from standard metal filaments (like Virtual Foundry) lies in the binder removal process.
Virtual Foundry’s kiln sintering directly burns off the binder with heat. CMF, by contrast, first chemically dissolves most of the binder using solvents (acetone or water) in a debinding step, then burns off the remainder at low temperature before proceeding to high-temperature sintering. This two-stage process reduces the risk of cracking during binder removal in larger parts, delivering more consistent quality.
CMF is also compatible with industrial MIM (Metal Injection Molding) sintering furnaces, making it easy to scale from prototyping to mass production. Adoption is growing more among R&D departments and startups for “pre-production testing” rather than individual makers.
After sintering, it’s genuine metal. It’s magnetic, electrically conductive, and heat-resistant. However, compared to cast or forged metal, the density is lower (80-95%), so mechanical strength is somewhat inferior. It’s more than adequate for decorative items and jigs.
One spool of filament costs $70-150, and a hardened steel nozzle is about $5. If you already own an FDM printer, you can start printing for under $200. However, sintering requires either an outsourced service (a few dollars to hundreds per part) or a kiln ($3,000-8,000) — that’s a separate cost.
The most common is 316L stainless steel — corrosion-resistant and beginner-friendly. Other options include 17-4PH stainless (high strength), copper (for electrical/thermal applications), bronze (decorative/jewelry), and tungsten (ultra-high density/radiation shielding).
For complex shapes in small batches (1-50 pieces), costs can be 30-70% lower than CNC. However, for simple shapes or mass production, CNC remains more economical. The biggest advantage of metal filament is producing hollow structures and internal channels at low cost — geometries that are impossible to machine.
316L stainless is a food-grade material, but since sintered density isn’t 100%, microscopic pores could harbor bacteria. Not recommended for cookware or utensils. Decorative cutlery is acceptable, but not items in prolonged direct contact with food.
Yes. ColorFabb’s SteelFill and BronzeFill are PLA/PHA-based filaments mixed with metal powder — no sintering required, providing metallic texture and weight. However, these are “plastic that looks like metal” — no magnetism, no conductivity, and heat resistance is only PLA-level (~60°C). Fine for display models and decorative pieces, but not functional parts.
With proper storage, several months is fine. Keep away from moisture and direct sunlight, ideally in an airtight container. Green parts are very fragile, so handle with care. When shipping to a sintering service, pack with plenty of cushioning material.
As of 2026, metal filament prices of $70-150/kg are on a downward trend year over year. New entrants beyond BASF and Virtual Foundry continue to join the market, and competition is expected to drive further price drops.
Another notable trend is the falling cost of desktop sintering kilns. Small sintering furnaces that once cost over $10,000 are becoming available in the $3,000-5,000 range. For individual makers who found outsourced sintering costs to be a bottleneck, the barrier to in-house sintering is steadily lowering.
Furthermore, research into AI-powered shrinkage prediction software is progressing — technology that simulates sintering shrinkage patterns from 3D model geometry and automatically generates corrected models. Once commercialized, this would automate the biggest barrier in metal 3D printing: predicting shrinkage.
Metal filament 3D printing is no longer experimental. Thanks to the ecosystem pioneered by Virtual Foundry, BASF, and Markforged, individual makers can now produce real metal parts.
Your first step: swap your printer’s nozzle to hardened steel and buy one spool of 316L stainless filament. Print it, send it to a sintering service, and when you hold that cold, heavy metal part in your hands a few days later, your concept of making will be forever changed. It’s a revolution that starts at under $200.
For more information, visit All3DP.