The USB-C of AI Agents: A Complete Technical Guide to Model Context Protocol (MCP) in 2026
swiftwand swiftwand.ai
“I don’t have time to learn CAD.”
Every maker and engineer has hit this wall at least once. Tweaking Fusion 360 timelines, stacking Blender modifiers, finally exporting an STL. That process takes hours, sometimes days. The gap between having an idea and holding a printed object remains frustratingly wide.
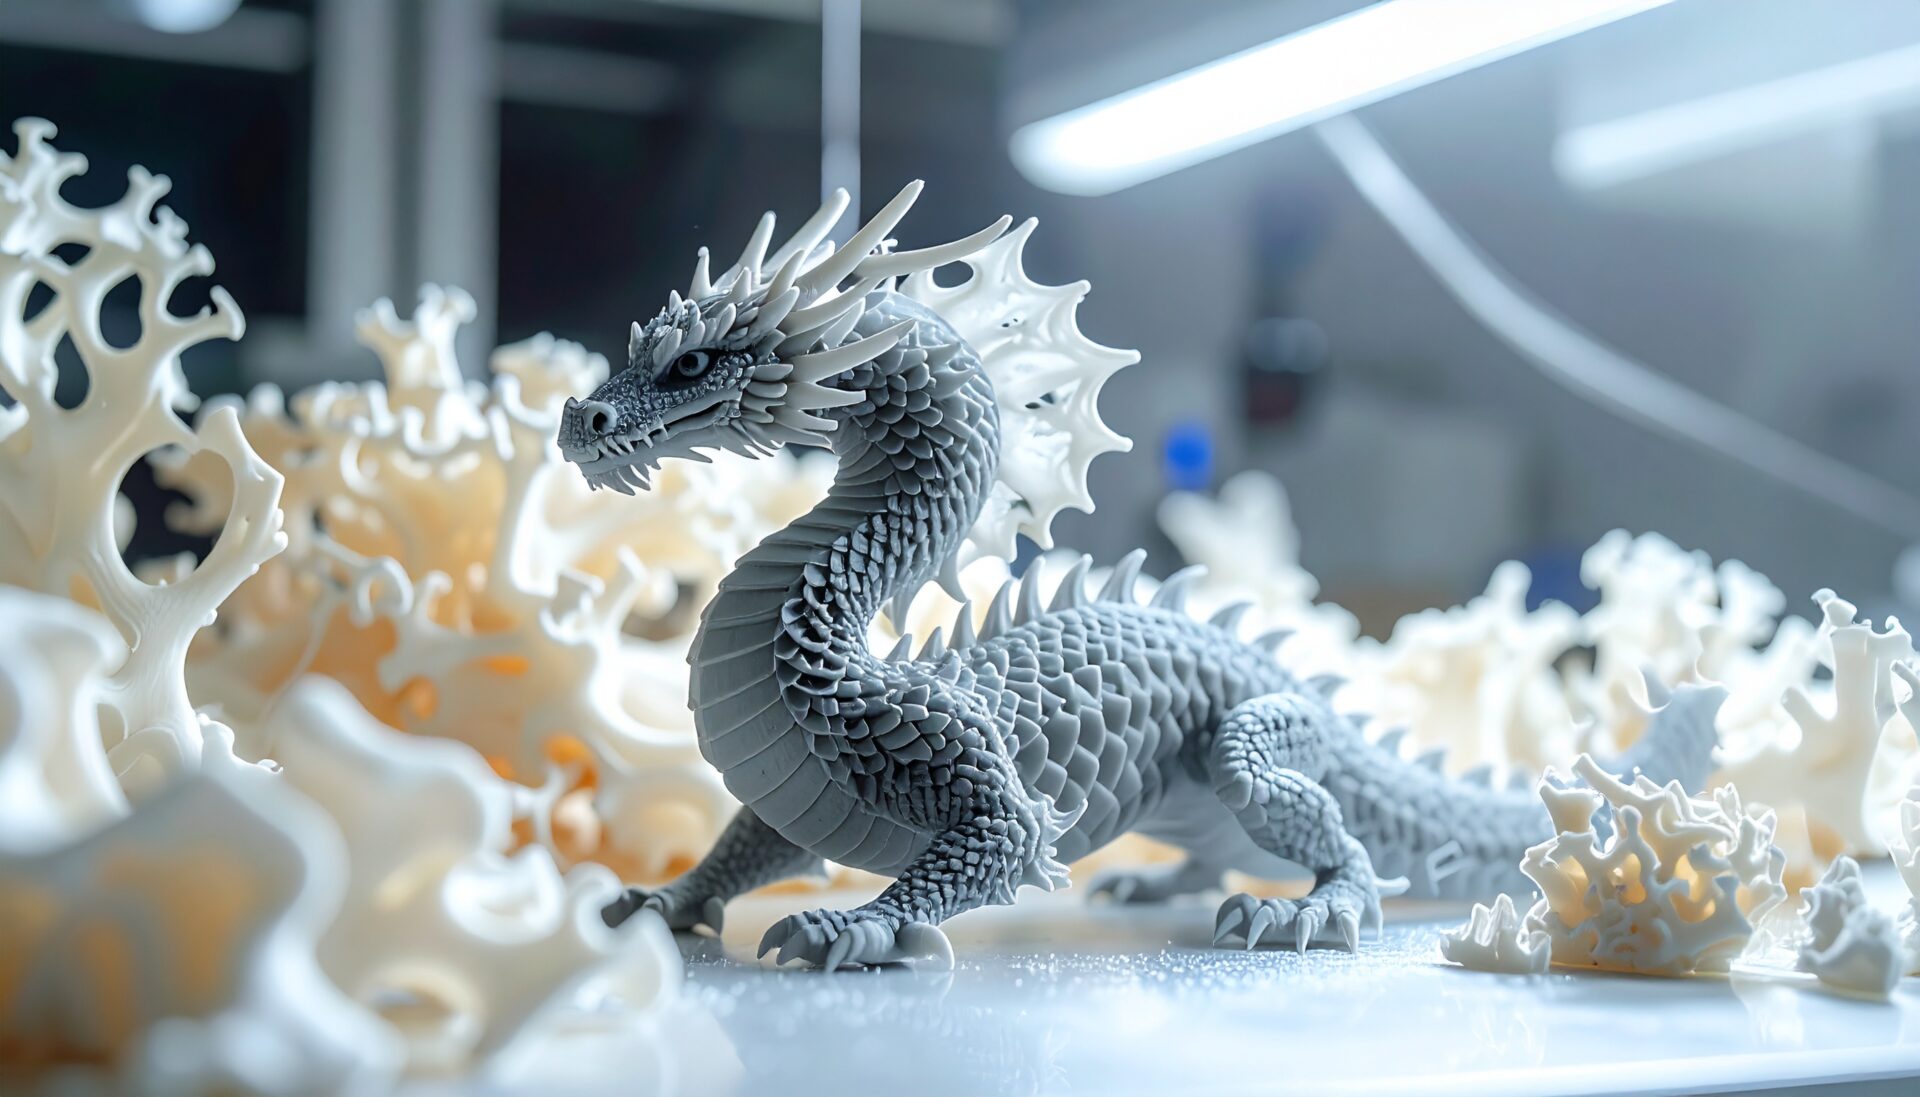
In October 2025, Meshy.ai released the Meshy 6 Preview, dramatically closing that distance. Simply type a text prompt, and a 3D model with sculpt-level detail is generated. With direct STL export support, the path from imagination to print has never been shorter.
This article takes a deep dive into the Meshy 6 Text-to-3D print workflow. We will build a fully automated pipeline from text prompt to printable STL file, complete with practical API code examples.
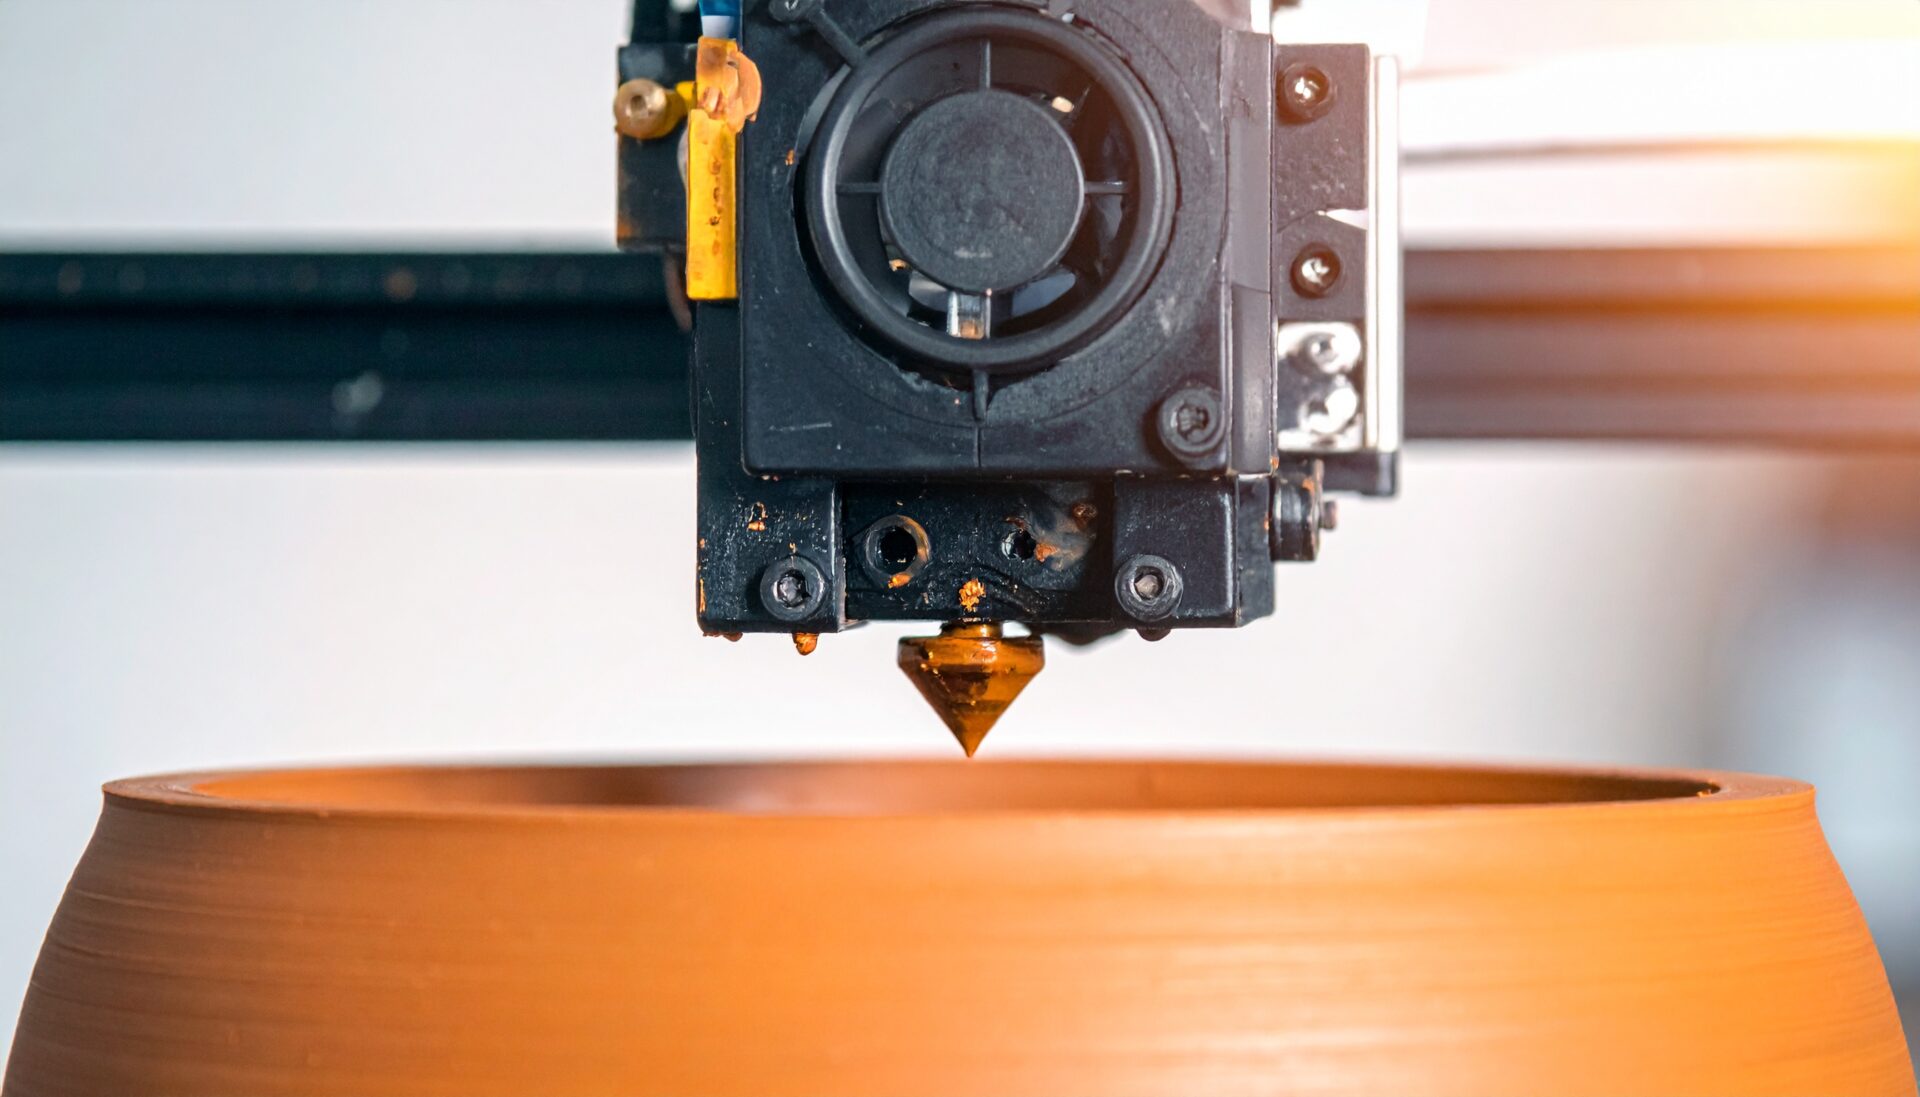
The proliferation of high-performance, affordable FDM printers like the Bambu Lab A1 mini has driven explosive growth in 3D printer ownership. A 180mm build volume, up to 500mm/s print speed, and fully automatic calibration, all available for under $200.
However, the democratization of hardware has far outpaced the democratization of software skills. The transition from printing pre-made models downloaded from Thingiverse and Printables to creating your own designs from scratch remains a steep cliff for many users.
The learning curve for CAD software is steep. Parametric modeling, sketch constraints, Boolean operations, manifold mesh checks. Mastering these concepts alone causes many makers to give up before they ever create their first original design.
Text-to-3D technology has existed before Meshy 6. Tools like Shap-E, Point-E, and earlier versions of Meshy could generate 3D models from text. However, these outputs suffered from low polygon counts, broken meshes, floating geometry, and surfaces that would fail miserably when sent to a slicer.
In practical terms, generating a model was just the beginning. Hours of manual cleanup in Meshmixer or Blender were needed before the model became printable. For many users, this post-processing was just as intimidating as learning CAD itself.
Meshy 6’s most significant advancement is the quality of generated meshes. The output achieves what can be described as “sculpt-level” detail, with smooth surfaces, clean edge flows, and proper topology that translates directly to high-quality prints.
Compared to Meshy 4, the polygon count of generated models has increased by roughly 10x, while mesh errors (non-manifold edges, inverted normals, self-intersections) have decreased by approximately 90 percent. This means that for many models, the output is directly printable without any manual cleanup.
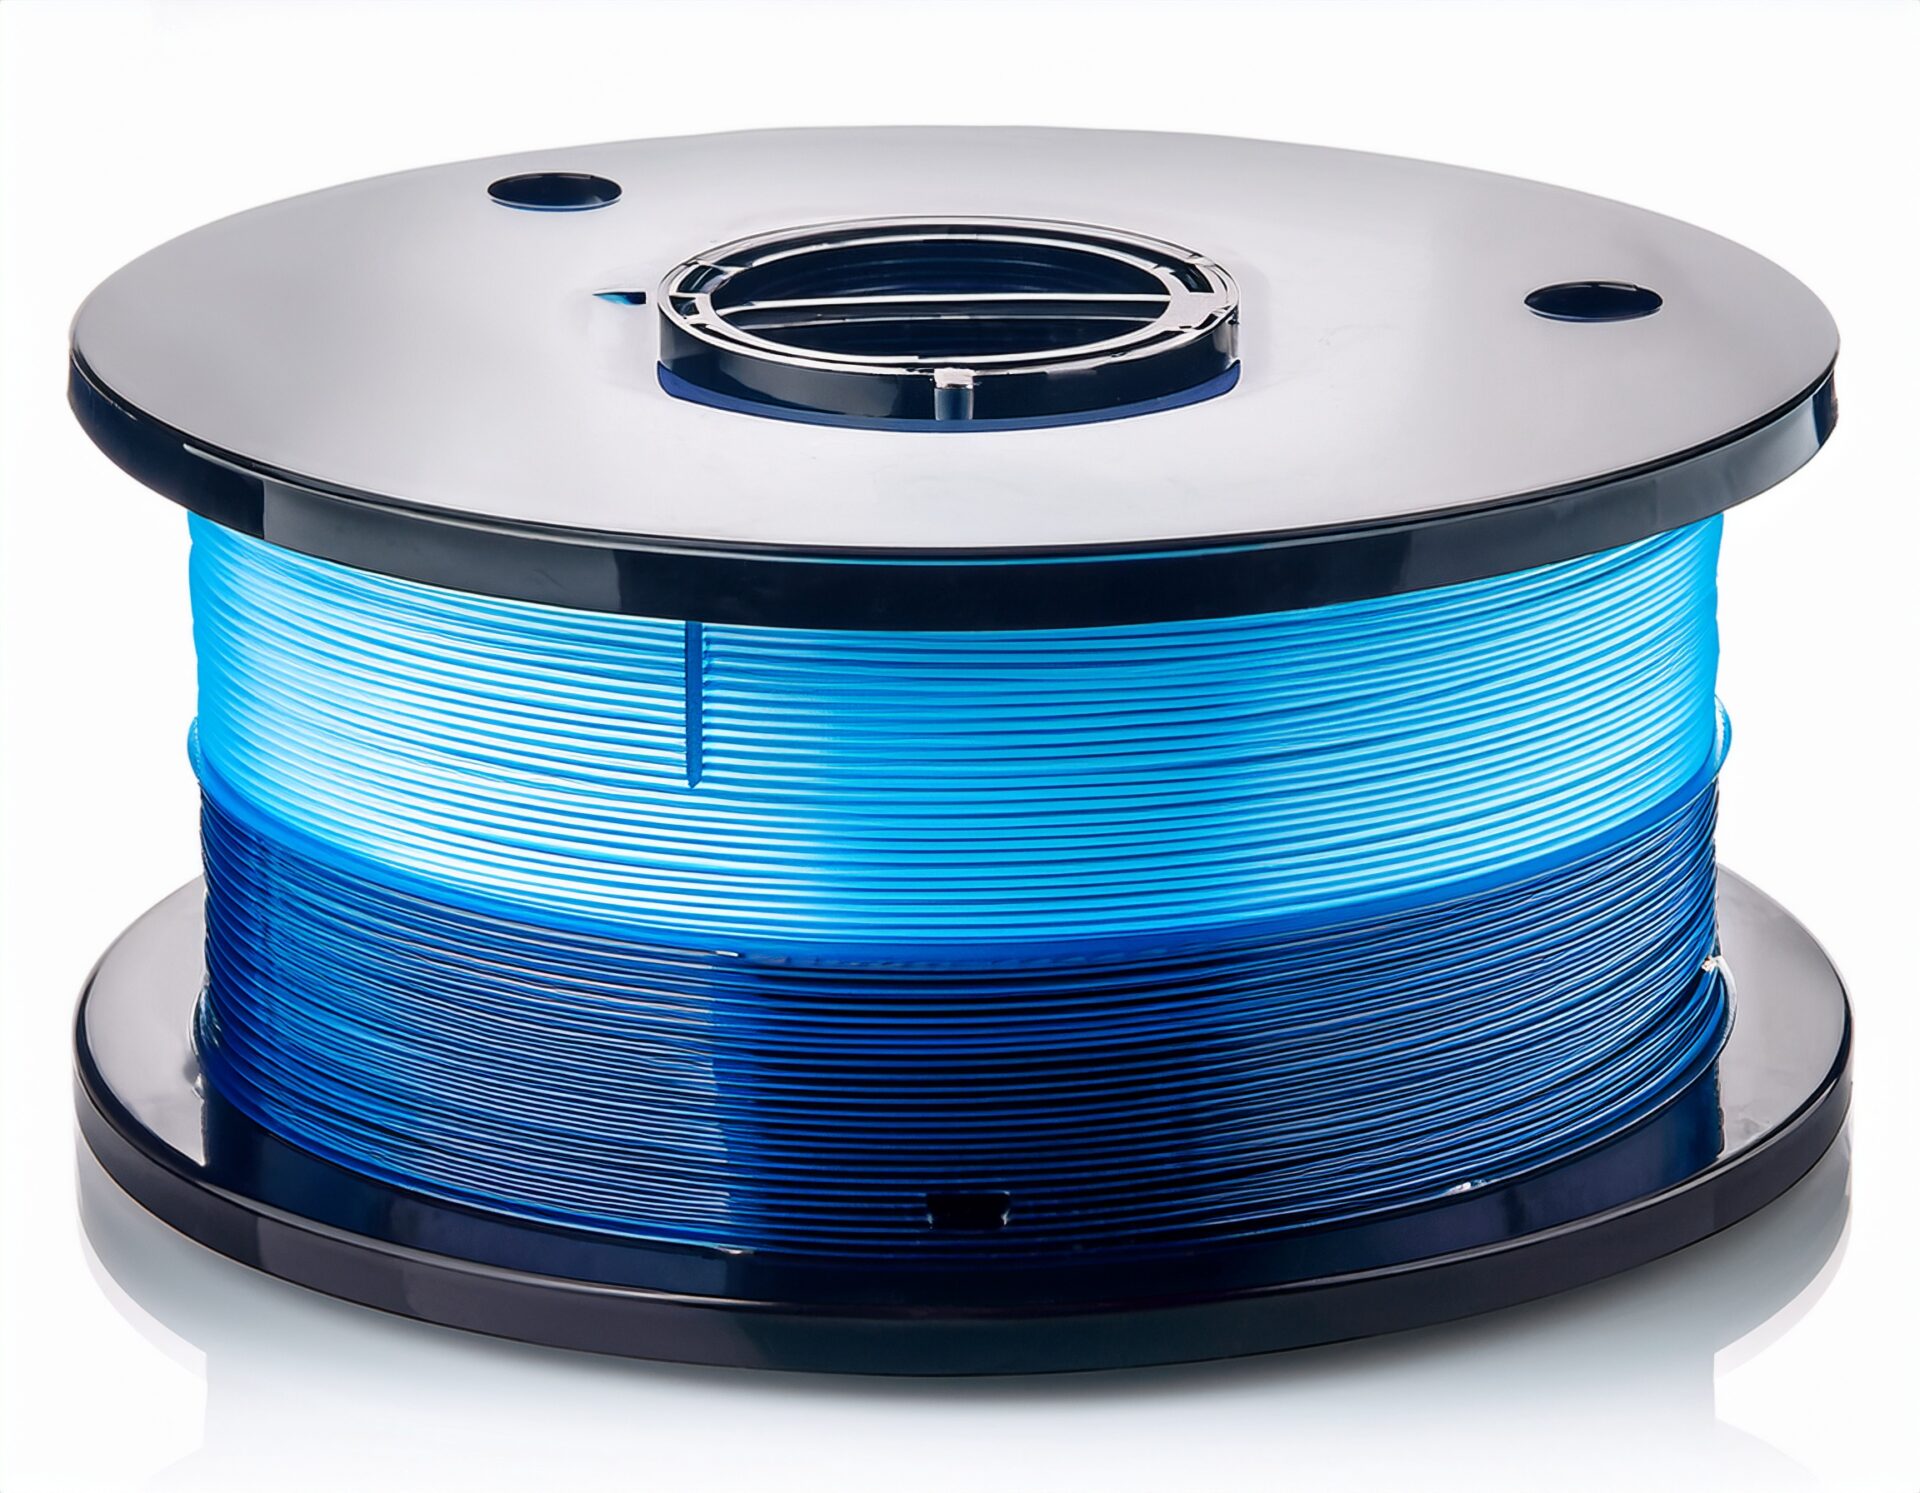
Users can now specify target polygon counts and topology preferences. For FDM printing, lower polygon counts with quad-dominant topology produce better results. For resin printing, higher polygon counts with smooth surfaces are preferred. Meshy 6 adapts its generation pipeline based on these parameters.
One of the most practical features for 3D printing is automatic base generation. Meshy 6 can add a flat base to any model, ensuring proper bed adhesion without manual editing. This seemingly simple feature eliminates one of the most common issues when printing AI-generated models.
The Nano Banana model represents Meshy’s approach to image-to-3D conversion. By analyzing a single photograph, it generates a 3D model that captures not just the shape but also the surface detail and texture mapping. This is particularly useful for creating figurines or replicas from reference photos.
For production workflows, Meshy 6 supports batch processing of multiple images simultaneously. Upload a folder of product photos, and the system generates 3D models for each one. This capability transforms prototyping workflows for e-commerce, product design, and educational institutions.
Let us walk through the complete pipeline from text prompt to physical print.
The quality of the prompt directly determines the quality of the output model. For 3D-printable models, specific keywords and constraints are critical.
| Category | Good Prompt | Bad Prompt |
| Specificity | “A detailed dragon figurine with smooth scales, flat base, 80mm tall” | “A dragon” |
| Printability | “Solid geometry, no thin walls, rounded edges” | “Delicate crystal structure” |
| Style | “Low-poly geometric bear, faceted surface, clean edges” | “Something cool” |
Key prompt engineering principles for 3D printing include the following.
The Meshy API allows programmatic access to the text-to-3D pipeline. A simple Python script can generate models and download the results automatically.
The API workflow involves three stages: submitting a generation task, polling for completion, and downloading the result. Generation typically takes 30 to 90 seconds depending on complexity and target polygon count.
Once the model is generated, export it as an STL file. Before sending to the slicer, mesh validation is essential. Use open-source tools like Trimesh (Python library) to check for non-manifold edges, inverted normals, and zero-thickness walls.
Meshy 6’s improved mesh quality means that approximately 85 percent of generated models pass validation without any repair. For the remaining 15 percent, automatic repair using Trimesh or Meshmixer resolves most issues.
For slicing, the following settings are recommended for AI-generated models.
| Setting | Recommended | Reason |
| Layer Height | 0.16mm | Balances detail and speed for sculpted surfaces |
| Infill | 15-20% | AI models are often decorative, not structural |
| Supports | Tree supports | Minimizes contact with detailed surfaces |
| Speed | 150mm/s | Conservative for complex geometries |
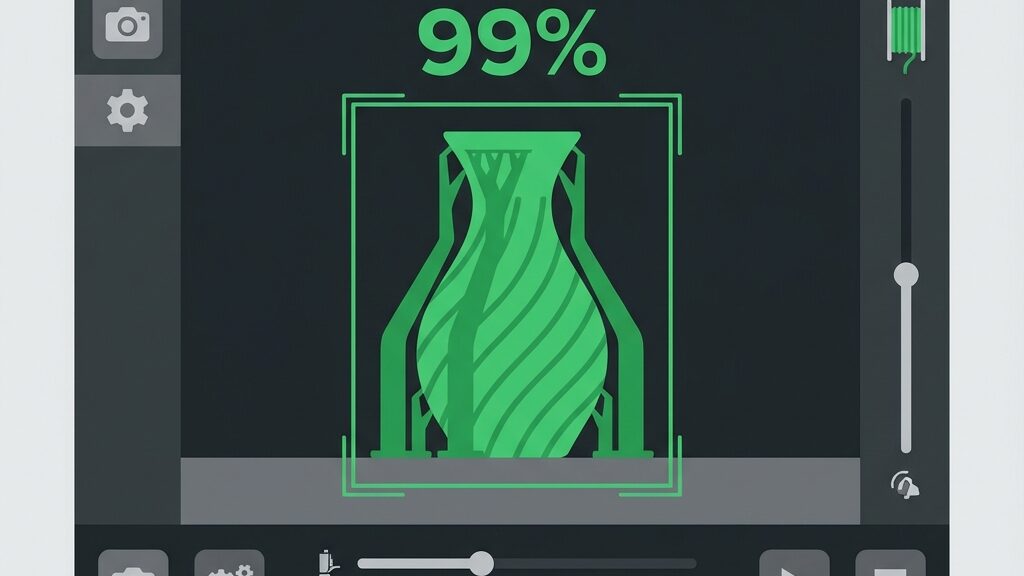
The ultimate vision is a pipeline where you type a text description and a physical object appears on your print bed with zero manual intervention. While we are not fully there yet, Meshy 6’s API combined with slicer CLI tools and OctoPrint makes this surprisingly close to reality.
The automation chain works as follows: Text prompt enters the Meshy API, which returns an STL. The STL is validated with Trimesh, repaired if needed, then sent to PrusaSlicer CLI for G-code generation. Finally, the G-code is uploaded to OctoPrint for automatic printing.
For practical batch workflows, consider the following patterns.
Automated pipelines must handle failures gracefully. Common failure points include mesh validation failures, API timeouts, and print failures. For mesh issues, implement automatic retry with modified prompts that add constraints like “solid geometry” or “thick walls.” For API timeouts, use exponential backoff with a maximum of three retries. For print failures detected via AI camera monitoring, log the failure, adjust slicer settings, and re-queue.
Meshy offers tiered pricing to accommodate different usage levels. The free tier provides limited generations per month, sufficient for experimentation. The Pro plan offers higher generation limits and priority processing. The Enterprise tier provides API access with custom rate limits.
| Plan | Price | Generations/Month | API Access |
| Free | $0 | 5 | No |
| Pro | $20/month | 200 | Yes |
| Max | $60/month | Unlimited | Yes (priority) |
For serious pipeline automation, the Pro or Max plan is essential. The API rate limits on the free tier make batch processing impractical.
Meshy 6 supports multiple export formats to cover different workflows.
For printing AI-generated models, the Bambu Lab A1 mini represents the ideal companion. Its automatic calibration handles the varied geometries of AI models without manual tuning. The fast print speeds reduce the feedback loop between generation and physical evaluation. Tree support generation in Bambu Studio works exceptionally well with the organic shapes typical of AI-generated models.
Despite Meshy 6’s impressive improvements, AI-generated models still have a quality ceiling compared to expert CAD work. Mechanical parts with precise tolerances, threaded components, and snap-fit joints are beyond the current capabilities. For functional engineering parts, traditional CAD remains indispensable.
The sweet spot for Meshy 6 is decorative, artistic, and conceptual models. Figurines, ornaments, artistic sculptures, and visual prototypes benefit the most from text-to-3D generation.
AI-generated 3D models raise intellectual property questions. If you prompt “generate a model that looks like Pikachu,” the output may infringe on existing copyrights. Users must be cautious about generating models of copyrighted characters, branded products, or patented designs. For commercial use, original prompts that create unique designs are strongly recommended.
Unlike CAD, where the same parameters always produce the same output, text-to-3D generation involves stochastic elements. The same prompt may produce slightly different models each time. For production workflows requiring consistency, saving and versioning successful model files rather than re-generating from prompts is the recommended practice.
The phrase “death of CAD” is deliberately provocative. CAD is not dying; it is evolving. What Meshy 6 represents is the democratization of the first step in 3D creation. For many users, the journey will begin with AI-generated models and naturally progress to CAD as their needs become more specific and functional.
The more accurate framing is that text-to-3D eliminates the need for CAD in scenarios where CAD was overkill to begin with. Printing a decorative phone stand does not require parametric modeling. Printing a custom figurine does not require mesh topology expertise. For these use cases, Meshy 6 is not killing CAD but rather filling a gap that CAD never served well.
The integration of AI generation into 3D printing workflows will reshape community platforms. Thingiverse and Printables may evolve to include AI-generated model galleries with prompt sharing. New marketplaces may emerge where prompt engineers sell optimized generation templates. The definition of “designer” in the 3D printing community is expanding.
Meshy 6 does not replace the skilled CAD engineer. What it does is give everyone else a seat at the 3D creation table. The text prompt is becoming a new form of blueprint, one that requires creativity and intention rather than software expertise.
For makers who have been printing other people’s designs and dreaming of creating their own, the barrier just got dramatically lower. Type what you imagine, validate the mesh, and press print. The fully automated pipeline from text to physical object is no longer science fiction; it is a Python script away.