How to Start a Pet 3D Figurine Business: Home-Based Startup with Meshy AI and 3D Printers (Complete Guide)
swiftwand swiftwand.ai
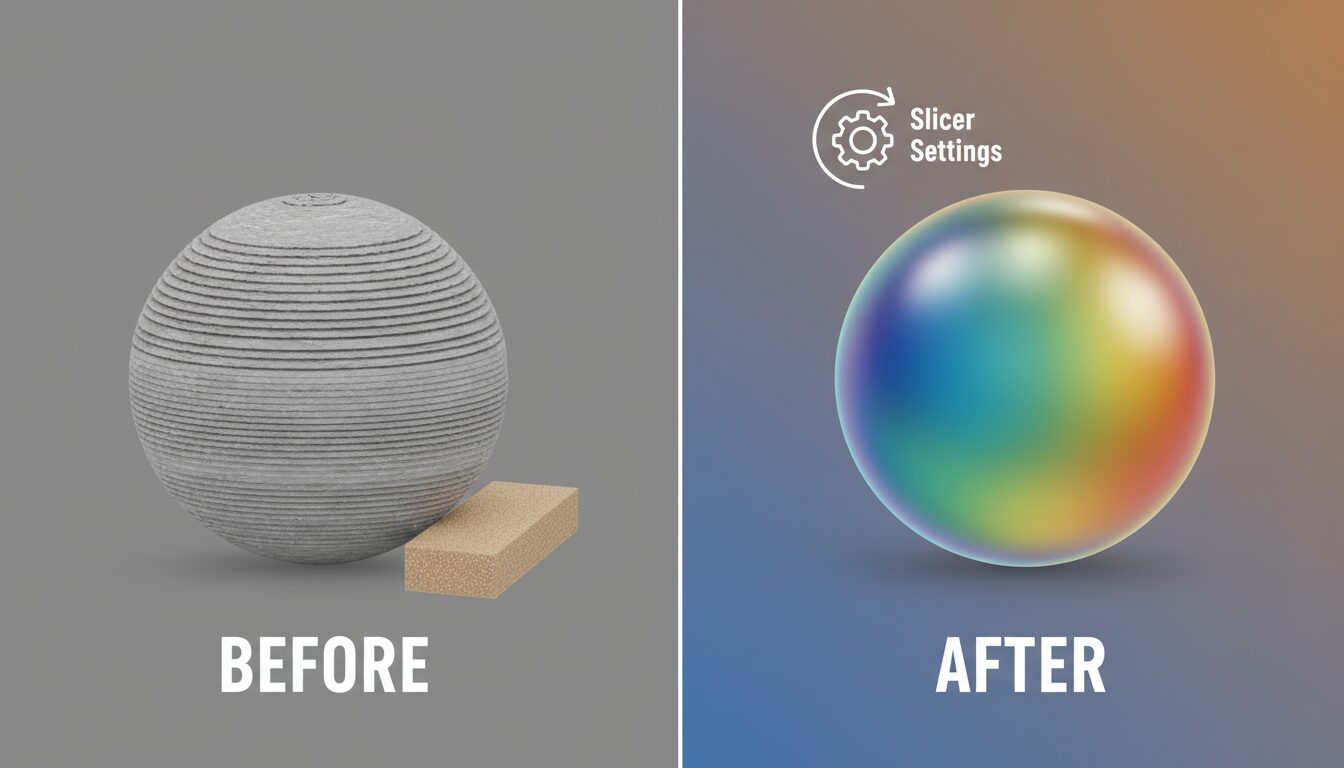
“My 3D prints look cheap…” “I spent my entire weekend sanding layer lines and my fingers are wrecked…” If you use an FDM (Fused Deposition Modeling) printer, you might think those horizontal stripes are inevitable. That you need to buy a smelly, high-maintenance resin printer for smooth surfaces.
Here’s the truth: sanding is the last resort—and a defeat. Professional operators aim for exhibition-quality surface finish straight off the print bed. Today’s guide covers everything from slicer optimization to advanced techniques to post-processing, all designed to eliminate layer lines with zero physical effort. Works with Cura, Orca Slicer, and Bambu Studio.
FDM printers build objects by stacking layers of melted filament—like stacking pancakes. At 0.2mm layer height, the cross-section reveals 0.2mm “steps” that reflect light as visible stripes. Three factors determine how visible they are: layer height (thinner = less visible), surface angle (gentle slopes create “staircase” effects), and material finish (glossy materials amplify shadows from tiny steps).
Eliminating layer lines comes down to three approaches: making the steps smaller, making them less visible, or physically filling them in.
Most beginners print at the default 0.2mm. Switching to 0.12mm dramatically reduces visible layer lines. With a 0.4mm nozzle, layer height should be at most 75% of nozzle diameter (0.3mm max). For quality: 0.12mm. For balanced speed/quality: 0.16mm.
Slower speed means more uniform extrusion and significantly better outer wall quality. The key: only slow down the outer wall. Keep inner walls and infill at 60–80mm/s. In Orca Slicer, adjust “Outer Wall Speed”; in Cura, it’s “Outer Wall Speed.” Total print time barely increases while surfaces become noticeably smoother.
Excess heat causes filament to “droop,” creating bumpy layer boundaries. For PLA, try 200°C → 195°C. Don’t go too low or layer adhesion suffers—adjust in 5°C increments using a Temperature Tower test print. Optimal temperature varies by brand: Polymaker PolyTerra PLA runs 190–230°C while eSUN PLA+ prefers 205–215°C. Always stay within the manufacturer’s recommended range.
Just like ironing wrinkles out of a shirt, you can iron plastic smooth. After printing the top layer, the nozzle makes a second pass across the surface with minimal (or zero) extrusion. The hot nozzle melts and fills micro-imperfections, producing surfaces rivaling injection molding or even resin prints.
Recommended settings (Orca / Prusa / Cura):
Ironing troubleshooting:
Layer lines are most visible not on vertical walls but on gentle curves—where contour-like stripes stand out. Printing everything at 0.08mm fixes this but triples print time.
Adaptive Layers (Variable Layer Height) lets the slicer analyze geometry and automatically switch: vertical walls at 0.2–0.28mm (coarse but invisible), gentle slopes at 0.08–0.12mm (fine to eliminate stairstepping). Visual quality equals 0.1mm uniform printing; print time equals 0.2mm. Best of both worlds.
In Orca Slicer, click the layer icon in the toolbar and hit “Adaptive.” Practical tip: set minimum layer height to 0.08mm, maximum to 0.24mm. Print time typically drops 30–40% compared to uniform 0.12mm.
If you’re using glossy or silk filament, you’re amplifying layer lines. Glossy materials specularly reflect light, creating sharp shadows from every tiny step.
Switch to matte PLA (Polymaker PolyTerra, eSUN Matte PLA, etc.). Matte surfaces diffuse light, blurring the shadows from layer steps. Remarkably, even at 0.2mm layer height, matte filament makes layer lines nearly invisible to the naked eye. If you’re afraid of changing settings, changing filament might be your fastest win.
Apply 2–3 thin coats of spray filler (surfacer), then lightly sand with #400–#600 sandpaper after drying. Even 0.2mm layer lines disappear after two coats. Key: thin layers, not thick—thin → dry → thin cycles produce the smoothest result fastest.
Place the ABS print suspended in a sealed container with a small amount of acetone. The vapor melts the surface smooth in 20–30 minutes, producing injection-mold-like finishes. Warning: doesn’t work on PLA or PETG. Over-exposure destroys detail. Work in ventilated areas with gloves.
Brush on XTC-3D or similar epoxy resin. It self-levels to fill layer lines and forms a clear glossy coat. UV resin coating works similarly. Particularly effective as a paint-ready base—epoxy + paint yields injection-molding-quality finishes.
When in doubt: Matte PLA + Ironing is the best balance of cost, effort, and results. No post-processing needed.
They become nearly invisible, but not completely gone. At 0.04mm, print time increases 5×+, making it impractical. Printing at 0.12mm with ironing is far more time-efficient for comparable results.
Resin printers also stack layers, so lines exist—but at 0.05mm or thinner, they’re far less visible than FDM. However, factoring in resin odor, post-processing hassle, and running costs, FDM with optimized slicer settings is often more efficient overall.
Absolutely. Enable ironing in Bambu Studio or Orca Slicer. Even on high-speed machines, keep ironing speed at 50–60mm/s for best results.
Yes, and it’s actually the recommended combination. Adaptive layers reduce stairstepping on slopes while ironing polishes the top surface. This combo is the best quality achievable through slicer settings alone.
Yes! The “Fuzzy Skin” slicer feature adds random surface texture intentionally. It’s popular for planters, lamp shades, and other objects where textured finishes add character. Embracing layer lines as a design element is part of 3D printing’s charm.
Time spent sanding creates nothing. Here’s the priority order: optimize basic settings (layer height, speed, temperature) → enable ironing (zero cost, dramatic effect) → activate adaptive layers (quality + speed) → switch to matte filament (instant visual upgrade) → post-process only for competition-grade finishes.
Before you cover yourself in dust and wreck your fingertips, open your slicer. Ironing for flat surfaces. Adaptive layers for curves. Matte filament for everything. Master these three weapons and your FDM printer still has plenty of fight left in it.
さらに詳しい情報はAll3DPでご覧いただけます。