"Make It 5mm Longer": How AI Custom Orders Open the Door to 3D Print Personalization
swiftwand swiftwand.ai
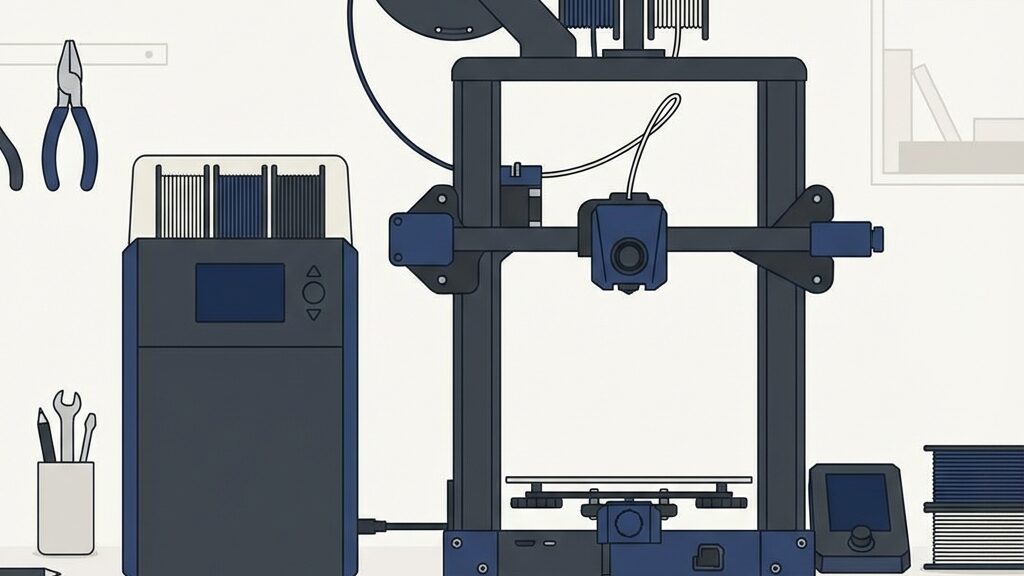
You can’t achieve the precision you want with FDM 3D printers. The 0.4mm nozzle creates visible layer lines. Fine details on miniature figurines get crushed. Many makers struggle with these frustrations. That’s where Resin 3D Printing Beginner Guide 2026 comes in. Photopolymerization uses ultraviolet light to cure resin (photopolymer) layer by layer, achieving micro-level detail that FDM simply cannot reach. In this article, we explain photopolymerization fundamentals from an FDM user’s perspective, covering the latest 2026 trends and recommended machines for beginners.
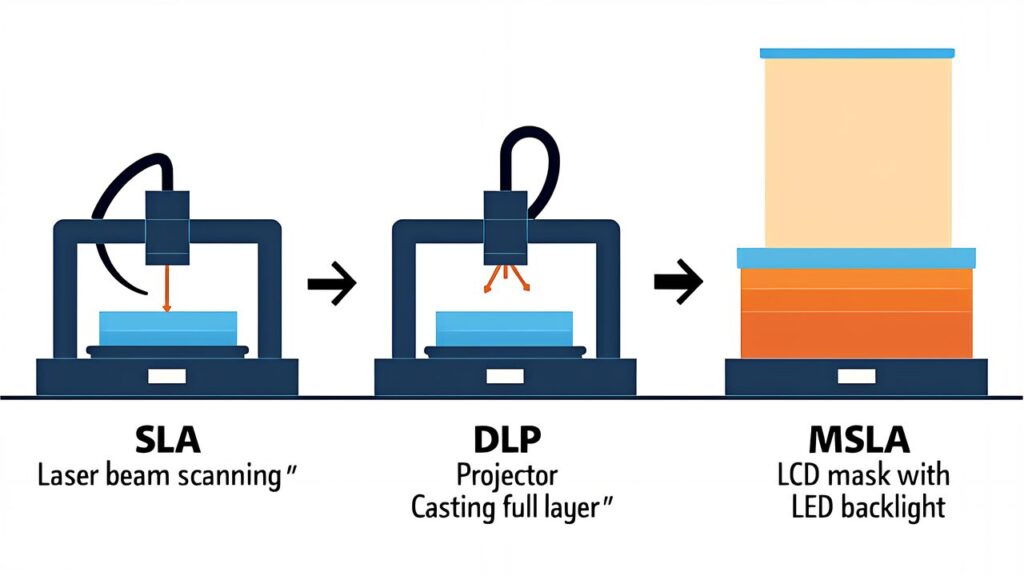
In Resin 3D Printing Beginner Guide 2026, the first essential concept is understanding the differences between printing methods. Photopolymerization technology has three main approaches, each with distinct principles and characteristics.
SLA (Stereolithography) uses a laser beam focused to a fine point (typically 100-200μm) to scan across the resin surface line by line. This method offers the highest XY resolution, making it ideal for jewelry, dental models, and complex mechanical parts. However, laser scanning is time-consuming, with build speeds typically 25-50mm/hour. The equipment is also more expensive ($100K+), making it less accessible to hobbyists.
DLP (Digital Light Processing) uses a DMD (Digital Micromirror Device) chip to project the entire layer image simultaneously. This approach provides good resolution (typically 47-75μm) and reasonable build speed (30-100mm/hour). DLP machines bridge the gap between SLA precision and MSLA speed, with prices ranging from $30K-$60K. Professional dental labs often prefer DLP for its balance of speed and detail.
MSLA (Monochrome LCD Array), the newest technology, uses a monochrome LCD screen to project the entire layer image at once. XY resolution ranges from 18-36μm (16K models reaching 18μm), with the fastest build speeds among the three (50-200mm/hour). Most importantly, MSLA machines are affordable ($1,500-$5,000), making them the de facto standard for hobbyists and small businesses. In 2026, the consensus is clear: MSLA dominates the entry-level and mid-range markets.
For an FDM user entering resin printing in 2026, MSLA is the recommended path. The combination of affordability, ease of use, and printing speed makes MSLA the optimal choice for learning photopolymerization.
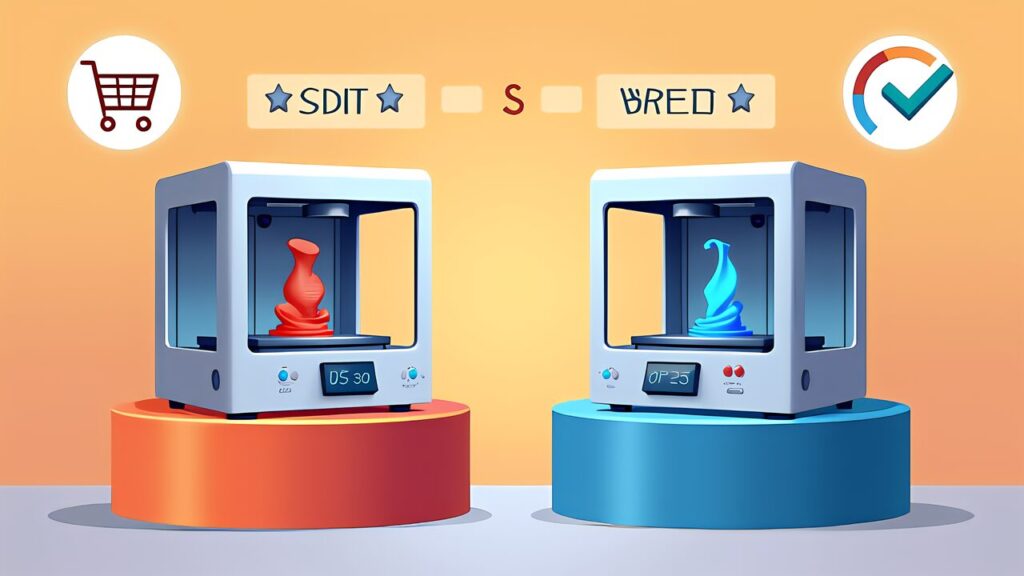
Before investing in resin equipment, it’s critical to understand where resin excels and where FDM remains superior. Both technologies have distinct strengths and weaknesses.
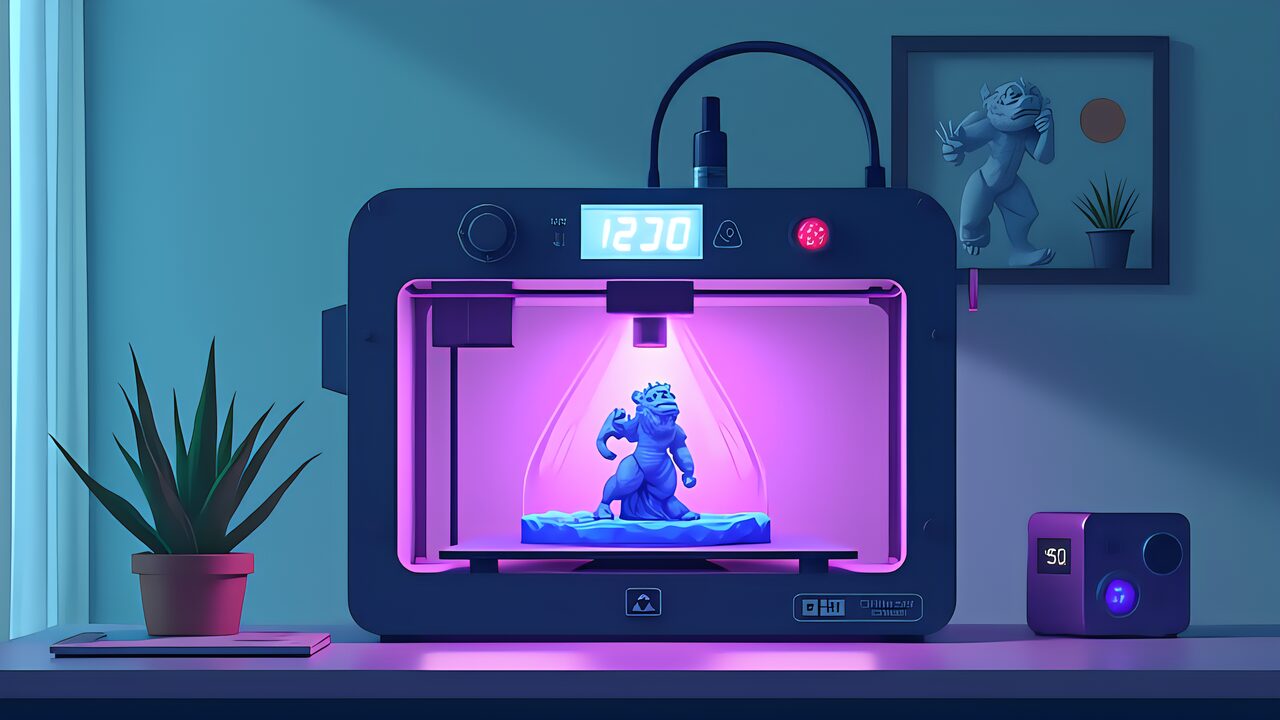
Precision and Detail: Resin is overwhelmingly superior. MSLA’s XY pixel pitch is 18μm, while FDM’s standard nozzle diameter is 0.4mm (400μm)—roughly 22x better resolution. For applications demanding fine detail—28mm tabletop RPG miniatures, jewelry wax models, or dental applications—resin is the only viable option.
Print Speed depends on part size and use case. MSLA exposure per layer is 1.5-3 seconds, with vertical build speeds around 20-50mm/hour. FDM’s horizontal movement speed reaches 300-500mm/s in high-speed machines, so FDM can be faster for large parts. For small figurines, resin is generally faster because it prints the entire layer simultaneously.
Material Diversity: FDM wins here. PLA, PETG, ABS, TPU, PA (nylon), and PC (polycarbonate) offer wide mechanical property ranges. While resin options have expanded—water-washable, ABS-Like, tough, flexible, and high-temperature variants—FDM still offers superior material range for functional parts.
Post-Processing: This is resin’s major pain point. After printing, parts require washing in IPA (isopropyl alcohol) or water, followed by UV secondary curing. Support removal and surface finishing add additional steps. Compared to FDM’s simple support peeling, resin post-processing is labor-intensive. Additionally, handling uncured resin requires gloves, eye protection, and ventilation—safety management costs are higher.
Running Costs: Resin ranges from ¥3,000-¥8,000 per kg (~$20-$55). FDM PLA is roughly ¥2,000-¥3,000 per kg (~$13-$20). However, per-part cost often favors resin for small objects because material density is high and the resin tank reuses unprinted material. For large parts, FDM becomes cost-competitive.
The resin printer market has matured significantly by 2026. Three technological advances stand out:
Monochrome LCD Screens (vs Color): Early MSLA machines used color LCD screens, which required RGB color management and suffered reduced light efficiency. Monochrome LCDs emit pure 405nm UV light with higher transmittance, enabling faster exposure and more consistent curing. 16K monochrome models (like Anycubic Photon Mono M7 Pro 14K) are now the standard, offering pixel pitches of 18μm or finer.
Heated Resin Baths: Temperature control is critical. Cold resin becomes viscous, reducing precision and success rates. Built-in bath heaters—now standard on new models—maintain resin at 25-35°C, dramatically improving cold-weather printing reliability. Anycubic’s latest machines come with integrated heaters, eliminating the need for external heating solutions.
Tilt-Release Mechanisms: Traditionally, build plates pulled straight up, creating suction forces that risk breaking fine features. Tilt-release tilts the build platform while lifting, reducing peel force and accelerating separation. This innovation increases print reliability and reduces overall build time, making large print batches more feasible.
These three innovations combine to deliver “high-precision, high-reliability, and high-speed” performance. For FDM users considering resin entry in 2026, the technology is at an ideal maturity-to-cost ratio.
Among MSLA machines suitable for beginners, two stand out in 2026.
Elegoo Saturn 4 Ultra 16K (~$600-$700) offers an impressive 7680×4320 native resolution with an 18μm pixel pitch and 163×92mm build platform. The monochrome LCD screen enables fast 15-second layer exposure times. Elegoo’s ecosystem is beginner-friendly with extensive online tutorials and an active community. The machine excels at fine miniatures and detailed jewelry models. The main trade-off is that the smaller build platform limits large part printing, making it better suited for hobby use than production.
Anycubic Photon Mono M7 Pro (~¥57,000 / ~$380) features a 7.6-inch 4K monochrome LCD (3840×2400) with a 19.2μm XY resolution and larger 214.2×120.96mm build platform. Build speed reaches 80mm/hour—among the fastest in its category. Anycubic provides stable firmware and good customer support. The M7 Pro’s larger platform makes it more versatile for varied part sizes, though 4K resolution is slightly lower than 16K alternatives.
Recommendation: For miniature enthusiasts and jewelry makers, choose Elegoo Saturn 4 Ultra. For makers wanting versatility and faster prints, choose Anycubic Photon Mono M7 Pro. Both are excellent entry machines; the choice depends on your priority (detail vs. speed/platform size).
A complete resin printing setup requires several accessories beyond the printer itself:
IPA Washing Container: Isopropyl alcohol (99% purity) is essential for post-print washing. A 500ml bottle costs ¥1,500-¥2,000 (~$10-$13) and cleans 20-50 parts depending on resin type. Reusable containers with drain plugs simplify workflow. Pro tip: After washing, let sediment settle overnight; the clear IPA on top can be decanted and reused.
UV Curing Station: Post-curing requires 405nm UV exposure for 2-10 minutes depending on part size. UV curing boxes cost ¥2,000-¥5,000 (~$13-$35). Entry models use simple LED arrays; premium models include rotating turntables and temperature control. Many users DIY curing stations with LED strips and aluminum enclosures.
FEP Film Replacement Kit: The resin tank’s FEP (fluorinated ethylene propylene) film eventually wears out—typically after 50-100 prints. Replacement films cost ¥300-¥800 (~$2-$5) each. Always stock spares.
Slicing Software: Chitubox (free version available) and Lychee Slicer ($99 one-time) are industry standard. Both offer automatic support generation, but manual refinement is essential. Lychee Slicer’s UI is more intuitive; Chitubox is more feature-rich. Start with Chitubox’s free version.
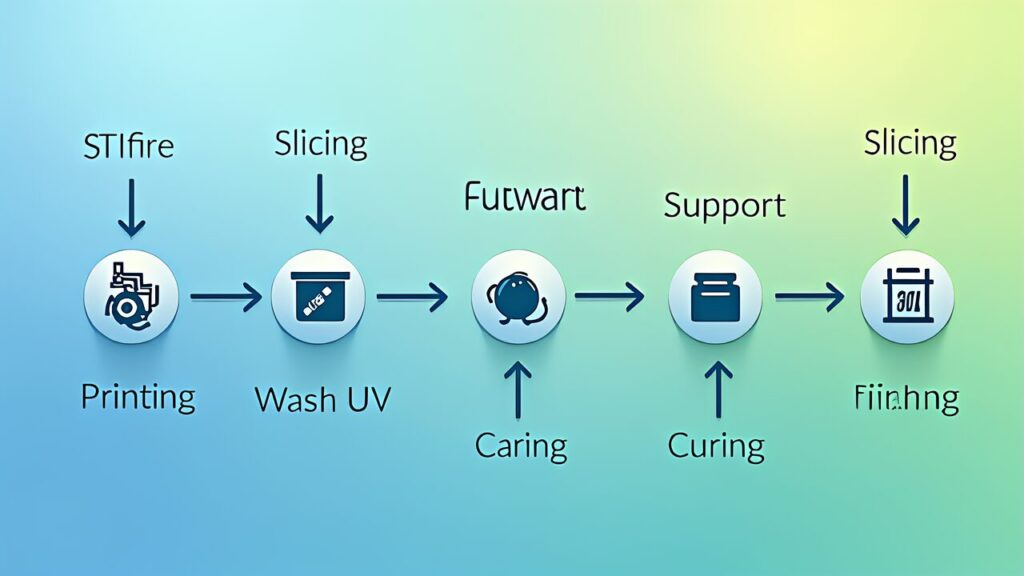
Here’s the complete resin printing workflow from digital model to finished part. Unlike FDM, resin introduces unique steps that require careful execution.
Step 1: Model Preparation. Load an STL or OBJ file into slicing software (Chitubox, Lychee Slicer, etc.). Unlike FDM, resin parts are typically oriented upside-down—suspended from the build plate rather than resting on it.
Step 2: Support Placement. Resin requires supports under overhanging features. Use the slicer’s automatic support function, then manually adjust. Support diameter and density are trade-offs between part strength and surface finish. Thinner supports minimize scarring but risk breaking; thicker supports ensure success but leave larger marks.
Step 3: Slicing and Exposure Settings. Layer thickness is typically 25-50μm. Larger layers print faster but risk detail loss. Exposure time depends on LCD intensity and resin type—typically 10-15 seconds per layer for MSLA at standard settings. Most slicers provide recommended profiles; adjust based on test prints.
Step 4: Print Execution. Ensure the resin vat is filled to the proper level (usually marked by a min/max line). Stir the resin thoroughly for 30+ seconds before printing—pigments and additives settle during storage. Start the print and monitor the first few layers to confirm build plate adhesion. After that, printing is largely hands-off.
Step 5: Washing. After printing completes, remove the part from the build plate and wash in IPA (99% isopropyl alcohol) or water (if water-washable resin) for 2-5 minutes, depending on resin type. An ultrasonic cleaner accelerates the process significantly.
Step 6: UV Secondary Curing. After washing and air-drying, place the part in a UV curing chamber for 2-10 minutes depending on resin type and part thickness.
Step 7: Support Removal and Finishing. Remove supports with nippers and sand away support marks using sandpaper. Paint, prime, or seal as needed. Your part is now complete.
Unlike FDM printers, resin requires specific environmental controls and safety measures. Building a proper workspace is essential for consistent results and personal safety.
Ventilation: Uncured resin emits volatile organic compounds (VOCs). A well-ventilated area or HEPA-filtered enclosure is necessary. Many users install printer enclosures with built-in fans (¥5,000-¥15,000 / ~$35-$100). An alternative is positioning the printer near a window with exhaust airflow.
Temperature Control: Cold environments reduce resin fluidity and cure speed. Maintaining 20-25°C is ideal. Heated enclosures or room heaters help in winter months. Many printers now include internal heaters, reducing external heating needs.
Work Surface: Resin can stain permanently. Dedicate a waterproof workspace. Disposable absorbent mats, laminated tables, or stainless steel surfaces prevent damage. Keep paper towels and IPA nearby for immediate cleanup.
Safety Equipment: Essential items include nitrile gloves (100-pack for ¥500 / ~$3), safety glasses, and a lab coat or apron. These protect against accidental resin contact, which can cause skin irritation. Some users also wear respiratory masks rated for organic solvents.
Lighting: 405nm UV light from the printer damages human skin. Never stare into active LCD screens. Install desk lamps with UVA/UVB filters or position your workspace away from direct printer light.
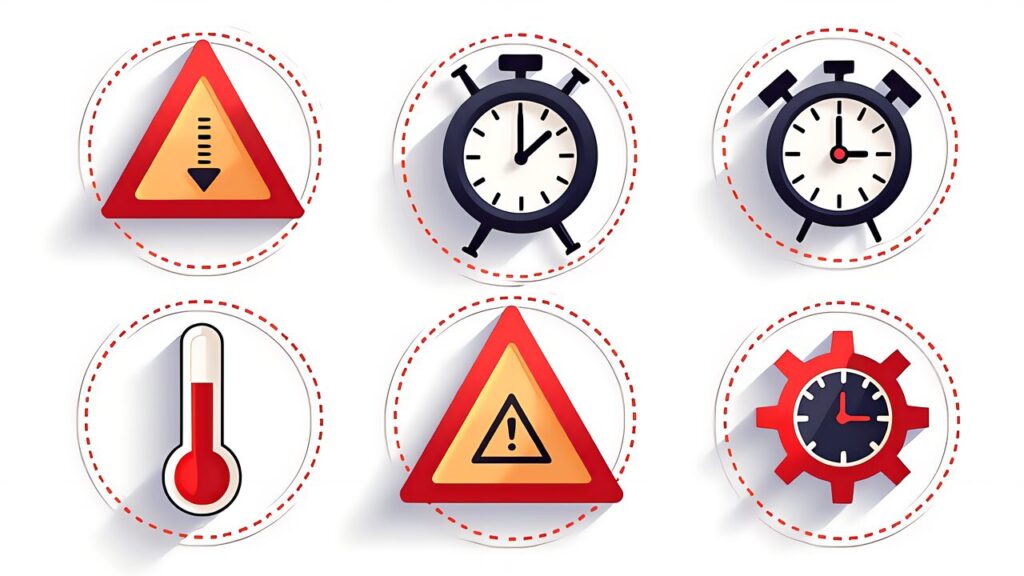
Before printing your first part, verify these key parameters:
Test Printing: Begin with the test model built into Chitubox or a manufacturer-provided STL. Test prints validate your exposure time, support placement, and system calibration—critical before printing valuable designs. Most machines ship with sample resin; use this for tests.
Resin Agitation: Before printing, shake the resin bottle vigorously for 30+ seconds. Pigments and additives settle during storage, causing uneven coloring or cure failures. Tip: After shaking, let it sit a few minutes before pouring to allow air bubbles to escape.
Bottom Layer Exposure: This is the parameter that most confuses beginners. Bottom layers directly contact the build plate and require longer exposure—typically 30-60 seconds versus 10-15 seconds for normal layers. Insufficient bottom exposure causes part detachment; excessive exposure creates tough-to-remove rafts. Start with 8 bottom layers at 50 seconds each.
FEP Film Condition: Inspect the resin tank’s FEP film before each print. Cracks or cloudiness indicate replacement is needed. Gently tap the film—a clear “ping” indicates proper tension; a dull thud suggests looseness. Apply PTFE lubricant spray to new FEP film to enhance release and improve success rates.
FDM experience can be deceptive—similarities mask critical differences. Watch out for these common mistakes:
Ignoring Temperature: Unlike FDM where nozzle heating is standard, resin viscosity directly depends on ambient temperature. Cold resin prints poorly. Always check room temperature; add heaters if below 18°C.
Over-Designing Supports: FDM users often build dense support structures. Resin supports should be minimal—just enough to prevent part collapse. Over-supporting wastes resin and creates excessive cleanup work. Start thin and adjust if failures occur.
Neglecting FEP Film Maintenance: The FEP film is the resin tank’s critical wear item. Inspect regularly. Scratches scatter light, creating streaks in prints. Budget for replacement every 50-100 builds.
Skipping Resin Agitation: Resin is not “shake and go” like FDM filament. Without agitation, cured resin layers show color variations and reduced strength. Always shake before printing.
Understanding true operating costs helps justify the resin investment.
Resin Cost: Standard resin ranges from ¥3,000-¥8,000 per liter (~$20-$55). A 500ml bottle (¥1,500-¥4,000 / ~$10-$27) is a good starting quantity. High-end specialty resins (clear, flexible, engineering-grade) can exceed ¥10,000/L (~$67). A typical 30×17mm miniature uses 5-10ml, costing ¥15-¥80 (~$0.10-$0.55) in material per figure.
Electricity: MSLA machines draw 100-150W peak, averaging 30-50W during typical 2-4 hour prints. At ¥31/kWh (Japanese standard), a 3-hour print costs roughly ¥3 (~$0.02). Adding a UV curing station (25-50W) barely changes the calculation.
Consumables: FEP film (~¥300-¥800 / $2-$5 per replacement) lasts 50-100 prints, adding ¥5-¥10 per print. LCD panels (¥5,000-¥15,000 / $35-$100) last 1,000-2,000 hours, adding ¥5-¥10 per hour of operation. IPA costs ¥1,500-¥3,000 per liter (~$10-$20) with dozens of washes per liter—roughly ¥5-¥10 per part.
Total Per-Part Cost: A small miniature costs approximately ¥50 (~$0.33) in resin + ¥3 electricity + ¥5 FEP + ¥5 LCD amortization + ¥5 IPA = roughly ¥68 (~$0.45) per unit. This is competitive with injection molding for small runs and dramatically cheaper than hand-sculpting or outsourcing.
Now that you understand resin 3D printing fundamentals, explore these resources:
If you haven’t mastered FDM basics, start with our 3D Printer Beginner Guide 2026. For detailed machine comparisons, visit our Best Resin 3D Printer 2026 guide. To master slicer software configuration, check out our AI Resin Slicer Guide 2026. For post-processing mastery, explore Resin 3D Print Post-Processing Master Guide 2026.
Join online communities like Resin Innovations and the official Elegoo or Anycubic forums. These communities share settings, troubleshooting advice, and curated model libraries. Your journey into photopolymerization is just beginning—these resources will guide your success.