
Using Claude for 3D Print Design — How Far Has AI CAD Come with Fable 5?
swiftwand swiftwand.ai

The quality of a resin 3D print is not decided by the printer alone. Post-processing after the print is the decisive stage that determines the final finish. This guide organizes the latest 2026 best practices for resin 3D print post-processing into a workflow that beginners and intermediate users alike can follow. Washing, UV curing, support removal, surface finishing, and safety: master every post-processing step in this one article.
This article contains affiliate links. As an Amazon Associate, we earn from qualifying purchases.
If you optimized your slicer settings with the previous article, AI Resin Slicer Comparison 2026, this is where the real work begins. Learn the post-processing techniques that bring out the full quality of your print data.
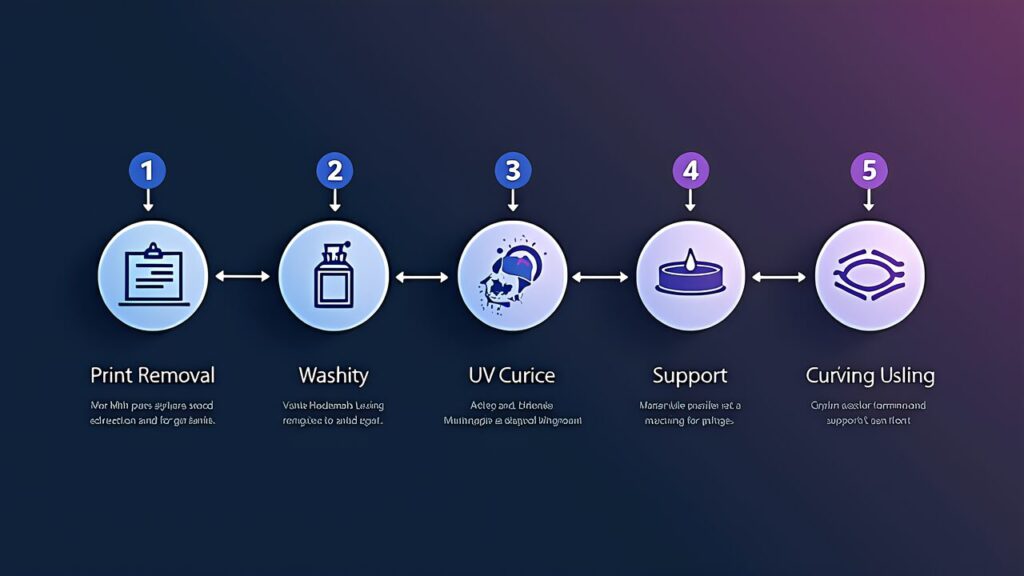
Resin 3D print post-processing consists of five basic steps. Following this order is the precondition for stable, repeatable quality.
Step 1: Removing from the Build Plate
Once the print is complete, first remove the model from the build plate. Use a metal scraper and slide it in at a low angle (15 to 30 degrees) against the joint between the plate and the model. Prying by force can break the part, so separate it slowly with even pressure. Make sure the scraper edge is sharp, and work in gradually from several directions. If your printer uses a flexible build plate, simply flexing the plate slightly will release the model. This method carries a low risk of damage and is especially effective for thin prints and precision parts. Among 2026 models such as the Elegoo Saturn 4 series and the Anycubic Photon Mono M7, flexible plates are increasingly standard equipment.
Always wear nitrile gloves when removing the model. This keeps resin dripping from the build plate off your skin. Do the removal over the vat as well, so that any resin that falls is caught by the vat.
Step 2: Washing (Removing Uncured Resin)
The surface of the removed model still carries uncured resin. Washing is the step that removes this uncured resin completely. It is covered in detail in the next section.
Step 3: Support Removal
After washing, remove supports while the model is still soft and not fully cured. Removing them after UV curing leaves larger support marks that are hard to repair, so this is the ideal stage for the job. For prints where surface quality matters, such as miniature figures or jewelry masters, this timing has a major effect on the final result.
Step 4: UV Curing (Secondary Curing)
After support removal, expose the model to UV light to fully cure it. Secondary curing improves mechanical strength, surface hardness, heat resistance, and dimensional stability all at once. Skipping this step leaves the print at high risk of deforming or discoloring over time. Within the resin post-processing workflow, this is the step that anchors quality.
Step 5: Surface Finishing
This step determines the final appearance. Sanding, priming, and painting are done in stages. If the part is only a prototype check, the step can be skipped, but display figures and parts used as products call for careful finishing.
Of these five steps, washing and UV curing are the most important, and the following sections dig into each in detail. Note that none of the post-processing steps can be omitted. Skipping the wash degrades surface quality, and skipping UV curing accelerates aging. Post-processing may feel tedious at first glance, but once you understand what each step is for and carry it out carefully, the resin post-processing workflow reliably produces high-quality parts.
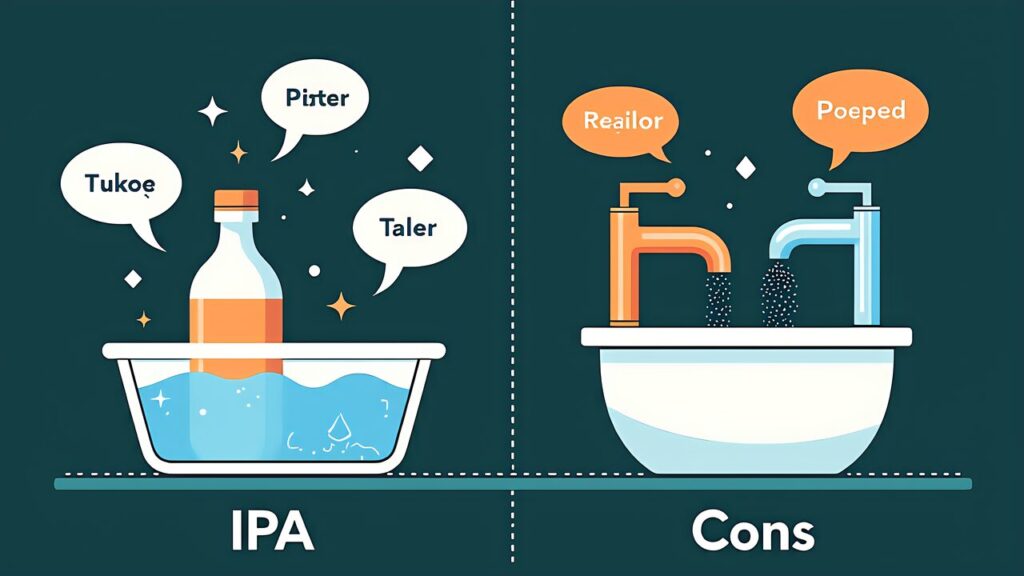
In resin 3D print post-processing, washing is the step that lays the foundation for quality. An insufficient wash leads to tacky surfaces, clouding after UV curing, poor paint adhesion, and other problems that ripple through every later step.
IPA (Isopropyl Alcohol) Wash: The Standard Choice
IPA at 99% concentration or higher is recommended. At 99.9% the cleaning power is high and residue is minimal. IPA is the wash solvent officially recommended by most resin manufacturers, and it works with almost every resin type, including standard, tough, flexible, and castable resins.
A two-stage wash is recommended. The first bath (the dirty bath) removes the bulk of the uncured resin, and the second bath (the clean bath) does the finishing wash. Contamination builds up in the first bath, so once the liquid turns yellow and cloudy it is time to replace it. Used IPA can be reused after exposing it to direct sunlight to cure the dissolved resin and then filtering out the solids.
As a guideline, wash for 2 to 3 minutes in the first bath and 1 to 2 minutes in the second. Prolonged soaking risks eroding the surface of the print, so keep the total under 5 minutes. Flexible and tough resins in particular can whiten on the surface or lose mechanical properties if left in IPA too long. Use a timer to manage the time precisely.
As alternatives to IPA, some users turn to anhydrous ethanol or acetone. Acetone, however, can dissolve some resins, so avoid it unless the manufacturer recommends it. Ethanol has somewhat weaker cleaning power than IPA, but it has the advantage of being easy to obtain.
Using an Ultrasonic Cleaner
A 40 kHz ultrasonic cleaner dramatically improves cleaning of fine grooves and internal structures that a manual wash cannot reach. The ultrasonic vibration agitates the IPA and physically dislodges uncured resin lodged in tiny gaps. With ultrasonics, wash time can be shortened to 1 to 2 minutes.
That said, thin-walled prints and delicate details can be damaged by the vibration. In those cases, lower the power or switch to a manual wash.
Water-Washable Resin: The Convenient Option
Water-washable resin is, as the name suggests, resin whose uncured residue can be rinsed off with tap water. Because there is no need to buy, store, or dispose of IPA, both the startup cost and the maintenance burden drop significantly. Major manufacturers such as Elegoo and Anycubic sell water-washable resins, and the range of options grows every year.
There are three cautions with water-washable resin. First, never pour the wash water straight down the drain. Uncured resin is an environmental pollutant, so cure the waste water under UV light before disposing of it. Second, water-washable resin tends to be slightly weaker mechanically than standard resin. For precision functional parts, standard resin with an IPA wash is the better fit. Third, moisture can penetrate the print and cause cracks after curing, so allow plenty of drying time after washing.
Drying After the Wash
Dry the print thoroughly after washing. IPA is highly volatile, so 5 to 10 minutes in a well-ventilated spot is enough. For water-washable resin, blow off the water droplets with an air blower and then let the part air-dry. UV curing a print that is still damp causes surface clouding and haze.
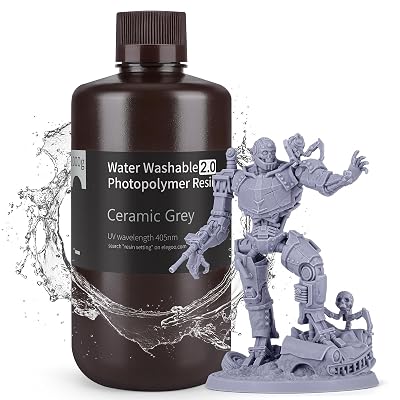
99% IPA, and a water-washable resin if you would rather avoid solvent altogether.

 ポチップ
ポチップ
In resin 3D print post-processing, UV curing (secondary curing or post-curing) is the step that finalizes the mechanical properties of the print. After the wash removes uncured resin from the surface, unreacted photoinitiator still remains inside the part. Exposing it to UV light reacts this residual content and improves hardness, heat resistance, and dimensional stability.
Curing in Sunlight: Free but Unstable
Sunlight contains UV-A wavelengths (315 to 400 nm), so in theory secondary curing is possible with sunlight alone. Left outdoors in direct sun on a clear day, a print cures in a few hours. The advantages are zero cost and no extra equipment.
Sunlight curing has a serious drawback, however. UV intensity varies widely with weather, season, and time of day, so the reproducibility of the cure is poor. On cloudy days you get under-curing, and in midsummer direct sun you risk yellowing and cracking from over-curing. If only one side of the print is strongly exposed, uneven curing causes warping. It is acceptable for prototypes and test pieces, but unsuitable for product-level quality control.
A Dedicated UV Curing Station: An Investment in Consistent Quality
A dedicated UV curing station is a curing chamber with built-in 405 nm LEDs. A turntable rotates the print evenly under the UV light, so uneven curing is unlikely. Some models include temperature control, and curing while heated further improves mechanical properties.
Each manufacturer offers dedicated units, such as the Anycubic Wash & Cure, the Elegoo Mercury Plus, and the Formlabs Form Cure. Prices range from entry-level models around $40 to professional units at $200 or more. The trend in 2026 is toward all-in-one Wash & Cure stations that handle both washing and curing in a single unit. They save space and shorten the workflow, which makes them convenient in a desktop setup.
On models that support heated curing, exposing the print to UV at 60 to 80°C further increases the cross-link density of the resin. For tough and engineering resins in particular, heated curing makes a measurable difference in final tensile strength. The Formlabs Form Cure supports heated curing up to 80°C and is effective when you want to maximize the strength of functional parts.
Curing Time Guidelines
Curing time depends on the type and color of the resin. The following are general guidelines when using a dedicated 405 nm curing station.
Clear and white resins let UV light pass deep into the part, but the photoinitiator reaction tends to take longer. Black resin, conversely, absorbs UV at the surface, so the surface cures quickly but the interior needs adequate time to cure fully.
An under-cured print stays tacky and drifts out of dimension over time. Over-curing risks yellowing, brittleness, and cracking. Start from the manufacturer’s recommended value and fine-tune the time while checking the actual surface condition.
An example of a dedicated wash-and-cure station.
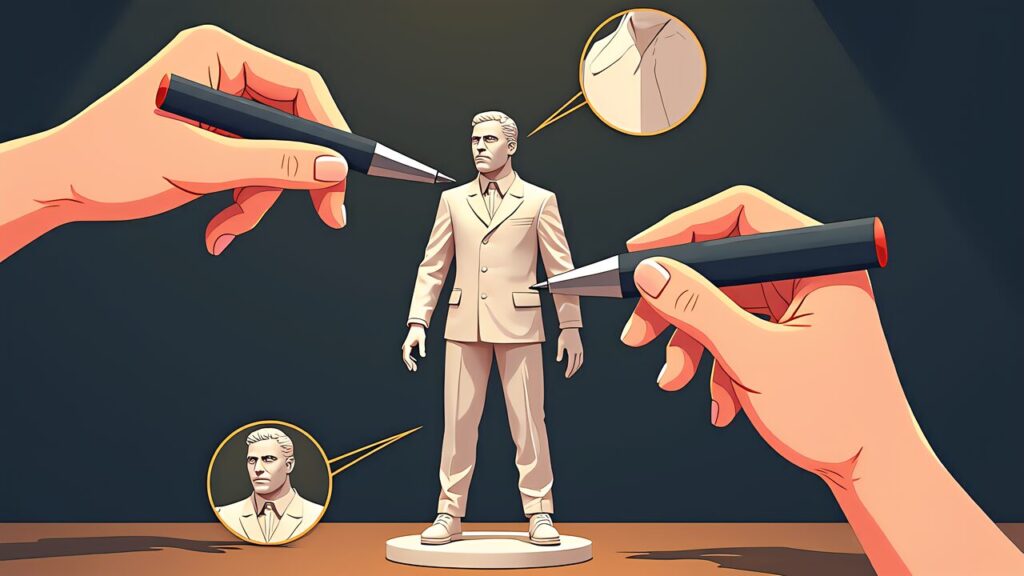
The iron rule is to remove supports immediately after washing. Before UV curing the print is still soft and supports snap off easily. Removing them after curing chips the surface at the contact points and leaves deep marks.
Basic Tools
Flush cutters (nippers) and a hobby knife are essential. The flush cutters cut supports at the base, and the hobby knife shaves the remaining stubs flat. Precision tweezers also help with removing thin supports.
Removal Procedure
Start by cutting the thick supports with the flush cutters. Hold the blade parallel to the surface of the print and clip the support at its base. Next, grip the thin supports with tweezers and remove them with a twisting motion. Finally, shave off the support stubs with the hobby knife.
Where support marks stand out, smooth them with sandpaper after UV curing. Rough them down with 400 grit, follow with 800 grit for the intermediate pass, and finish with 1500 grit.
The Warm-Water Support Removal Technique
Some users soak the washed print in 40 to 50°C water for a few minutes before removing supports. The warm water softens the resin slightly, making supports even easier to snap off. Prolonged soaking in water is not recommended for resins other than water-washable types, though, so work quickly.
Support Placement Direction
Another way to minimize support marks is to concentrate the contact points in inconspicuous areas of the print. For figures, adjust the orientation so that supports cluster on the back and underside. Hiding support marks where they cannot be seen on display greatly reduces post-processing effort.
Countermeasures at the Slicer Stage
To make support removal easier, it helps to reduce the support contact size at the slicer stage. With the AI support generation covered in AI Resin Slicer Comparison 2026, you can place just enough supports with the smallest possible contact points.
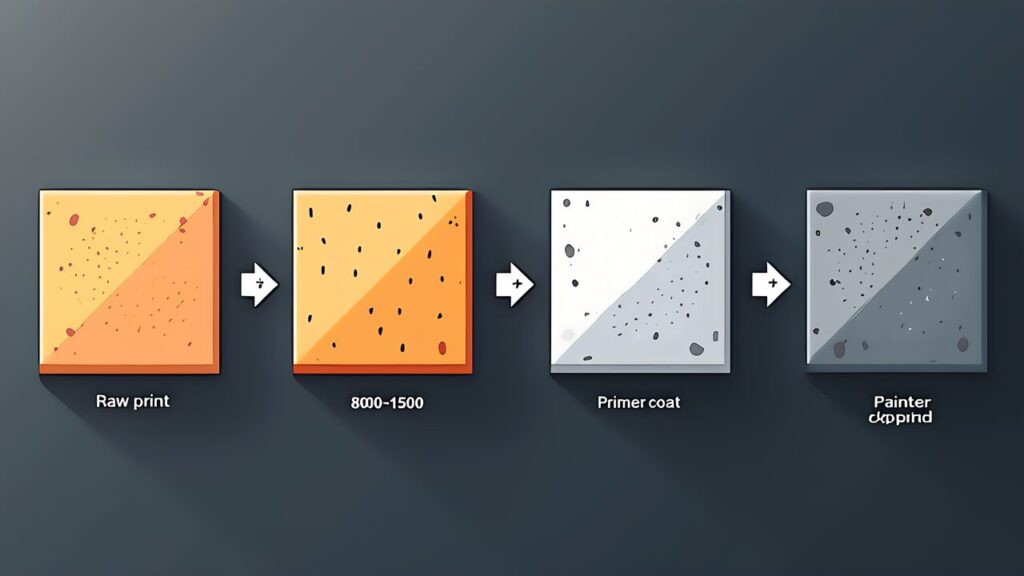
Resin prints have smoother surfaces than FDM prints, but support marks, layer lines, and parting lines can remain. Surface finishing erases these traces and creates a base for paint or coatings.
Sanding: Work Through the Grits in Stages
Wet sanding is recommended. Sanding with running water prevents dust from scattering and reduces clogging of the paper.
The basic grit sequence is 400, then 800, then 1500. Use 400 grit to remove support marks and large bumps, 800 grit to erase medium scratches, and 1500 grit for the final smoothness. If a mirror finish is required, move on to 2000 grit or finer and polishing compound.
Sanding evenly at each grit is important. Deep scratches left behind at the 400 stage cannot be removed at 800. Take your time and give each stage the attention it needs.
Applying Primer
After sanding and before painting, apply a primer. Primer improves paint adhesion and fills fine scratches in the surface. A gray spray surfacer is easy to use. Build an even base coat with 2 to 3 light passes.
Check the surface after the primer dries. If scratches or dents are still visible, sand lightly with 1500 grit and apply primer again.
Painting
Apply the main color over the primer. Airbrush, spray can, and brush painting are all viable, but an airbrush gives the most uniform finish. For figures and miniatures, brush painting to pick out details is the common technique.
After painting, protect the surface with a clear coat. Choose gloss clear for a shiny finish or matte clear for a flat finish. The clear coat also shields the print from UV degradation, so it helps maintain quality over the long term.
Painting Notes Specific to Resin
Resin prints take paint better than FDM prints. Because the surface is smooth, paint may adhere even without primer, but for long-term durability using primer is recommended. Also note that residual uncured components in a resin print can react with paint and discolor. Be sure to UV cure thoroughly before moving on to painting.
Dyeing is another option. Immersing a clear resin print in dye solution colors it without a paint film, which preserves fine detail. This method is used for jewelry and clear parts.

Placing safety at the end of this resin post-processing guide is deliberate: it is the position most likely to stick in memory. Handling resin demands a level of care that FDM filament simply does not. AI Resin 3D Print Quality Control 2026 touches on safety in the context of quality control; here the focus is on safety measures specific to post-processing.
Skin Protection: Nitrile Gloves of 5 mil or Thicker
Uncured resin is a skin irritant, and repeated contact carries a risk of allergic sensitization. Choose nitrile gloves at least 5 mil (0.127 mm) thick. Latex gloves are unsuitable because they resist resin components poorly. Change gloves for every session and make a habit of checking for tears and pinholes.
Eye Protection
Wear safety goggles to protect your eyes from resin splashes and IPA mist. The risk of splatter is especially high when using an ultrasonic cleaner or removing prints from the build plate. To protect your eyes from the UV light of the curing station, keep the chamber lid closed while curing.
Ventilation
Prolonged inhalation of IPA vapor and volatile resin components causes headaches and dizziness. Ensure adequate ventilation in the workspace. Ideally, install a fume hood with an exhaust fan. At minimum, open a window and circulate the air with a fan.
The flash point of IPA is extremely low at 12°C, meaning it gives off flammable vapor at room temperature. Keep open flames and heat sources (stoves, heaters, smoking) away from the workspace. Place a Class B fire extinguisher (rated for flammable liquids) near where IPA is stored.
Waste Disposal
Used IPA and wash water contain dissolved uncured resin. Pouring them down the drain pollutes the environment. The correct disposal procedure is as follows.
Contaminated items such as resin bottles, gloves, and paper towels should likewise be exposed to UV to cure any uncured resin before disposal.
Workspace Design
Setting up a workspace dedicated to resin post-processing is strongly recommended. The ideal workspace meets the following conditions.
Avoid working at the dining table or in the bedroom. Resin particles and IPA vapor can settle on food and bedding. A garage or a dedicated workroom is ideal; if that is not possible, set up a well-ventilated space on a balcony or by a window.
The basic protective equipment: powder-free nitrile gloves.
 ポチップ
ポチップ
As of 2026, resin post-processing is still largely manual work. Since the start of the year, however, the push toward more efficient and automated post-processing has been accelerating.
Integrated Wash & Cure Stations
Wash & Cure stations that complete both washing and UV curing in a single unit are becoming the mainstream. Switching from the rotating IPA wash basket to the UV curing chamber takes one touch, which shortens the workflow. The latest models offer rich timer presets, letting you set the optimal wash and cure times for each resin type at the press of a button.
The Potential of AI Assistance
Compared with FDM post-processing, resin post-processing involves more chemical processes, which leaves plenty of room for AI to help optimize parameters. AI assistants that automatically calculate wash and UV cure times based on resin type, color, layer height, and part size are under development. In the future, slicers will likely optimize everything from print data through post-processing parameters in one pass.
Next Steps for Readers
Now that you have the full picture of resin 3D print post-processing, the next step is to get your hands dirty. There is no need to aim for perfection from the start. Begin with standard resin and go through the basic wash, UV cure, and sanding cycle, then work toward the optimizations that suit your own use case.
As official resources, we strongly recommend obtaining the technical data sheet (TDS) and safety data sheet (SDS) for each resin you use. Formlabs’ post-processing guide, Elegoo’s resin handling guidelines, and Anycubic’s product support pages are useful references. Start a safe, high-quality resin 3D printing life.