AI Resin 3D Print Quality Control 2026 — 7 Common Failures & AI Detection
swiftwand
AI × Resin 3D Print Quality Control 2026 — 7 Common Failures & AI Detection
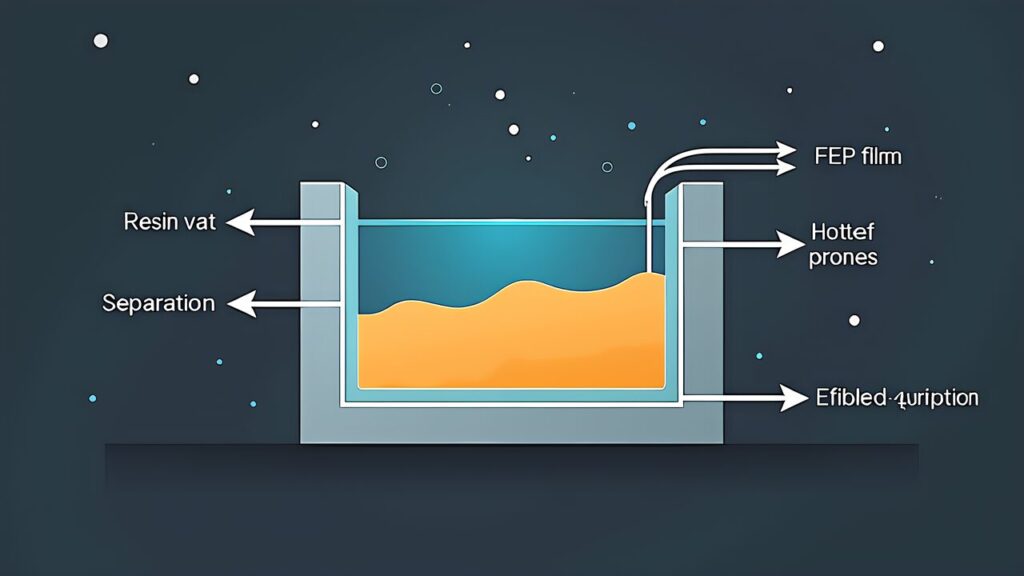
The first thing you encounter after starting resin 3D printing is print failure. While FDM printer failures appear as spaghetti-like filament visible on the build plate, resin printer failures typically manifest as lumps stuck to the FEP film on the vat bottom. From the perspective of resin 3D print failure, AI detection, and quality control, this article systematizes 7 representative failure patterns and explains the causes, solutions, and pre-detection methods for each. As of 2026, combining slicer preview features with AI-based anomaly detection allows prevention of most print failures before they occur. By the end of reading this article, you’ll have the judgment to logically identify failure causes and select appropriate solutions.
For readers who have learned post-processing from the previous article “Resin 3D Print Post-Processing Complete Master Guide 2026,” the knowledge to ensure “success in printing itself” — which is the prerequisite for post-processing — is essential.
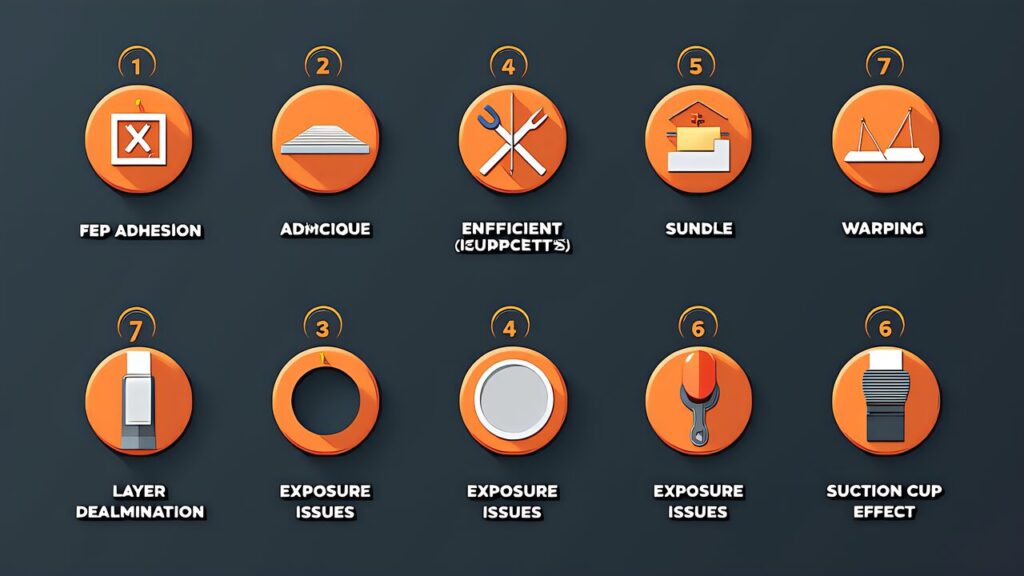
7 Common Resin 3D Print Failure Patterns — Comprehensive Overview
Resin 3D print failures can be systematically categorized into 7 patterns based on where and how they occur:
Pattern 1: First Layer Adhesion Failure — Model fails to adhere to the build platform from the first layer. The entire model is found floating in the vat or stuck to the FEP film.
Pattern 2: Mid-Print Separation — Model detaches mid-print, with the lower portion stuck to the FEP film and the upper portion missing.
Pattern 3: Delamination & Layer Shift — Layers fail to bind properly, causing gaps between layers or horizontal shifts in the model geometry.
Pattern 4: Support Failure — Supports break during printing or post-processing, leaving behind support marks that damage the model surface.
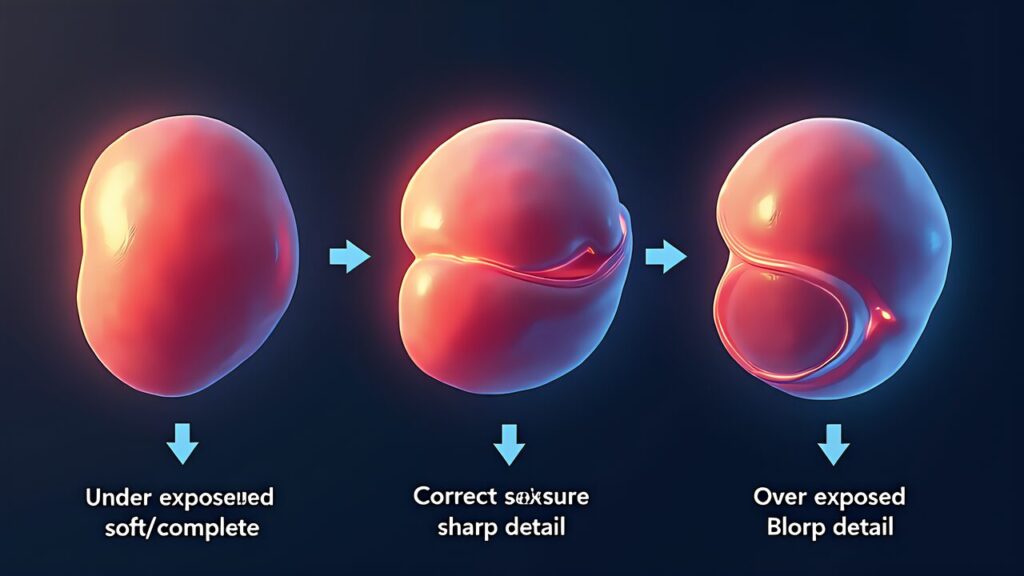
Pattern 5: Over-Curing & Brittleness — Model becomes extremely brittle and cracks during handling due to excessive UV exposure.
Pattern 6: Under-Curing & Stickiness — Model remains sticky and doesn’t fully harden, indicating insufficient exposure time or resin issues.
Pattern 7: Warping & Dimensional Shift — Model warps during curing or shrinks more than expected, causing dimensional errors and surface deformations.
Pattern 1: First Layer Adhesion Failure — Root Cause & Prevention
What Causes First Layer Failure?
First layer adhesion failure is the most common resin print failure. The model should bond firmly to the build platform in the first layer, but if adhesion is weak, the entire model will separate from the plate.
Root Causes:
Build Platform Contamination — Dust, resin residue, or failed support material on the platform prevents adhesion.
Insufficient First Layer Exposure — The first layer receives less UV than subsequent layers and may need 1.5-2x longer exposure.
Improper Layer Thickness — XY pixel size mismatch (typically 47-51 μm) can cause the first layer to slip.
Resin Temperature Issues — Cold resin (below 20°C) increases viscosity and reduces layer adhesion.
FEP Film Wear — Damaged FEP film (scratches, cloudiness) reduces peel force consistency and affects first layer bonding.
Prevention Strategy
Clean the Build Platform — Use isopropyl alcohol and microfiber cloth to remove all residue before each print.
Increase First Layer Exposure 1.5-2x — Most slicers allow layer-specific exposure settings. For standard resins, add 2-3 seconds to the first layer.
Verify XY Pixel Size — Check your printer’s technical specs. If unsure, perform calibration prints with exposure tests.
Maintain Resin Temperature 22-26°C — Use a heating mat in winter or allow warm resin to sit in the vat for 30 minutes before printing.
Replace FEP Film Every 50-100 Prints — Replacement cost (~¥3,000) is far cheaper than failed prints.
Pattern 2: Mid-Print Separation — Why It Happens
Detection: Lower Part Stuck, Upper Part Gone
In mid-print separation, the lower portion of the model remains stuck to the FEP film, while the upper portion disappears. This indicates the model detached from the build platform mid-print.
Common Causes:
Insufficient Support Density — Supports are too sparse or thin, and the model sags under its own weight.
Peel Force Exceeds Build Plate Bond — When peeling the FEP film, the peel force becomes stronger than the adhesion between model and platform.
Resin Viscosity Changes — As resin is used, it becomes more viscous, increasing peel forces over time.
Over-Exposure Brittleness — Over-exposed resin becomes too rigid and can’t flex during peeling, leading to model cracking and separation.
Prevention Strategy
Optimize Support Placement — Use support density 1-2 per cm² for thin walls and overhangs. Supports should be 0.8-1mm thick at the base.
Reduce Exposure to Prevent Over-Curing — Excessive exposure makes resin brittle. Use the minimum exposure that produces solid layers.
Monitor Resin Age & Viscosity — Replace vat resin every 30-40 hours of printing or when viscosity increases noticeably.
Use Lift Speed Reduction for Large Models — Reduce lift speed (e.g., from 80mm/min to 40mm/min) to reduce peel forces on large prints.
Delamination occurs when layers fail to bind properly. The result is visible gaps, layer separations, or horizontal offsets in the model geometry. Unlike adhesion failure (which affects the first layer), delamination affects mid-print layers.
Root Causes:
Contaminated Resin — Dust, uncured resin particles, or old support fragments interfere with layer bonding.
Insufficient Layer Cure Time — Layers don’t fully cure before the next layer is applied, causing weak interlayer bonds.
Temperature Fluctuations — Temperature changes cause resin viscosity shifts, affecting layer consistency.
XY Pixel Misalignment — Projector misalignment causes layer offsets (typically ~0.1mm per layer, accumulating to visible errors).
Excessive Peel Force — Aggressive peel forces distort layers before they fully cure.
Prevention Strategy
Filter Resin Regularly — Use 50-micron filters before each print session. Replace filters when flow rate drops.
Optimize Exposure & Layer Settings — Ensure each layer has adequate cure time. Add 1-2 seconds of wait time between layers if needed.
Maintain Stable Ambient Temperature — Keep the printer in a 20-26°C environment. Use a thermometer to monitor.
Perform Projector Alignment Test — Many slicers include XY calibration patterns. Test every 100 prints.
Reduce Peel Force Settings — Lower lift speed and reduce Z-axis acceleration to minimize mechanical stress.
Pattern 4: Support Failure — Structural Weakness
Why Supports Break
Supports break during printing or post-processing, leaving behind rough marks and damage. While support removal is expected, structural failure of supports (rather than clean removal) indicates design or material issues.
Common Causes:
Inadequate Support Thickness — Supports thinner than 0.5mm lack rigidity and flex excessively during peel.
Over-Exposure Makes Supports Brittle — Brittle supports shatter rather than bend during peel.
Under-Exposure Leaves Supports Weak — Insufficiently cured supports break easily during removal or handling.
Wrong Support Orientation — Supports perpendicular to peel direction experience higher stress.
Poor Base Contact — Supports not firmly attached to build platform have weak base strength.
Prevention Strategy
Set Support Minimum Thickness to 0.8-1.0mm — Configure slicer to avoid supports thinner than 0.8mm.
Increase Support Contact Point Size — Larger contact areas (0.5-1mm diameter) distribute stress and reduce breakage.
Optimize Exposure for Support Material — Balance model curing with support integrity. Slightly reduce exposure if supports consistently break.
Angle Supports Toward Peel Direction — Supports parallel to lift direction experience lower bending stress.
Post-Processing: Warm Water Soak — Soak failed support remnants in warm isopropyl alcohol for 10 minutes to soften and ease removal.
A counterintuitive issue: more UV exposure doesn’t always lead to stronger prints. Over-cured resin becomes brittle, cracks during handling, and develops internal stress fractures. The model looks perfect during printing but shatters when touched.
Why This Happens:
Cross-Linking Excess — Excessive UV causes over-polymerization, reducing the material’s ability to flex.
The opposite problem: models remain soft, sticky, or gummy, even after UV post-curing. This indicates insufficient UV exposure during printing or post-processing.
Root Causes:
Insufficient Layer Exposure — Exposure time too short to fully cure each layer.
Expired or Degraded Resin — Old resin (>6-12 months) or resin exposed to light degrades and doesn’t cure properly.
Inadequate Post-Cure UV — Post-cure chamber not providing enough UV intensity or duration.
Cold Temperature During Printing — Cold resin (<18°C) requires longer exposure to cure properly.
Wrong Resin Type Loaded — Some resins (e.g., flexible resins) naturally remain tacky after curing.
Fix Under-Curing
Increase Layer Exposure 10-20% — If prints are consistently under-cured, increase exposure incrementally (not drastically).
Extend Post-Cure Time — Many parts benefit from 30-45 minutes of UV post-curing at 60°C (not just 10 minutes at room temp).
Replace Expired Resin — If resin has been in use >6 months or stored improperly, replace with fresh batch.
Warm the Resin Vat — Preheat resin to 22-26°C before printing. Cold resin requires 15-25% longer exposure.
Check Post-Cure Chamber Performance — Test UV intensity with a UV meter. Weak chambers may have degraded bulbs.
Models warp during curing or shrink more than expected, causing dimensional errors and surface deformations. Unlike catastrophic failures (separation, brittleness), warping is subtle but renders parts unusable for functional applications.
Common Causes:
Thermal Stress During Post-Cure — Rapid heating/cooling in post-cure chamber causes differential expansion and warping.
Shrinkage Variation — Different resin types shrink 0.5-3% during curing. Uneven curing causes localized warping.
Support Stress During Removal — Pulling supports too aggressively can deform the model if it’s not fully cured.
Long-Term Environmental Changes — Resin continues to slowly shrink/shift after curing, especially in temperature-varying environments.
Build Plate Not Level — Slight tilt in the build platform causes uneven curing and differential shrinkage.
Prevention Strategy
Use Resin Designed for Dimensional Stability — Engineering resins (e.g., ABS-like, tough resins) have tighter shrinkage tolerances than standard resins.
Perform Build Plate Leveling Test — Level the build plate every 50-100 prints. Use a feeler gauge or leveling card.
Slow Post-Cure Heating — Ramp post-cure temperature gradually (15-20°C per 10 minutes) instead of rapid heating.
Allow Cool-Down Time — After UV post-cure, allow parts to cool to room temperature naturally (30 minutes minimum) before removal.
Measure and Account for Shrinkage — If ±0.2mm accuracy is required, scale CAD models up by the resin’s known shrinkage percentage (typically 1-2%).
Gentle Support Removal — Use water-jet cutters or sanding for support removal rather than brute-force breaking.
AI-Powered Failure Detection — 2026 Technology
How AI Detects Print Failures Before They Happen
By 2026, AI-powered quality control has become the industry standard for resin printing. Two main AI technologies prevent failures:
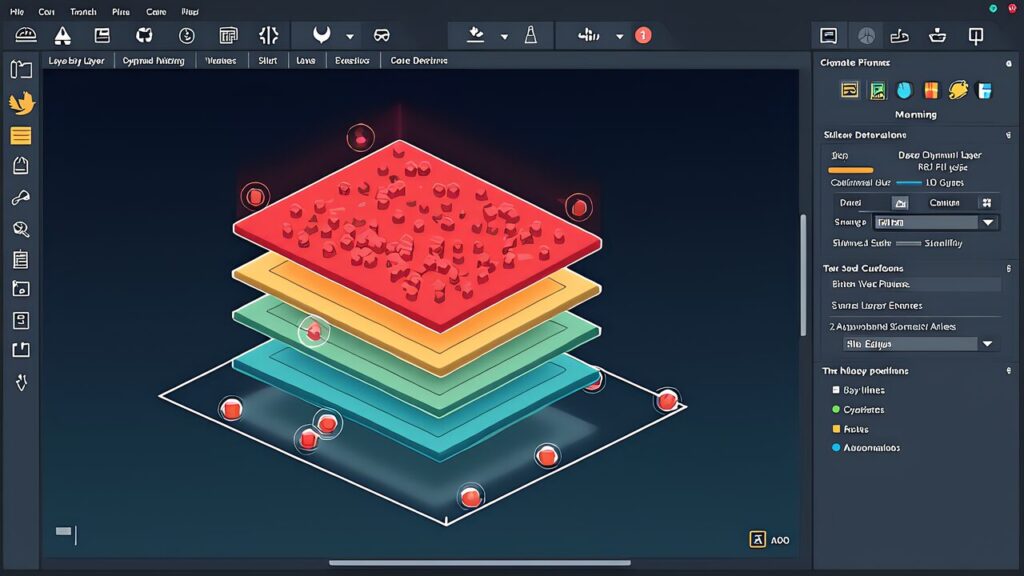
1. Slicer Preview AI Analysis
Modern slicers (Chitubox Pro, Lychee Slicer) include AI-powered preview analysis that predicts failures before printing:
Island Detection — Identifies floating segments (islands) that will fail to support properly. AI flags islands <5mm² as high-risk.
Support Stress Analysis — Calculates expected peel forces on each support and recommends support reinforcement if forces exceed thresholds.
Overexposure Prediction — Estimates pixel bleeding and over-exposure risk based on layer thickness and UV exposure time.
Wall Thickness Check — Flags walls thinner than the printer’s minimum (typically 0.4-0.5mm) that will fail.
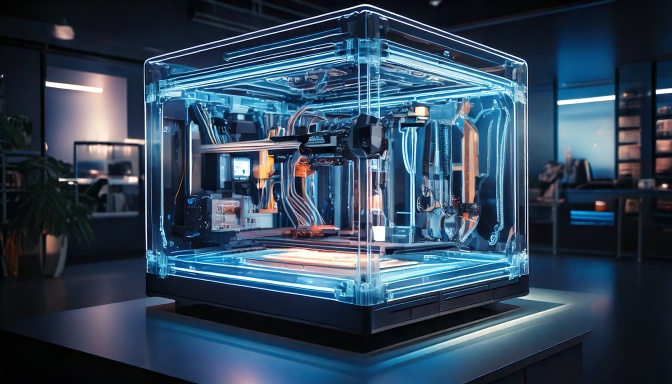
2. Real-Time Camera-Based Anomaly Detection
Advanced printers (ANYCUBIC Photon Mono M7 PRO, Formlabs Form 3+) include built-in cameras with AI anomaly detection:
Mid-Print Failure Detection — Cameras detect when the model detaches from the platform mid-print and automatically pause/abort the job.
Resin Level Monitoring — AI detects resin evaporation or drainage and alerts users when resin level drops below safe thresholds.
FEP Film Degradation Detection — Cameras identify FEP film scratches or cloudiness and recommend replacement before quality is affected.
Layer Quality Assessment — AI analyzes layer formation in real-time, detecting incomplete curing or excessive bleeding.
AI Tools You Should Use Today
For 2026, the recommended AI-enhanced workflow is:
AI-Assisted Slicing — Use Chitubox Pro or Lychee Slicer’s AI auto-support feature. These tools generate support patterns superior to manual design in 95% of cases.
Run Preview Analysis — Before printing, enable “Failure Detection Report.” Review warnings for islands, over-exposure, and support stress.
Validate Against Printer Profile — Upload your specific printer’s profile (resolution, wavelength, etc.) to the slicer. AI adjusts exposure and support recommendations based on your hardware.
Enable Print Monitoring (If Available) — If your printer includes camera-based monitoring, enable AI anomaly detection and set alerts to your phone.
Log Every Print — Record exposure settings, resin type, temperature, and outcomes in a database. Use machine learning to find your personal “sweet spot” settings.
Clean platform, increase first layer exposure 1.5x, warm resin
Lower part stuck, upper part gone
Pattern 2: Mid-Print Separation
Add supports, reduce lift speed, optimize support density
Visible gaps between layers or horizontal shifts
Pattern 3: Delamination
Filter resin, extend layer cure time, check temperature stability
Broken supports, rough marks on model
Pattern 4: Support Failure
Increase support thickness to 0.8-1.0mm, adjust support angles
Model cracks when handled (brittle)
Pattern 5: Over-Curing
Reduce exposure 5-10%, lower post-cure temperature
Model remains sticky/gummy after cure
Pattern 6: Under-Curing
Increase exposure 10-20%, extend post-cure time to 45 min
Model warps or shrinks unevenly
Pattern 7: Warping
Level build plate, slow post-cure heating, use stable resin type
Conclusion — Building Confidence in Resin Printing
Resin 3D printing failures are not random disasters — they follow predictable patterns with clear causes and proven solutions. By understanding these 7 failure modes and implementing AI-assisted quality control, you’ll achieve consistent success rates above 95%.
The future of resin printing is collaborative: humans set the strategic direction and judge the results, while AI handles the tedious work of failure prediction and optimization. Invest time in understanding your printer’s performance characteristics, leverage slicer preview warnings, and let AI guide your troubleshooting. The return on this effort is printed parts that consistently meet your expectations.
Next Steps:
Run a calibration print series to find your optimal exposure range
Upgrade to a slicer with AI preview capabilities (Chitubox Pro or Lychee Slicer)
Check if your printer supports camera-based failure detection and enable it
Document every print: settings, resin batch, temperature, and outcome
Join a resin printing community to share failure analysis and solutions with other makers
AIを使って、毎日の生活をもっと快適にするアイデアや将来像を発信しています。
初心者にもわかりやすく、すぐに取り入れられる実践的な情報をお届けします。 Sharing ideas and visions for a better daily life with AI.
Practical tips that anyone can start using right away.