3D Scan to Print Conversion 2026 — Hollowing, Support Optimization & Split Printing
swiftwand swiftwand.ai
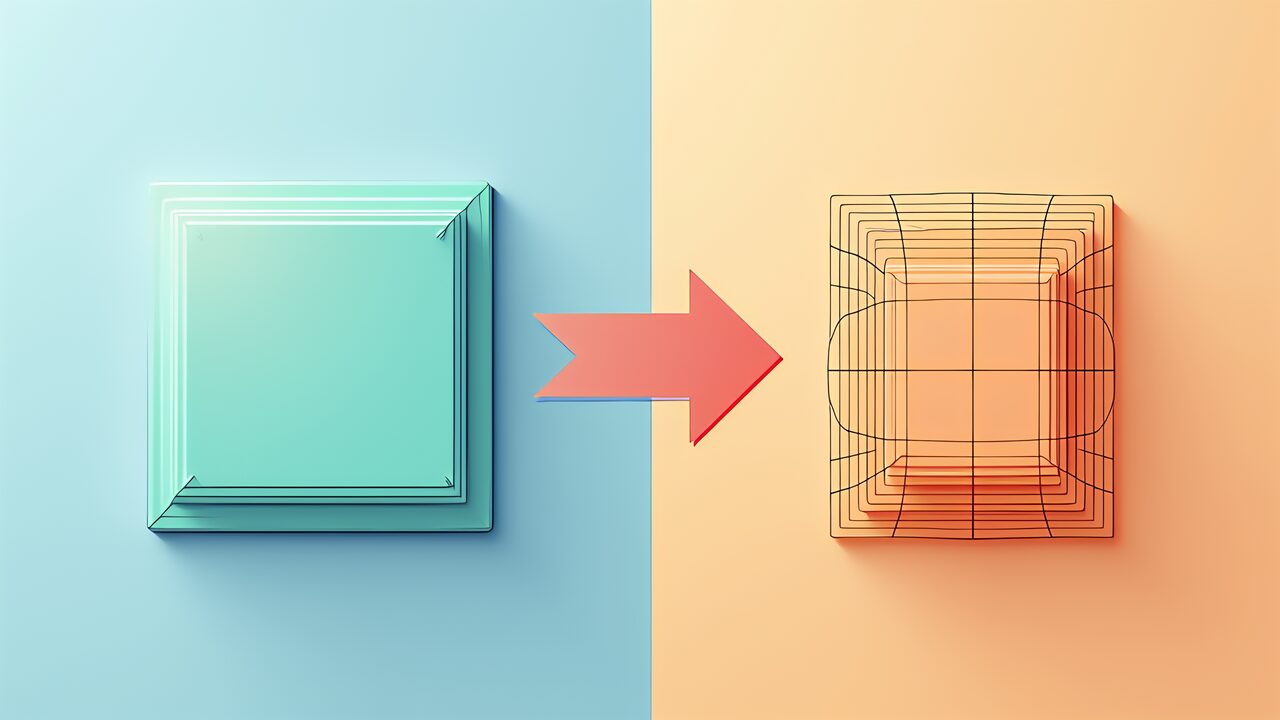
Image to 3D — raising a solid shape from a single photograph — crossed into practical territory in 2026. Snap one picture, wait under a minute, and a mesh appears. But the convenience hides a series of technical hurdles, and whether that mesh actually survives a 3D printer is a separate question entirely. This article walks the full path from one photo to a printable object: how the technology works, what the major tools actually deliver, how to shoot input images, and where the legal lines sit. We covered turning scan data into prints in our 3D scan-to-print guide; this article pushes the entry point all the way back to a single photograph.
A photograph is fundamentally two-dimensional — no depth, no back side. Image-to-3D works because the AI has learned, from enormous corpora of 3D data, what the unseen parts of an object plausibly look like. This is worth stating precisely: the result is inference, not measurement. Every surface the camera did not see is a plausible guess.
Because the shape is inferred, surface inconsistencies are common — and printing requires a watertight mesh, a single solid closed inside and out. A slicer slices the model into horizontal layers and computes each contour; holes in faces or flipped normals make inside and outside undecidable, and the contours collapse into missing layers or indeterminate infill. Tools increasingly attack this at generation time: Tripo, for instance, generates watertight meshes from a single photo and detects and repairs inconsistencies during generation rather than leaving them for you. The direction of travel is clear — from “generate, then fix” toward “generate closed and printable.”
Inference also affects dimensions. A photo carries no scale, so the size and proportions of the generated solid are the model’s best guess. That is fine for look-alike purposes, and wrong for anything that must mate with an existing part. When true dimensions matter, treat the generated mesh as a draft and fix final measurements in your slicer or CAD.
The single-photo method has a structural limit: everything hidden is imagined. Multi-view reconstruction closes that gap by combining photos from several angles — front, sides, back, top — into one consistent shape. The trade is effort for fidelity, and the relationship is roughly proportional: quick ideation is well served by one photo, while faithful all-around geometry for display or sale justifies shooting multiple views. Choose the input volume that matches the goal — no more, no less.
Image-to-3D tools have multiplied and specialized. Here are five representatives by method, output and licensing.
| Tool | Main method | Typical outputs | Availability / license |
|---|---|---|---|
| Tripo | Single photo to watertight mesh | OBJ / GLB / FBX / STL | Cloud service |
| Meshy | Single photo, about 1 minute | GLB / OBJ / FBX / STL | Cloud service |
| Hitem3D | Multi-view reconstruction | High-resolution mesh | Proprietary in-house engines |
| TRELLIS.2 | Image to 3D (4B model) | GLB / OBJ / STL | MIT (open source) |
| Neural4D | Deterministic watertight STL | STL | Cloud service |
For speed and print aptitude, Meshy leads: a mesh from one photo in about a minute, exported as GLB, OBJ, FBX or STL. In testing on characters and figurines, its outputs passed Bambu Studio 97% of the time, with 55% watertight without any repair — numbers that also honestly reveal the probabilistic nature of generation, since the rest needed touch-ups. For local freedom, Microsoft’s TRELLIS.2 — the 4B open model under MIT — keeps generation and outputs entirely on your machine, which suits volume work and confidential projects; see our open-source 3D generation guide for running it at home.
A different philosophy deserves attention: instead of generating probabilistically and hoping the mesh closes, some tools guarantee closure by construction. Neural4D generates deterministically watertight STL — the output is closed every time, by design. The value concentrates on certainty: for production runs or jobs where a failed print is expensive, determinism wins; for one-off pieces you iterate on, the occasional brilliance of probabilistic generators may serve better. As everywhere in this field, it is fit-for-purpose, not better-or-worse.
Eighty percent of image-to-3D quality is decided by the input photo. The AI can only use what it sees, so give it a good photograph: one subject, a plain background with clear contrast against the subject, even lighting without harsh shadows or blowouts, and the whole object inside the frame with a crisp silhouette. Resolution matters — if you want detail preserved, fill the frame at high resolution. For the single-photo method, shoot the most informative angle, usually front three-quarters from slightly above. For multi-view, shoot front, sides, back and top with consistent lighting, distance and exposure; mismatched shots blur the reconstruction.
Know the difficult subjects, too. Mirror-bright metals, transparent glass, and fine tangled structures like mesh or hair read poorly and collapse often. Matte spray to kill reflections, simpler backgrounds and removing clutter all raise stability. Every problem you remove at the input stage is repair work you skip later.
Rights deserve equal weight with technique. You need rights to the image you feed in. Photographing someone else’s photo, or someone else’s character or design, converting it to 3D and — worse — selling it, is not allowed. “I took the photo myself” is not sufficient either: if the subject itself carries third-party copyright or design rights, making and distributing a 3D replica requires the rights holder’s permission. Commercial products and brand logos are the sharpest edge — reproducing a trademarked product as a printable model for sale is off the table. Private enjoyment and public distribution are held to very different standards; know which side of that line your project is on.
The end-to-end flow is short to describe: shoot well, generate, inspect the mesh for watertightness, repair what needs repairing, scale to true dimensions, then slice and print. The inspection step is where beginners stumble — Meshy’s own 55% no-repair watertight figure means roughly half of generations need some touch-up, typically small holes at fine details like hair tips and fingertips. Concrete repair procedure — tools, order of operations, wall thickness and hollowing — is covered in making generated meshes print-ready, and the geometry-adjustment mindset is the same one we detailed for scan data.
Image to 3D reached the point in 2026 where one photograph yields a printable mesh — as long as you respect what the technology is: inference that must be verified, not measurement that can be trusted. Shoot clean inputs, prefer multi-view when fidelity matters, check watertightness before you print, and clear the rights before you sell. Do those four things and a photo on your phone is genuinely the start of an object on your desk. For choosing between the cloud generators, see the Text-to-3D comparison.
Tripo: Single Image to 3D (official)
Meshy: Best AI Tools for 3D Printing (official blog)
Microsoft TRELLIS.2-4B (Hugging Face)