AI Resin 3D Print Quality Control 2026 — 7 Common Failures & AI Detection
swiftwand swiftwand.ai

Converting a 3D scan to a successful print requires more than just exporting an STL and hitting “slice.” Scanned models are typically solid, oversized, and geometrically complex — direct printing wastes material, fails on overhangs, and exceeds build volumes. This guide covers the three essential conversion techniques: hollowing to save material and time, support optimization to minimize post-processing, and split printing to handle objects larger than your build plate.
Unlike CAD-designed models optimized for manufacturing, scanned meshes present unique challenges. They’re solid by default — a scanned figurine uses 3-10x more material than necessary. They have organic geometry with overhangs, undercuts, and thin features that challenge support generation. They often exceed build volume — a life-size bust scan won’t fit on a standard 220x220mm print bed. And their high polygon count can overwhelm slicers. Mastering hollowing, support strategy, and splitting transforms “interesting scan” into “successful print.”

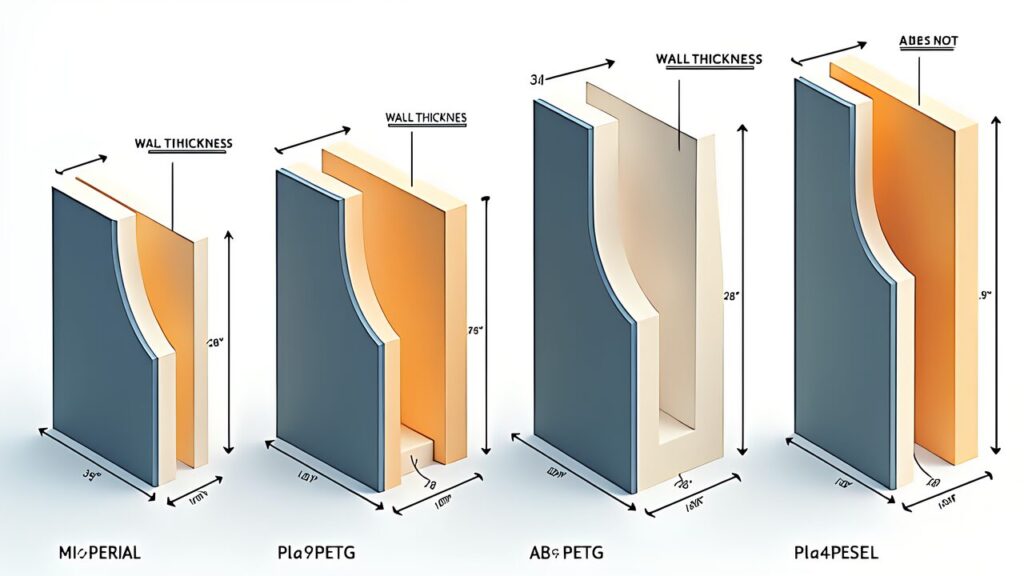
Hollowing creates an internal cavity within the model, leaving only a shell of specified wall thickness. For resin printing, 1.5-2.5mm walls are typical; for FDM, 2-4mm provides sufficient strength. Key considerations:
Drain holes: Resin prints require at least two drain holes (2-4mm diameter) at the lowest points to release uncured resin from the hollow interior. Position them on non-visible surfaces. FDM prints need infill access openings if using internal supports.
Internal supports: Large hollow spans may collapse during printing. Add internal ribs or lattice structures at critical points. Meshmixer’s “Make Solid” + hollowing tool handles this automatically. PrusaSlicer and Lychee Slicer also offer built-in hollowing with automatic internal supports.
Wall thickness validation: Use Meshmixer’s Stability Analysis or PrusaSlicer’s slice preview to identify walls thinner than your minimum spec. Thin walls lead to print failures, especially in resin.
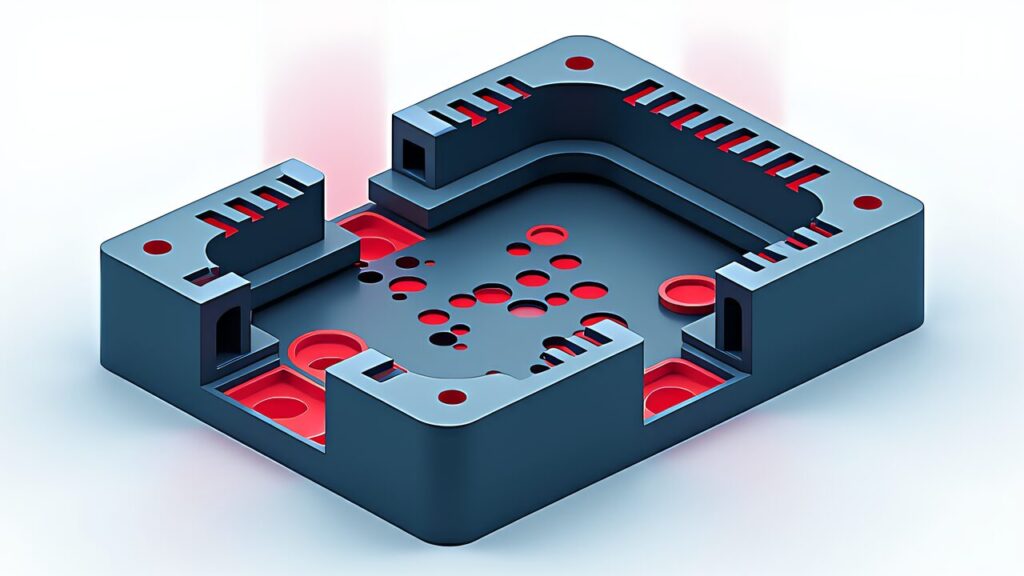
Scanned models often have complex organic geometry that generates excessive supports. Strategic orientation and support tuning dramatically reduce cleanup time:
Orientation matters most: Rotating the model 10-30 degrees can halve support volume. In your slicer, preview multiple orientations and compare support material usage. For busts, a slight backward tilt often reduces facial supports. For mechanical parts, orient the flattest surface downward.
Tree supports over linear: Cura’s tree supports and PrusaSlicer’s organic supports conform to curved surfaces with minimal contact points, making removal cleaner than traditional linear supports. Enable “Support on Build Plate Only” when possible to eliminate internal supports.
Resin support strategy: Use light/medium supports with 0.3-0.5mm contact points for most of the model, reinforcing only heavy overhangs with heavy supports. Chitubox and Lychee Slicer provide visual support density control.
When your scan exceeds your printer’s build volume, splitting into multiple parts is the solution. The key is choosing split planes that are structurally sound, visually invisible after assembly, and printable without excessive supports.
Planar cuts: The simplest approach — cut along flat planes using Meshmixer’s Plane Cut tool or Blender’s Bisect. Position cuts at natural seam lines: necks, waists, joints, or architectural features that hide the seam.
Alignment features: Add dowel pin holes or tongue-and-groove joints at split planes for precise reassembly. Meshmixer can auto-generate alignment pins. Alternatively, design square key slots for rotation-locked assembly.
Bonding: CA (super glue) + accelerator for quick bonds, epoxy for structural strength, and solvent welding (acetone for ABS, MEK for PETG) for invisible seams. Sand the seam line with 400-800 grit, fill with putty if needed, and paint for an invisible join.
Hollowing: Meshmixer (free) for interactive hollowing with internal supports, or PrusaSlicer’s built-in hollow function for quick results. Splitting: Meshmixer Plane Cut for simple splits, Blender Boolean operations for complex cuts with alignment features. Support optimization: PrusaSlicer or Cura with organic/tree supports. Final validation: Slice preview in your target slicer to catch any remaining issues before committing to a multi-hour print.
The scan-to-print pipeline is a learnable skill, not an art. Hollow to save material (40-70% savings), optimize supports through orientation and tree/organic modes, and split large models at natural seam lines with alignment features. Practice on low-stakes prints first — a scanned coffee mug is a better learning project than a detailed figurine. Once these three techniques become routine, you can confidently print any scan regardless of size or complexity.