Two Technologies Reshaping 3D Printing in 2026: Image-to-3D AI and Belt Printers
swiftwand swiftwand.ai

You can know every rule and still freeze when a real board needs a real box. The hard part of learning enclosure design is not the knowledge — it is the gap between knowledge and judgment. This closing guide compresses a week of enclosure articles into one map, organized backwards: instead of walking the process front to back, you enter from whichever question you actually have. Three entrances are provided — by installation environment, by how often the box opens, and by symptom.
This article contains affiliate links. As an Amazon Associate, we earn from qualifying purchases.
| Environment | Material | Deciding factor |
|---|---|---|
| Indoors, climate controlled, no heat source | PLA | Printability wins |
| Indoors near a window, or internal heat | PETG | Deflection temp rises nearly 20°C |
| Outdoors in direct sun | ASA | Heat plus weathering plus impact strength |
| Hot environment with mechanical load | PC | Past 100°C, hardest to print |
| Flexing parts (hinges, grommets) | TPU | Elongation and elasticity only where needed |
The numbers behind the table, from Polymaker’s data sheets (heat deflection, ISO 75): PolyLite PLA 60°C at 0.45 MPa and 58°C at 1.8 MPa; PolyLite PETG 78°C and 75°C; Polymaker ASA 103°C and 100°C; PolyLite PC 111°C and 107°C. Answer three questions — indoors or out, direct sun or not, internal heat or not — and the row picks itself.
Material examples for the two common answers: PETG for indoor heat, ASA for outdoors.
Mounting and lid must be decided together — decide them separately and one ends up overbuilt or underbuilt. Assembled once and closed forever: screws into printed bosses and a lip-and-groove lid. Opened occasionally: heat-set inserts (skimp here and the third disassembly strips the threads) with a screwed lid. Opened constantly: card-slot board mounting with a snap or friction lid, so no tool is ever needed. Living hinges remain the specialist option: injection-molding hinge values (0.012 in webs, about 0.30 mm) assume molecular orientation that FDM does not produce, so print orientation and thicker webs decide whether the hinge survives.
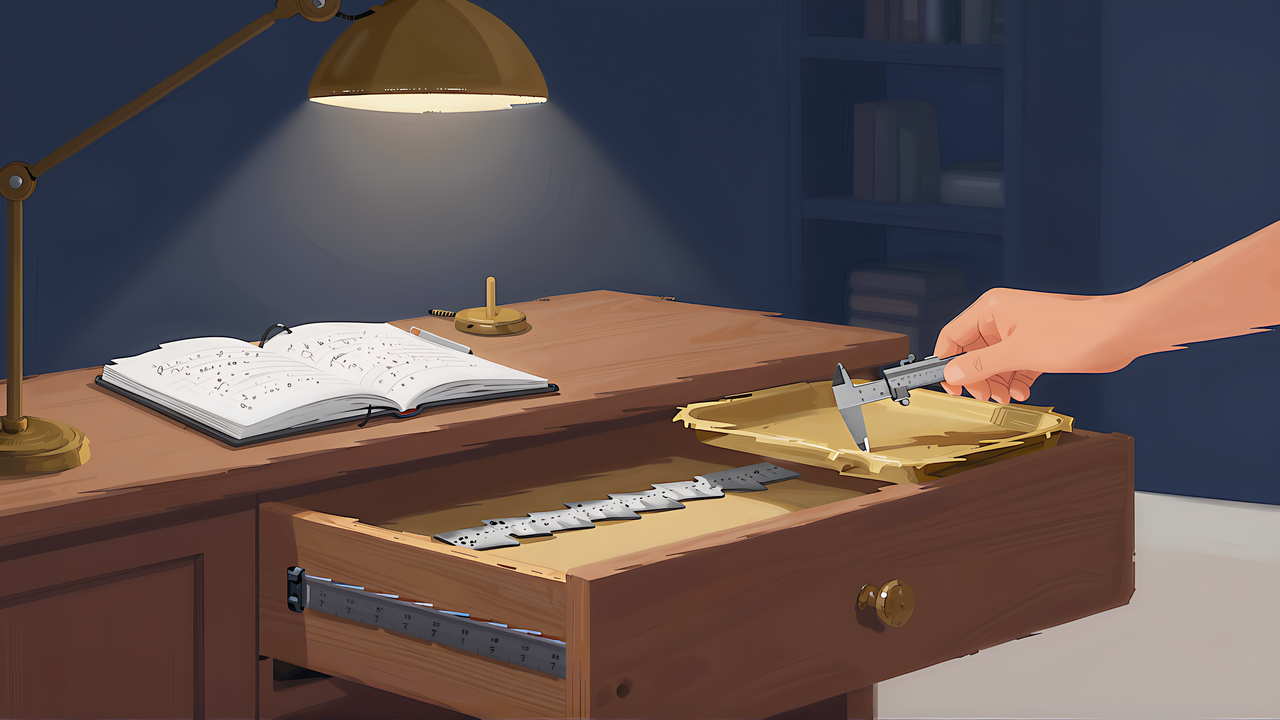
The connector hole doesn’t fit: you referenced the receptacle spec instead of measuring the actual cable and its overmold — give ports 1 mm of clearance per side and settle exact sizes with a 0.1 mm-step gauge plate. The boss cracked: no root fillet, or threads stripped from repeated screwing — fillet the root, use inserts for repeat assembly. The lid won’t close: an underside protrusion taller than the boss height — measure protrusions and add 1 mm. The board warped: four corners tightened rigidly — locate on one point, relieve the others. The box sagged in summer: PLA under sustained load near its 60°C deflection range — move up the material table. The system got slower in its box: passive heat buildup — a Raspberry Pi throttles from 80°C with a hard cap at 85°C; vent bottom-to-top or add a 40 mm fan.
The tub-plus-lid layout dominates because it prints most honestly: tub open side up, lid flat, no supports. With 2 mm walls and a 0.4 mm nozzle, three to four perimeters nearly fill the wall solid. Chamfer overhanging openings at 45 degrees or arch them. Stock M2.5 and M3 inserts and you can mount most hobby boards. An ASA spool, a 40 mm fan, and some TPU cover the outdoor and vibration cases.
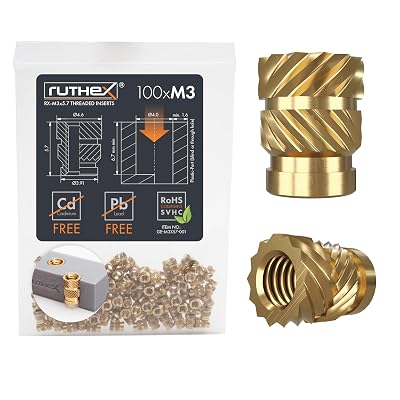
The fasteners a two-piece build usually needs: inserts and an M3 screw assortment.
 ポチップ
ポチップThree artifacts turn each box into a faster next box. A measurement memo — board name, outline, hole pitch, hole diameter, rear protrusion, tallest part, connector centerline height, date: eight fields on one line. A gauge log — material and brand, orientation, the size that slid, the size that pushed, the size that failed, date: six fields. And the parametric CAD file with every dimension as a named variable. Plain text files are fine; if your future self can read them in six months, they worked. The AI experiment from this series is the cautionary coda: even generation-three code left a fastening post standing inside the board’s space with a 0.130 mm boss gap — a number only arithmetic could see. Keep the checks executable.
Before printing the box, read these aloud: Is boss height above the measured rear protrusion? Are boss roots filleted? Is there one hole-diameter of wall around every screw hole? Were openings sized from real cables, not specs? Does the cable root clear the wall with the lid shut? Are opening rims chamfered? Is the mating clearance a gauge-verified number? Do base and lid share hole coordinates from one variable? Does the material’s load-rated deflection temperature cover the environment? If there is a heat source, does air enter low and leave high? Any support-needing faces left, and can design remove them? Is there a way to open it — a finger notch or tool slot? Twelve yeses, then print.