Design and 3D Print a Self-Watering Pot: Wicking Structure and Material Choice
swiftwand swiftwand.ai
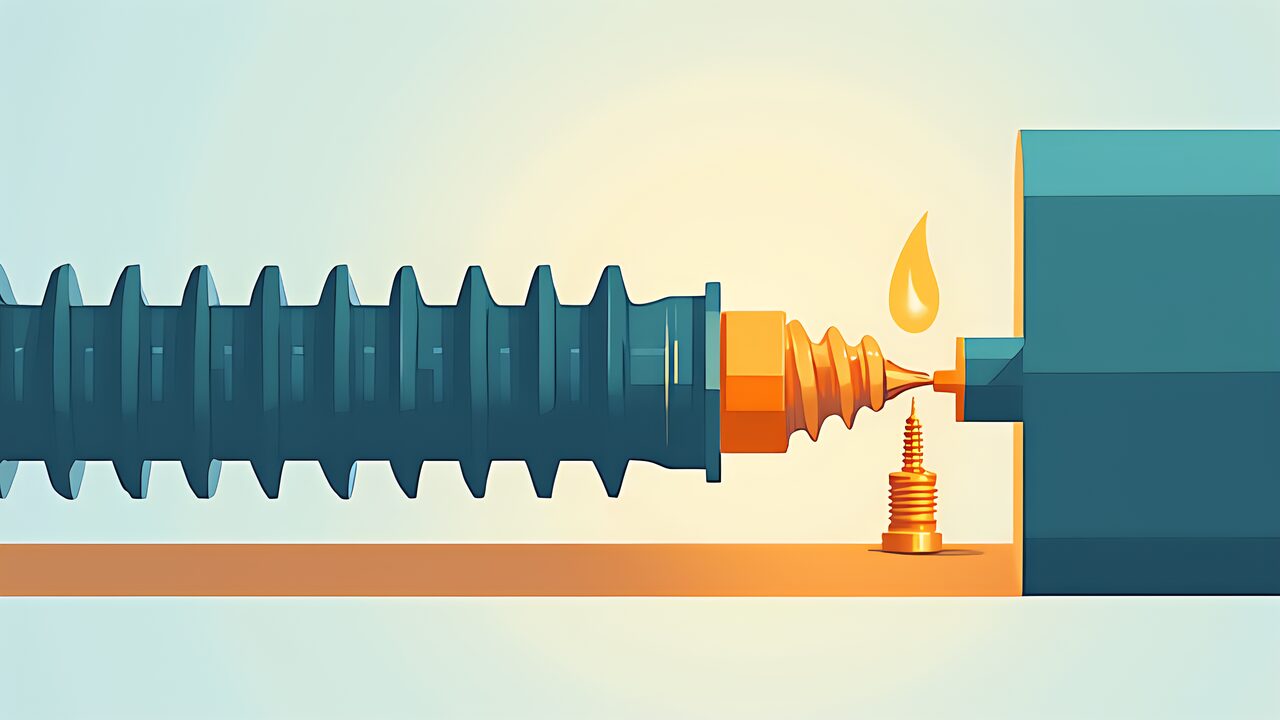
Sooner or later every printed part needs to be fastened to something. Threads and screws in 3D printing come in exactly three flavors — printed threads, heat-set threaded inserts, and self-tapping screws driven straight into plastic — and each has a territory where it clearly wins. This guide maps the territories, walks through insert installation and pilot-hole design, shows how to generate custom printed threads with code CAD, and closes with the strength rules that keep any of the three from failing.
This article contains affiliate links. As an Amazon Associate, we earn from qualifying purchases.
Printed threads are modeled into the part and printed as geometry — no hardware, infinitely customizable, but coarse. Heat-set inserts are knurled brass bushings melted into a pilot hole with a soldering iron, giving real metal threads in plastic. Self-tapping means driving a screw into a slightly undersized hole and letting it cut its own path — the fastest and cheapest, at the cost of wear on repeated assembly. Choosing among them is the actual skill, and four axes decide it.
First axis: disassembly cycles. If the joint opens more than a handful of times, inserts win — brass threads do not wear out, while self-tapped plastic threads shed material every cycle. Second: torque and load. High clamping force wants metal threads; printed threads should never fight for clamping force and instead hold position or light fixtures. Large-diameter low-torque jobs — a 30 mm container lid — are printed threads’ home turf, where no off-the-shelf insert exists anyway. Third: space. Inserts need wall thickness around the boss; self-tapping squeezes into places a boss will not fit. Fourth: effort. Self-tapping needs a drill-free minute; inserts need an iron and a steady hand; printed threads need design time up front and zero hardware after.
Why do printed M3 threads always strip? Geometry. A standard 0.4 mm nozzle against M3’s 0.5 mm pitch leaves one extrusion line per thread crest — the profile prints as rounded mush. The rules follow directly: go large (M8 and up, ideally M20-plus), go coarse (2 to 3 mm pitch beats standard fine pitch), add radial clearance (0.15 to 0.3 mm between crest and root, tuned on a test pair), and orient the axis vertically so the helix prints without overhangs. Trapezoidal or rounded profiles print better than sharp 60-degree vees and shrug off wear.
Nobody should model a helix by hand in 2026. The OpenSCAD library BOSL2 ships a threading module that produces matched male-female pairs from a handful of parameters, and an LLM writes the call for you. Ask for an M30-equivalent container thread with 3 mm pitch and radial clearance exposed as a variable, print the pair, measure, adjust one number, reprint. Two iterations typically land a lid that spins on smoothly and seats firmly — faster than shopping for hardware.
Installation looks intimidating and is actually simple: heat a soldering iron to roughly the material’s printing temperature, rest the knurled brass insert on its pilot hole, and press slowly and vertically with minimal force. The surrounding plastic melts into the knurl grooves and locks the insert as it cools. Stop flush with the surface, keep the iron square, and give each insert a few seconds to cool before moving on.
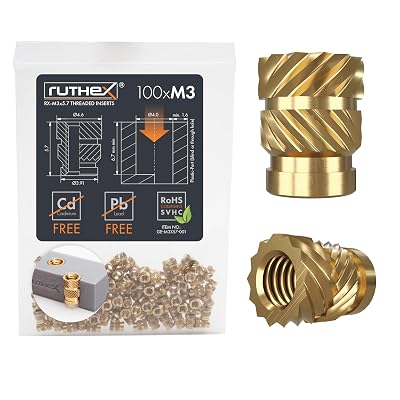
Knurl pattern is the spec that separates products. In CNC Kitchen’s published pull-out tests, torque resistance hardly differed between insert types — the bolt head sheared first in every case — but axial pull-out told another story: cheap inserts with only vertical knurling ripped out at about 39 kg, while ruthex inserts with opposing diagonal knurling held 181 kg on average, better than four times stronger. The ruthex RX-M3x5.7 (brass, 5.7 mm long) runs €8.99 per hundred from the official store as of July 2026 — inexpensive for the difference. Full test write-up at CNC Kitchen.
What you need for the job: the ruthex inserts discussed above, a temperature-controlled soldering iron, and a tap set for cleaning pilot holes.
 ポチップ
ポチップ ポチップ
ポチップPilot diameter comes from the manufacturer first: ruthex specifies about 4 mm for its M3 insert, and every serious vendor publishes recommended holes and CAD models. Too narrow and displaced melt bulges over the surface; too wide and the knurl has nothing to bite. Remember that printed holes run undersized, so print a test strip of stepped holes and verify which one actually measures 4 mm. Around the hole, give the boss meat — wall thickness of at least the insert diameter is a comfortable starting rule — and add a slight counterbore so a proud insert cannot lift the mating face.
Driving a screw straight into an undersized printed hole is underrated: CNC Kitchen measured about 142 kg of pull-out for a direct-screwed M3 in PLA — nearly insert territory. The catch is cycle life and the risk of stripping. Aim the pilot hole near the screw’s root diameter, print a test boss with 0.1 mm steps to find the sweet spot between cracking the boss (too tight) and stripping threads (too loose), drive by hand rather than power tool, and stop at snug. Use it for once-and-done assemblies and accept that the fifth reassembly may need a bigger screw.
Three failure modes cover almost every fastening disaster. Layer direction: if a boss’s axis parallels the layer stack, clamping tension pries layers apart — Polymaker’s data shows interlayer strength at roughly half of in-plane, so orient bosses to load the layers in shear or compression. Overtightening: plastic creeps; torque to snug plus a quarter turn, and use washers to spread the load. Loosening: vibration backs screws out of plastic faster than metal; nylon-insert lock nuts on through-bolts, or a dab of removable threadlocker on metal-to-brass joints, close the issue. PLA handles inserts fine but creeps under sustained clamp; PETG is the comfortable default; anneal or upgrade material where heat joins the party.
The practice compresses to one sentence per method. Repeated disassembly: heat-set inserts with opposing knurls, pressed slow and square. One-time assembly: self-tapping into a tested pilot. Large and low-torque: printed threads, big and coarse, generated by BOSL2 and an LLM. Across all three, the receiving side — pilot diameter, boss wall, layer orientation — decides eighty percent of the outcome before any screw turns.