Complete Guide to Blender for 3D Printing: Free Modeling Software from Basics to STL Export
swiftwand swiftwand.ai
Bed mesh that takes 4 minutes for every print. Purge lines that lay across the entire build plate even when you’re printing a 30 mm cube. Pre-print routines that consume more time than the actual print sometimes. KAMP — Klipper Adaptive Meshing & Purging — fixes all of that. By limiting the bed mesh and purge to the actual print area, KAMP cuts pre-print time by 60–90 percent on small and medium prints, with no quality cost. This guide covers the four KAMP components, the Moonraker installation procedure, the per-component configuration that actually matters, and the integration story with Klicky/Euclid dockable probes and BTT EBB CAN-bus toolhead boards.
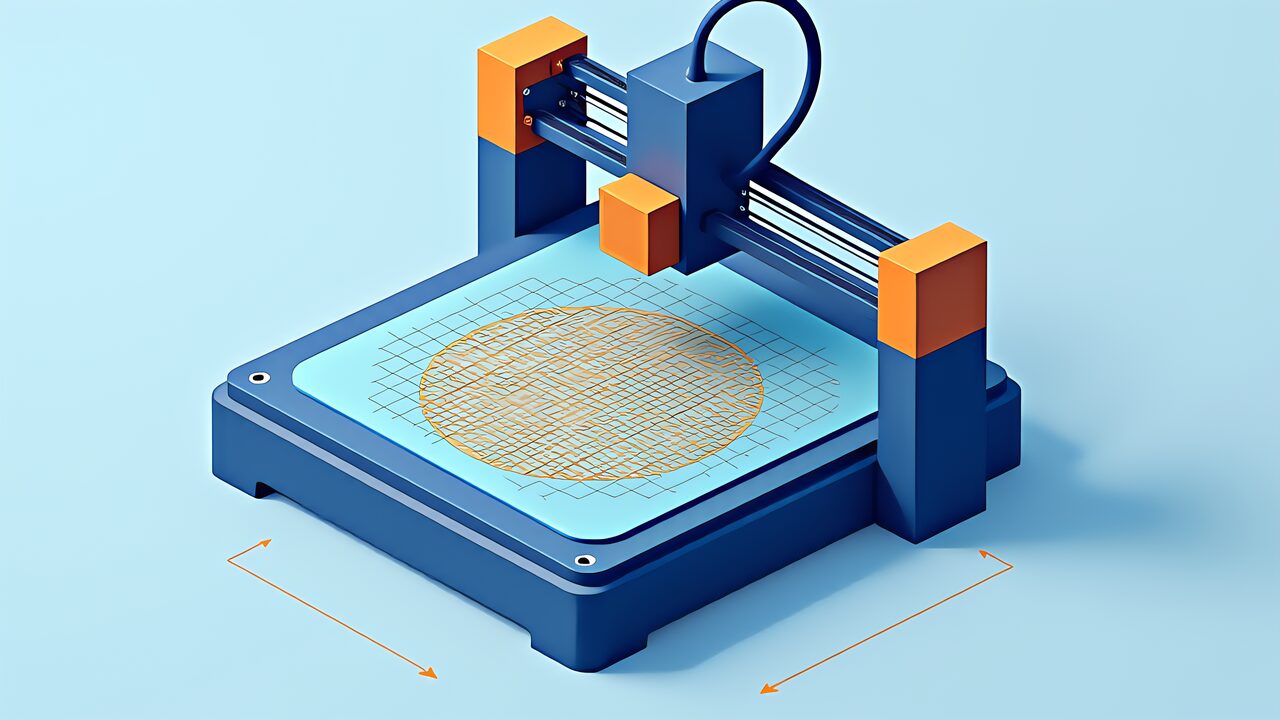
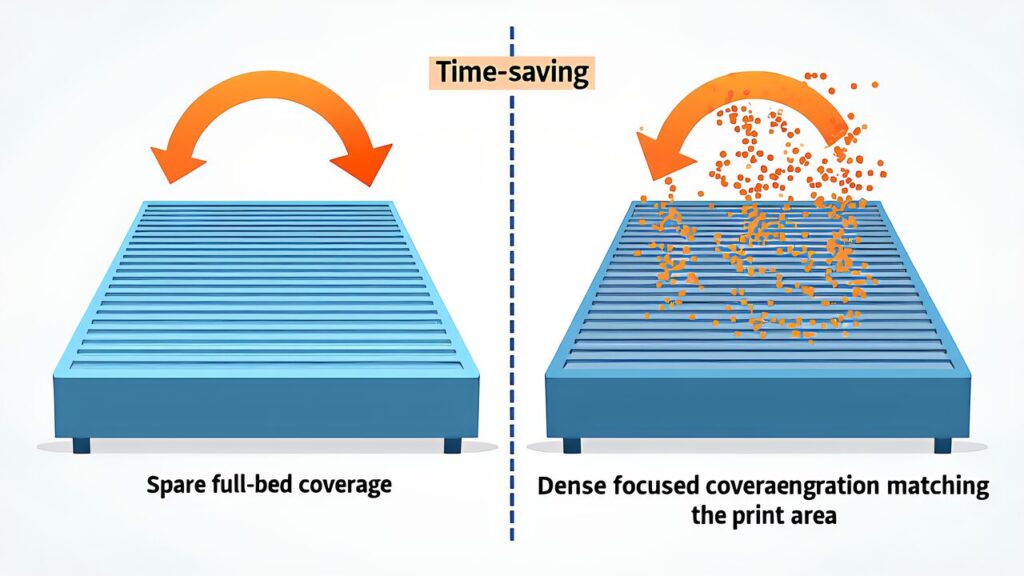
Klipper’s default BED_MESH_CALIBRATE probes the full configured bed area. On a 300 x 300 mm Voron 2.4, that’s typically a 25 x 25 grid of probe points — 625 points, each requiring an up-down probe motion. At a typical probe rate of 5 points per second on an inductive probe, that’s 2 minutes for the probe motion alone, before any G-code processing. Actual measured times are 3–4 minutes including motion-planning overhead.
Add the standard purge line: 200–300 mm of extruded filament across the front of the bed regardless of print location. That’s another 30–60 seconds. Add the second-stage heat-up if your slicer’s start G-code does it sequentially. By the time the actual print begins, 5–7 minutes have elapsed for what may be a 15-minute print.
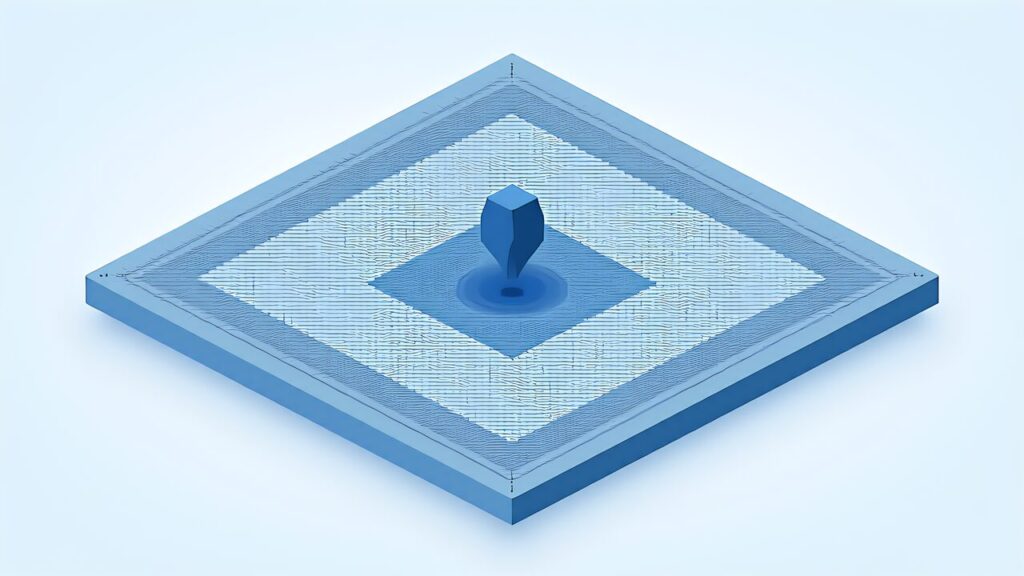
For a 50 mm cube, this overhead is comically high. KAMP applies the obvious optimization: probe only where you’ll print, purge only where you’ll print, and don’t pre-warm regions you won’t touch. The savings on small prints are dramatic.
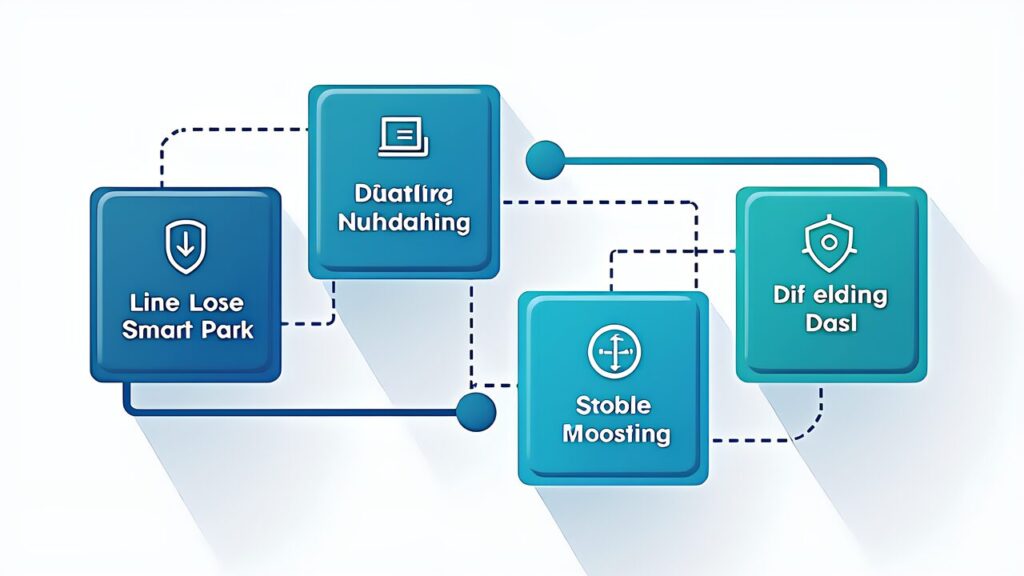
KAMP isn’t one feature; it’s a suite. The four components and their roles:
| Component | Role | Effect |
|---|---|---|
| Adaptive Meshing | Parses G-code to find the print region, then meshes only that region | Shorter probe time, denser effective mesh |
| Line Purge / VORON Purge | Lays a purge line near the actual print area | Less stringing, more reliable first layer |
| Smart Park | Performs second-stage heat-up near the print start position | Faster nozzle thermal equilibrium |
| Dockable Probe Support | Integrates with Klicky and Euclid dockable probes | Full automation including probe attach/detach |
Most users start with Adaptive Meshing and Smart Park (the biggest time wins) and add Line Purge as a second step. Dockable Probe Support is only relevant if you’re running a Klicky or Euclid setup, which is mostly the Voron community.
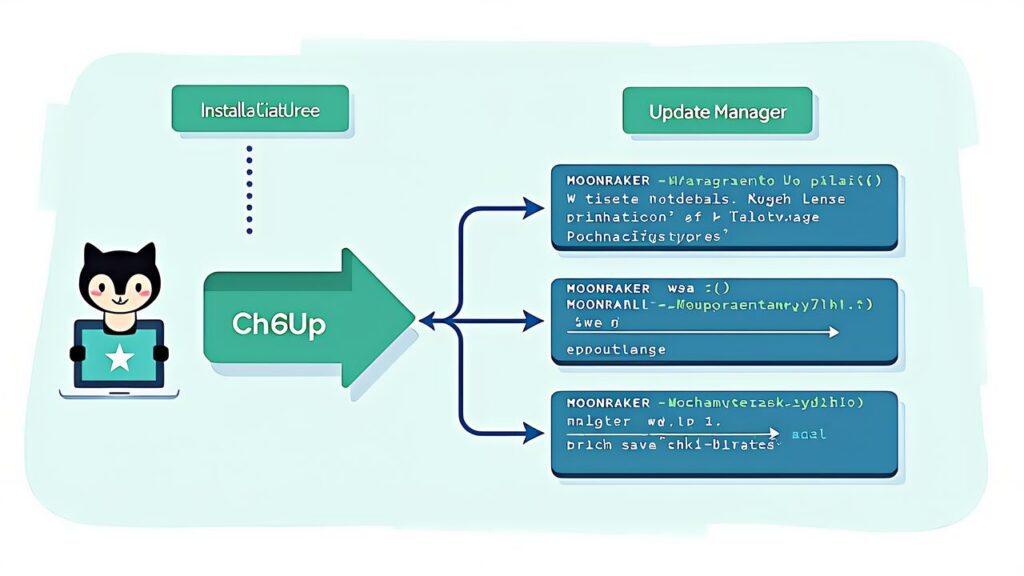
KAMP requires Klipper 0.10.0 or later (any modern Klipper qualifies), Moonraker, and a slicer that supports the EXCLUDE_OBJECT directive (PrusaSlicer 2.5+, OrcaSlicer, SuperSlicer all work). The official KAMP repo is on GitHub: kyleisah/Klipper-Adaptive-Meshing-Purging.
Install via the standard pattern:
cd ~
git clone https://github.com/kyleisah/Klipper-Adaptive-Meshing-Purging.git
bash ~/Klipper-Adaptive-Meshing-Purging/Installation/install.sh
Add KAMP to your printer.cfg include list: [include KAMP_Settings.cfg] at the top of the config. Then enable EXCLUDE_OBJECT support: in the slicer’s start G-code, switch on “label objects” (PrusaSlicer/OrcaSlicer terminology). The slicer will then emit the EXCLUDE_OBJECT_DEFINE commands that KAMP’s Adaptive Meshing reads.
Moonraker’s Update Manager picks up KAMP automatically once installed. From Mainsail or Fluidd’s “Updates” panel, you’ll see KAMP listed alongside Klipper, Moonraker, and your other plug-ins. Updates from this point on are one-click.
The relevant parameters in KAMP_Settings.cfg:
| Parameter | Role | Recommended value |
|---|---|---|
| mesh_margin | Extra margin added around the print area | 0 to 5 mm (slightly larger than print) |
| fuzz_amount | Random offset applied to mesh point positions | 0 to 1 mm (avoids same-spot probe wear) |
| probe_dock_enable | Enable when using a dockable probe | Usually false |
| attach_macro | Macro name for probe attach | Only when using Klicky and similar |
| detach_macro | Macro name for probe detach | Only when using Klicky and similar |
A reasonable starting config: mesh_margin: 5 and fuzz_amount: 1. The 5 mm margin gives the algorithm a safety buffer at the print edges, where first-layer adhesion is most critical. The 1 mm fuzz spreads the probe points slightly across runs, preventing the inductive probe from wearing a circular dent in your build plate over hundreds of prints.
Update your BED_MESH_CALIBRATE macro in printer.cfg to include the KAMP override:
[gcode_macro BED_MESH_CALIBRATE]
rename_existing: BED_MESH_CALIBRATE_BASE
gcode:
    BED_MESH_CALIBRATE_BASE
    # KAMP override picks up the print region from EXCLUDE_OBJECT_DEFINE
From the next print onward, your bed mesh will only probe the actual print area. For typical small/medium prints, this drops 4-minute probes to 25–60 seconds.
KAMP’s Line Purge replaces the slicer’s standard purge line with a purge line drawn near the actual print region — typically immediately to the left or front of the first object. The macro is LINE_PURGE, called from PRINT_START. VORON Purge is the same idea but draws a small purge “blob” specifically tuned for the V0/V1/V2 build sheets.
To switch from standard purge to KAMP purge: remove the slicer’s purge line from start G-code (or set it to zero length), and call LINE_PURGE from your Klipper PRINT_START macro. The relevant section in printer.cfg:
[gcode_macro PRINT_START]
gcode:
    # ... probe and heat ...
    SMART_PARK
    LINE_PURGE
    # ... print ...
Adjust line_length and line_purge_height in KAMP_Settings.cfg for your nozzle diameter and filament. The defaults work for 0.4 mm nozzles with PLA; PETG needs a slightly slower purge speed and TPU needs a much slower one because of its compressibility.
A common mistake: Calling LINE_PURGE before SMART_PARK. The order matters — SMART_PARK positions the head near the print start, then LINE_PURGE draws the line at that position. Reversed order draws the purge line at whatever position the head was in after probing, which defeats the purpose.

Smart Park parks the toolhead near the first print object before the second-stage heat-up (the wait for nozzle to reach print temperature). This improves thermal equilibrium because the toolhead’s heat soaks the build plate region where the print actually starts, instead of soaking some arbitrary corner.
Use it by calling SMART_PARK in your PRINT_START macro between bed mesh completion and nozzle final heat. It reads the print region from EXCLUDE_OBJECT_DEFINE just like Adaptive Meshing.
Smart Park is small but consistent: ~30–60 seconds saved on a typical print, plus a more thermally consistent first layer because the build plate isn’t cooling at the print start while the head heats up at the corner.
For multi-material prints with toolhead changes, Smart Park can also be called between objects to pre-position. The KAMP docs include an example macro for this case.

“KAMP didn’t adapt my mesh — it ran the full bed probe.” The slicer didn’t emit EXCLUDE_OBJECT_DEFINE. Check that “label objects” or “exclude object” is enabled in your slicer’s print settings, and verify the start G-code preserves the directives. PrusaSlicer 2.5+ has it under Print Settings → Output options.
“KAMP probed only the corner, missing the rest of my print.” Wrong: this means the EXCLUDE_OBJECT_DEFINE only listed one object even though you have multiple. Some slicers have trouble with skirts and brims appearing as separate objects. Verify the slicer is including all geometry under the same “object” or fix the slicer’s object grouping.
“Mesh adapts correctly, but Line Purge is in the wrong place.” Probably your SMART_PARK isn’t being called before LINE_PURGE, or the toolhead’s coordinate system has an unexpected offset. Check the variable_park_z in KAMP_Settings.cfg matches your printer’s safe Z height.
Measured on a Voron 2.4 R2 with a 25 x 25 default mesh on a 300 x 300 mm bed. Probe rate: 5 points per second. Numbers are approximate but representative.
| Print size | Full bed 25×25 | KAMP (mesh_margin=5mm) | Time saved |
|---|---|---|---|
| 50 mm cube | About 4 minutes | About 25 seconds | About 90 percent |
| 100 mm cube | About 4 minutes | About 35 seconds | About 85 percent |
| 200 mm cube | About 4 minutes | About 1 minute 30 seconds | About 60 percent |
| 300 mm full | About 4 minutes | About 4 minutes | About 0 percent |
The percentage savings drop as the print fills the bed (which is the expected behavior — adaptive becomes equal to non-adaptive when the print uses the whole bed). For a maker who runs lots of small parts, the cumulative time saved over a month is significant: at one print per day, that’s 60–90 minutes per week of saved probe time.
Quality-side note: the adapted mesh is denser per area, because the same number of probe points cover a smaller region. This actually improves first-layer adhesion on small prints, where the mesh’s spatial resolution matters more than the total area covered.
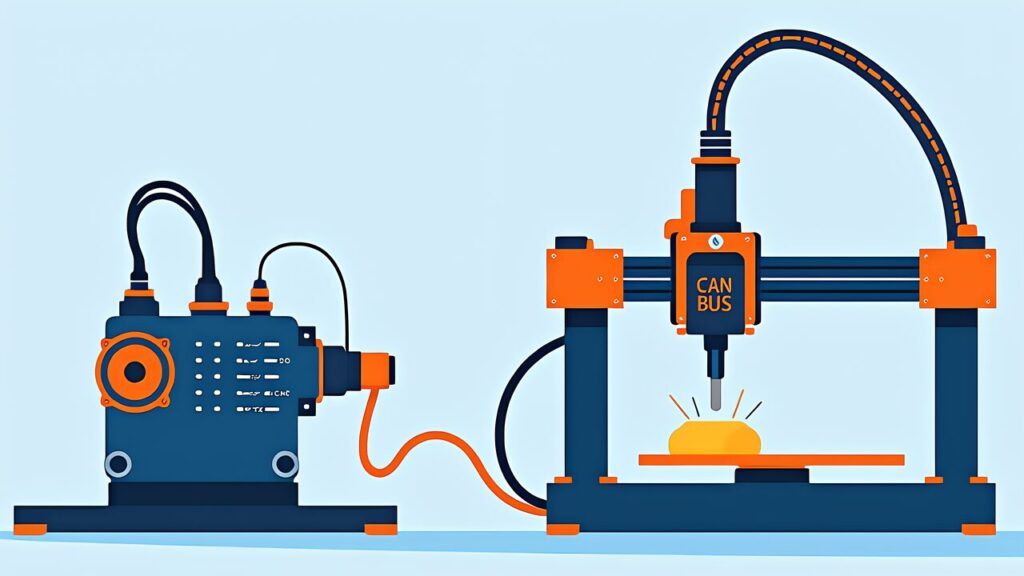
On Voron 2.4 / Trident builds with a CAN-bus toolhead board (BTT EBB36 or EBB42), KAMP integrates without surprises. The probe (typically Tap, Klicky, or Voron-Beacon) reports back through the CAN bus, and KAMP’s adaptive meshing reads the same EXCLUDE_OBJECT_DEFINE data regardless of how the probe data arrives.
One CAN-specific consideration: probe rate. CAN bus has lower data throughput than direct SPI/USB, so the probe rate may be slightly lower than the 5 points/second cited above. On EBB42 with Voron-Beacon, expect 3–4 points/second. KAMP’s time savings are still significant because the percentage reduction is driven by the area reduction, not the probe rate.
If you’re using a load-cell probe (BTT Tap or similar) instead of inductive, KAMP works the same way but the probe’s repeatability spec matters more. KAMP probes near the print edge, and edge probing is where load-cell probes outperform inductive probes most clearly.
Klicky and Euclid are dockable probes — magnetic probes that the toolhead picks up from a dock at the side of the bed, uses for probing, then drops back. KAMP supports them via probe_dock_enable, attach_macro, and detach_macro.
In KAMP_Settings.cfg:
variable_probe_dock_enable: True
variable_attach_macro: 'Attach_Probe’
variable_detach_macro: 'Dock_Probe’
Define the corresponding macros in printer.cfg (Klicky has a published reference for these). KAMP will then call Attach_Probe before adaptive meshing and Dock_Probe after, integrating the dockable workflow seamlessly. Without this, you’d have to call attach/dock manually around BED_MESH_CALIBRATE.
Dockable probes plus KAMP plus EXCLUDE_OBJECT means a fully-automated print start: the toolhead picks up the probe, probes only the print region, drops the probe, smart-parks, line-purges, and prints. From “click print” to “first layer down” with zero manual steps.
The canonical PRINT_START order with KAMP:
Two common deviations: probing before the bed reaches stable temperature gives a slightly inaccurate mesh (most users now home-then-heat-then-mesh, which is the order above), and calling SMART_PARK after M109 is fine functionally but reduces the bed soak time at the print region. The order above is the optimum.
For Voron Trident specifically, add a Z_TILT_ADJUST step between G28 and BED_MESH_CALIBRATE to level the gantry. Voron 2.4 R2 uses QUAD_GANTRY_LEVEL instead. Both work with KAMP without modification.
KAMP is the kind of plug-in that pays back installation time within the first week of small/medium prints. The Adaptive Meshing alone justifies the install for any maker running prints under 200 mm; Smart Park and Line Purge add cumulative quality and time wins on top.
In 2026, KAMP is essentially a default Klipper install on community-driven kits (Voron, V0, Trident, RatRig). If you’re running a Klipper-based Klipper printer in 2026 without KAMP, you’re leaving 60–90 percent of pre-print time on the floor every print. The Moonraker Update Manager makes installation and updates trivial, and the KAMP_Settings.cfg defaults work out of the box for most printers.
Up next: Mainsail vs Fluidd vs KlipperScreen — the three primary Klipper UIs and how to pick. After Input Shaping, Pressure Advance, and KAMP, the UI choice is the next thing that affects daily workflow.