Cultural Heritage 3D Scanning × AI Restoration Printing — Reviving Lost Artifacts
swiftwand swiftwand.ai
“Push print speed up and ringing shows up on every corner. Test prints get noisy temperature swings. You can fine-tune slicer settings forever and still hit a wall.” If you’re running Marlin on an Ender or a Voron kit and bumping into that ceiling, May 2026 is the best moment yet to start with Klipper. Klipper 0.13.0 shipped officially in April 2025, vendors like Creality (K2 series) and Anycubic (Kobra S1) now ship with Klipper out of the box, and the center of gravity in 3D printer firmware has clearly moved to Klipper. This guide covers what a Klipper beginner actually needs in 2026: how Klipper differs from Marlin in design philosophy, the hardware requirements, a Raspberry Pi 5 centric setup walkthrough, and how it compares to Bambu Lab — all grounded in official sources as of May 2026.
TL;DR — Klipper in 2026 at a glance
Marlin grew out of the 8-bit AVR era and is still the firmware that ships flashed on most consumer 3D printers — the 2.1.x branch is the recommended baseline on Marlin’s official downloads page, with 2.1.3 marked stable. Most Ender 3 V2 / V3 boards, the Sovol SV06, and dozens of community kits leave the factory with some 2.1.x derivative.
But there’s a structural ceiling when one MCU has to run kinematics, temperature control, step generation, and LCD rendering all at once. Even on STM32F1 at 72 MHz, when you push past 500 mm/s and segment density spikes, the planner can’t keep up. Either the printer stutters in corners or you start seeing ringing (ghosting). Adding Linear Advance helps, but the moment you also crank acceleration above 10,000 mm/s², the bottleneck stops being frame rigidity and becomes the planner’s lookahead — the printer simply cannot trace the intended path anymore. Reports of this exact failure mode predate Klipper as the dominant fix.
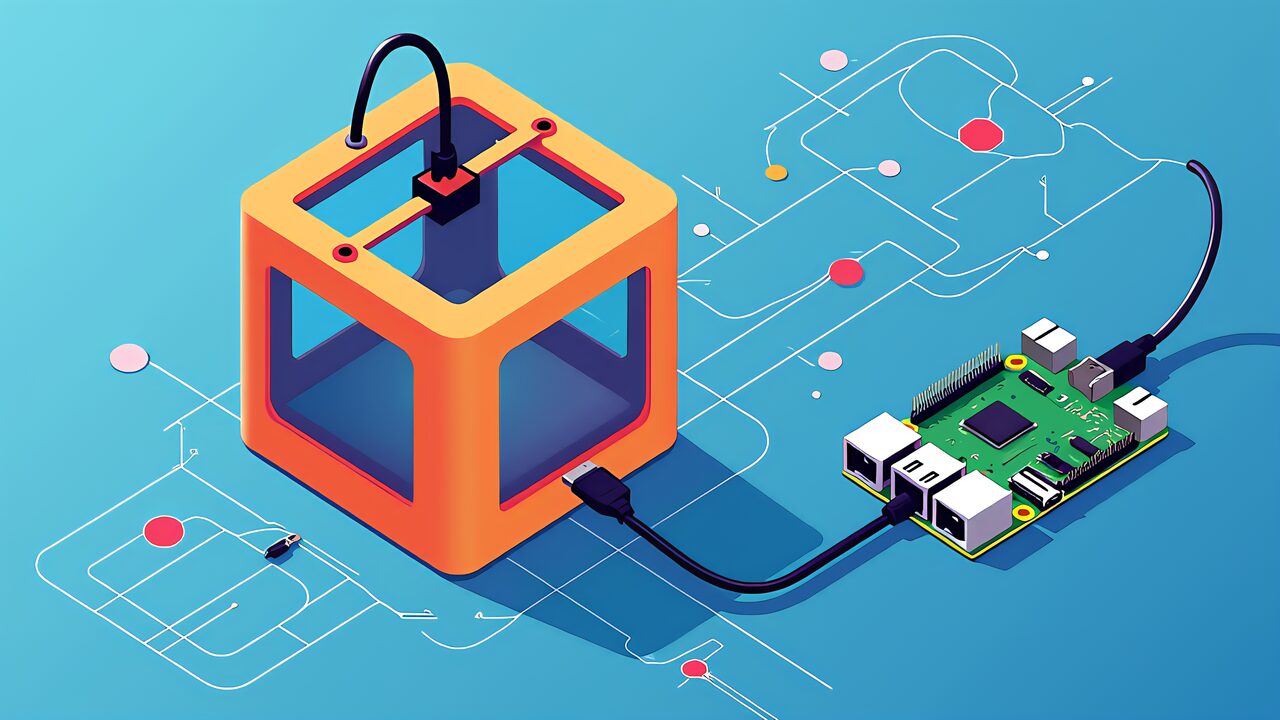
Klipper takes the opposite approach. It puts kinematics and trajectory math on a Linux host (typically a Raspberry Pi) and reduces the MCU’s job to “fire I/O at the scheduled time.” The official docs state that step events are scheduled with sub-25-microsecond accuracy, computing step times directly from the physics of acceleration rather than from Bresenham-style approximations. The Klipper3d System Architecture document spells the principle out: “Computationally heavy work — kinematics, trajectory planning, thermal modeling — is moved to the host where resources are abundant.” This is a deliberate inversion of the standard embedded-systems practice of doing everything in one chip.
That host/MCU split is exactly what makes Pressure Advance, Input Shaping, adaptive bed mesh, and the rest of the “computationally infeasible on a small MCU” feature set practical. Host and MCU communicate over a custom binary protocol, with clock synchronization that translates host time to MCU time. The MCU receives commands time-stamped, and GPIO/steppers/heaters fire on schedule. Linux scheduler jitter and USB latency don’t directly perturb stepper timing — they’re absorbed by the queue that’s already buffered ahead.

Klipper’s components break down as follows.
| Layer | Role | Representative hardware |
|---|---|---|
| Host (Klippy) | Kinematics, trajectory math, thermal PID, GUI host | Raspberry Pi 5 / 4, mini PC, CB1, CM4 |
| MCU (Klipper firmware) | Executes the step queue from the host at the scheduled time | STM32F4/F7/H7, RP2040, RP2350, SAMD51, etc. |
| Communication | Custom binary protocol between host and MCU; clock sync translates host time to MCU time | USB CDC / UART / CAN |
Marlin says “do everything inside one MCU.” Klipper says “let a real Linux box do the heavy lifting.” That’s a 180-degree flip of the embedded-systems default, and the result is that polling rate, sensor resolution, and post-processing freedom all jump by an order of magnitude.
There’s a knock-on benefit. Adding extra MCUs to expand pin count, or putting a CAN-bus sub-MCU (like the BIGTREETECH EBB series) on the toolhead — all of that can be done by editing the config file, not by changing firmware. That’s why Voron 2.4 R2 and Trident kits standardized this pattern: it’s the natural consequence of Klipper’s architecture.

The official 0.13.0 release dropped on April 11, 2025, with practical advances at the vibration, sensor, and MCU layers. Per the official release notes, the major updates were:
| Feature | Description | Impact |
|---|---|---|
| Sweeping vibrations resonance test | Replaces the discrete-frequency stepping with a continuous frequency sweep when measuring resonances | Better tuning accuracy and shorter setup time for Input Shaping |
| Adaptive bed mesh | Probe area auto-shrinks to match the actual print region | Cuts mesh acquisition time on small/medium prints |
| Jinja2 expressions for fans/GPIO | You can now bind fan speeds and GPIO outputs to Jinja2 templates | Cleaner expression of temperature-linked fans and conditional outputs |
| LDC1612 eddy-current sensor support | LDC1612-class inductive probes are now formally supported | Standardizes the eddy-current setup that’s been spreading on Voron 2.4 / Trident |
| RP2350 MCU support | Raspberry Pi RP2350 microcontrollers added; RP2040 clock raised from 125 MHz to 200 MHz | More board options on RP2350; existing RP2040 users benefit too |
| Load cells and new accelerometers | Several newer sensors are natively supported | More choice in calibration hardware |
Pressure Advance and Input Shaping themselves aren’t exclusive to Klipper — Marlin 2.1 has Linear Advance and Input Shaper too. The difference is in the tuning workflow. Klipper lets you type the result of a test print into the web UI as a number; Marlin typically requires a recompile and reflash. Cycling between “edit file → compile → flash → reboot” each time you tweak a value adds up; “change a number in Mainsail and rerun” is just faster.
The 0.13.0 update specifically addresses friction points that real Klipper users had been complaining about. Now that 0.13.0 has become the default in popular images (MainsailOS, FluiddPi), 2026 starts with significantly better calibration ergonomics than 2024 did.

Klipper has graduated from “DIY-only firmware” to something the largest vendors actually ship. The lay of the land in May 2026 looks like this.
| Printer | Firmware reality | Source release | Notes |
|---|---|---|---|
| Creality K2 Plus / K2 Plus Combo | Klipper at the factory | K2 Series Klipper published as CrealityOfficial/K2_Series_Klipper on GitHub in December 2025 | Combo edition starts at $1,649 (US) at Top3DShop and similar resellers |
| Anycubic Kobra S1 / Kobra 3 family | Klipper-go (Klippy ported to Go) shipped officially | ANYCUBIC-3D/klipper-go on GitHub | Community Rinkhals project also enables a fully upstream Klipper conversion |
| Voron 2.4 R2 / Trident / V0 | Community kits designed around upstream Klipper from day one | VoronDesign GitHub | DIY kits. 2.4 R2 released February 2022, Trident released August 2021 |
| Bambu Lab X1C / P1S / A1 | 100% in-house proprietary firmware | Closed | Neither Klipper nor Marlin. The third-party X1Plus partially opens up the X1 series |
| Elegoo Centauri Carbon | ELEGOO OS (proprietary) | Source published, but disputed | Elegoo states “not Klipper-based”; third-party analyses identify it as a modified fork of Klipper v0.9.1, with an ongoing GPL compliance discussion |
Both ends of the spectrum — entry-level Ender owners who flash their own Klipper, and brand-new buyers picking a $1,649 K2 Plus — converge on Klipper as the firmware. Bambu Lab is the deliberate counterweight: a fully closed, fully managed experience. Choosing Klipper is increasingly a choice about what kind of relationship you want with your firmware, not whether the option exists.
The Centauri Carbon situation is worth flagging because it’s a leading indicator. The vendor publishes “compliant” source, the community questions how compliant it really is, and the legal-philosophical conversation about GPL in 3D printing keeps escalating. If you care about firmware freedom, the canonical safe path is still upstream Klipper on a Voron-style kit or on a Klipper-flashed Creality / Anycubic.
In 2026, “what should I run Klipper on?” essentially boils down to which Raspberry Pi 5 you buy and which BIGTREETECH (BTT) control board you pair with it.
| Model | Switch Science (Japan) tax-incl. | Use case |
|---|---|---|
| Raspberry Pi 5 / 4 GB | ¥22,330 | Single printer, beginner setup |
| Raspberry Pi 5 / 8 GB | ¥35,200 | Single printer + Mainsail webcam |
| Raspberry Pi 5 / 16 GB | ¥60,720 (SKU RPI-SC1113) | Multiple printers, Obico co-located, AI inference combined |
Memory prices rose into 2026, pushing the 16 GB SKU higher than expected, but the 4 GB model is still completely usable for a single printer. If you’re going DIY-kit route, plugging a CB1 or CM4 directly into a Manta M8P is also a legitimate option that skips the dedicated Pi entirely.
Control boards are dominated by BIGTREETECH (BTT). For most use cases the practical split is:
| Board | Use case | Reference price |
|---|---|---|
| BTT SKR Mini E3 V3.0 | Drop-in replacement for stock Ender 3 / Ender 5 boards. STM32G0, integrated TMC2209 | $57.86 (3DJake retail) |
| BTT Manta M8P V2.0 | All-in-one with CB1/CM4 socket. STM32H723, popular on Voron builds | Kit-distribution dependent |
| BTT Octopus Pro V1.0 | Up to 8 stepper axes, IDEX or multi-color builds | Kit-distribution dependent |
Most beginners coming from an Ender 3 should start with the SKR Mini E3 V3.0 — it’s a direct mechanical and electrical replacement, and the wiring routes are documented to death. Voron-track DIYers should go straight to a Manta M8P V2.0 with CB1.
Accelerometer choice matters too. ADXL345 (BTT or generic clones, ~$15) is the historical default, MPU-9250 ($10) is fine but slightly noisier, and LIS2DW recently became another decent option. Klipper 0.13.0 also unlocked load-cell-based calibration, which is the path the Voron community is heading toward but is still extra hardware to source.
The path of least resistance in 2026 is MainsailOS or FluiddPi: a Raspberry Pi image that comes pre-loaded with Klipper, Moonraker, and a web UI. Flash with Raspberry Pi Imager, configure Wi-Fi/SSH at flash time, boot, and you’re ready to install KIAUH (the de facto installer/maintenance script).
After SSHing into the Pi, install KIAUH and use it to add the components you need:
sudo apt update
sudo apt install -y git
git clone https://github.com/dw-0/kiauh.git
cd kiauh
./kiauh.sh
From KIAUH’s menu, install Klipper, Moonraker, and Mainsail (or Fluidd, if you prefer). The install handles services, reverse proxy, and the systemd units automatically.
Next, build firmware for your control board. Connect to the Pi over SSH and run:
cd ~/klipper
make menuconfig
Pick the MCU architecture for your board (e.g., STM32 → STM32G0B1 for SKR Mini E3 V3.0, with USB or USB-to-CAN as appropriate), exit and save, then run make. Flash the resulting klipper.bin via the SD card slot or DFU mode depending on the board’s preferred method.
Now write your printer.cfg. The Klipper repo ships sample configs under config/ for hundreds of common printers and boards. For an Ender 3 V2 with SKR Mini E3 V3.0, copying generic-ender3-v2.cfg and generic-bigtreetech-skr-mini-e3-v3.0.cfg as a starting point will get you 90% of the way there. Edit the serial path, stepper directions, and probe settings, then reboot Klipper.
From Mainsail, the first calibration sequence is: PID-tune the hot end and bed, run a Z-offset calibration, run BED_MESH_CALIBRATE, then run Pressure Advance and Input Shaping tests. The Klipper docs walk through each command, and Mainsail surfaces the logs and shaper graphs directly in the browser. Total time from flashing the Pi image to a clean test cube is roughly 2–4 hours for a first-time builder.

A balanced beginner guide has to address Klipper’s actual downsides, not just sell it.
First, Klipper’s configuration is text files. printer.cfg isn’t a wizard. You’ll edit kinematics blocks, stepper sections, probe definitions, and macros by hand. Marlin’s Configuration.h is also text, but at least it has a strict shape; Klipper config is more open-ended and benefits from copying a known-good reference.
Second, you’re running Linux. SD card corruption from sudden power loss, dependency breakage on apt upgrade, network blackouts, and microSD wear management are all part of the deal. That’s a different world from the “Bambu Studio + cloud, just works” experience. The audience that picks Bambu Lab and the audience that picks Klipper diverge specifically on this point.
Third, vendor Klipper forks (Creality K2, Anycubic Kobra S1, etc.) are not 100% compatible with upstream. Source releases lag, vendor-specific G-code creeps in, and upstream plug-ins or configs don’t always drop in cleanly. The Elegoo Centauri Carbon GPL discussion is the canonical example. It’s ironic but not uncommon: you picked Klipper, but you’re still locked into a vendor ecosystem.
Finally, Klipper tuning has a “rabbit-hole” personality. Pushing Pressure Advance to three decimal places, re-measuring Input Shaping every time you swap a hotend, running per-axis resonance tests over and over — it is genuinely possible to spend more time tuning than printing. Compared to a polished vendor printer (Bambu Lab X1C) where you press the button and walk away, Klipper rewards “people who enjoy tuning the tool itself.” That’s not a flaw, it’s a personality difference, and it’s one to be honest about before signing up.

The most useful AI integration for a Klipper beginner in 2026 is Obico — formerly known as The Spaghetti Detective. It plugs into Mainsail or Fluidd, watches your printer through any USB camera, and pauses the print if it detects a “spaghetti” failure (a print breaking off the bed and turning into a tangle of filament).
Obico shipped its next-generation AI failure detection to general availability on May 1, 2026. Per the announcement post on the Obico blog, the new model improves both detection accuracy and false-positive rate compared with the previous generation, and it runs against the same camera stream the rest of Klipper already uses. Pricing on Obico’s pricing page lists Pro at $4/month, with a free tier and a self-host option that runs all detection on your own hardware.
The integration story is straightforward: install the Obico for Klipper plug-in via KIAUH, link your printer to the Obico server (cloud or self-hosted), and enable detection from the Obico web app or mobile app. The remote control surface — start/stop/pause from your phone, watch the camera feed from anywhere — is genuinely the kind of feature that earns a Pi-class host its keep.
Bambu Lab has a similar built-in AI failure detection that ships with the X1C and the A1 series, but it’s tied to that hardware ecosystem. For everyone else — Ender, Voron, Kobra, K2 — Obico × Klipper is the equivalent that’s vendor-neutral and self-hostable.

What makes Klipper beginner-different from a Marlin beginner isn’t the firmware itself — it’s the host/MCU split and what that opens up. Once that mental model clicks, every “advanced” Klipper feature (Pressure Advance, Input Shaping, adaptive bed mesh, KAMP, multi-MCU, CAN toolheads) follows naturally as “stuff that’s only practical because the heavy compute lives on a real Linux box.”
In 2026, hardware sourcing is the easiest it has ever been: Raspberry Pi 5 in 4 GB / 8 GB / 16 GB, BTT SKR Mini E3 V3.0 for retrofits, Manta M8P V2.0 for Voron-class builds, and an ADXL345 for accelerometer testing. Software-wise, MainsailOS + KIAUH + Klipper 0.13.0 is the canonical stack, and it removes most of the bootstrap pain that 2022-era guides warned about.
If you’re still on Marlin and you keep running into ringing, Pressure Advance limitations, or impossible-to-tune corner squish, that’s the signal that you’ve outgrown the architecture. Klipper isn’t the right answer for everyone — Bambu Lab makes a great case for the all-in-one experience — but for hobbyists, Voron builders, and Ender owners who want to push speed and quality further, May 2026 is the most fertile time yet to make the move.
Up next in this series: Input Shaping deep-dive covering ADXL345 + sweeping vibrations testing, and Pressure Advance auto-tuning with per-filament calibration. They’re the calibration steps every new Klipper build should run, and they’re where Klipper genuinely outperforms Marlin in day-to-day printing.
Klipper is open-source 3D printer firmware that offloads motion calculations to a host computer such as a Raspberry Pi 5, while your printer board only executes the moves. This architecture enables Input Shaping and Pressure Advance, which keep print quality high at speed.
Klipper 0.13.0, released on April 11, 2025. It added a sweeping resonance test for Input Shaping, adaptive bed mesh, LDC1612 eddy-current probe support and RP2350 MCU support.
You need a host computer, and the Raspberry Pi 5 is the standard choice in 2026. This guide walks through the Pi 5 plus control board setup from flashing to a first print.
If you are hitting a speed ceiling with ringing and ghosting, yes: Input Shaping and Pressure Advance are the difference. Marlin remains simpler for stock single-board printers, and this guide covers when switching is worth it.