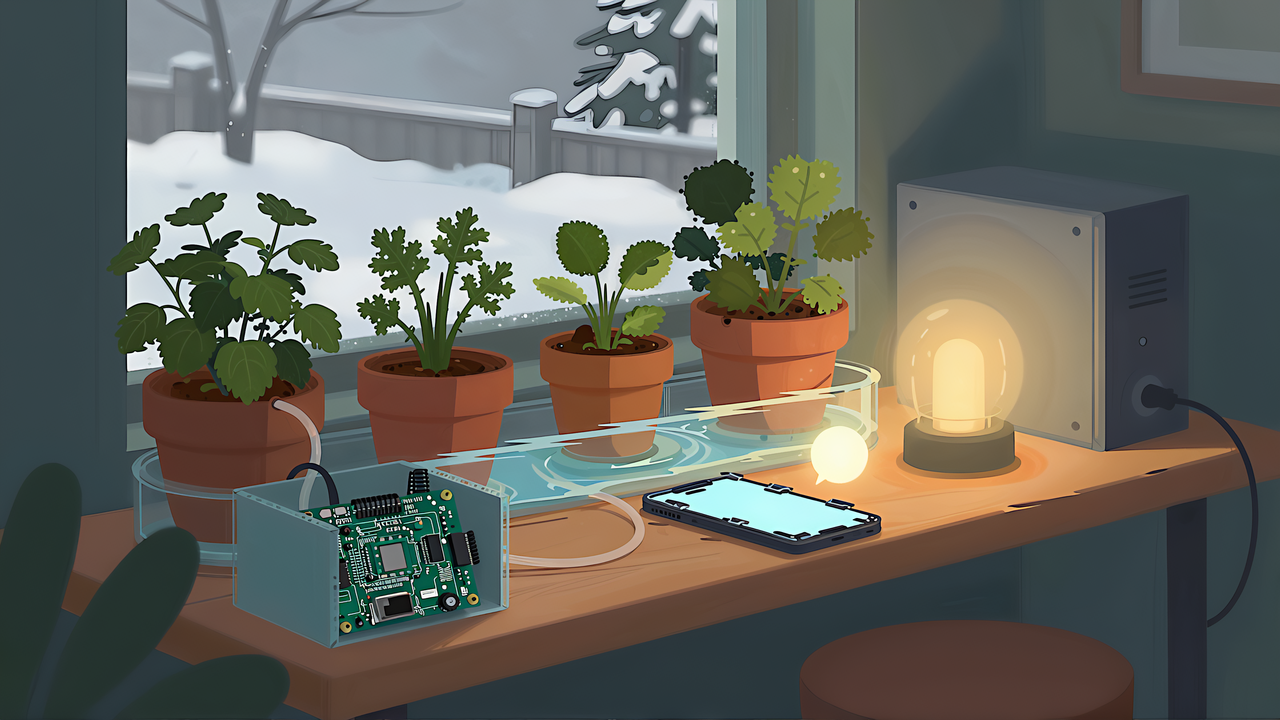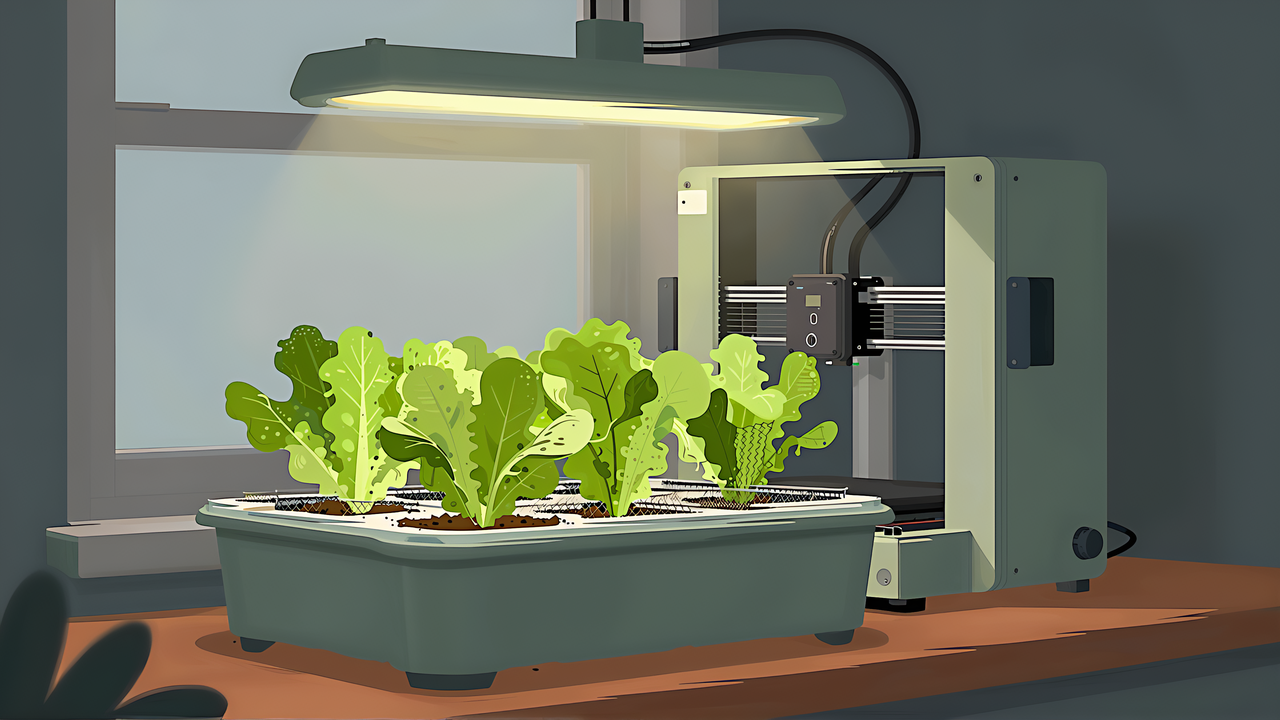
Automate Plant Watering with Home Assistant: From Notifications to Pump Control
swiftwand swiftwand.ai
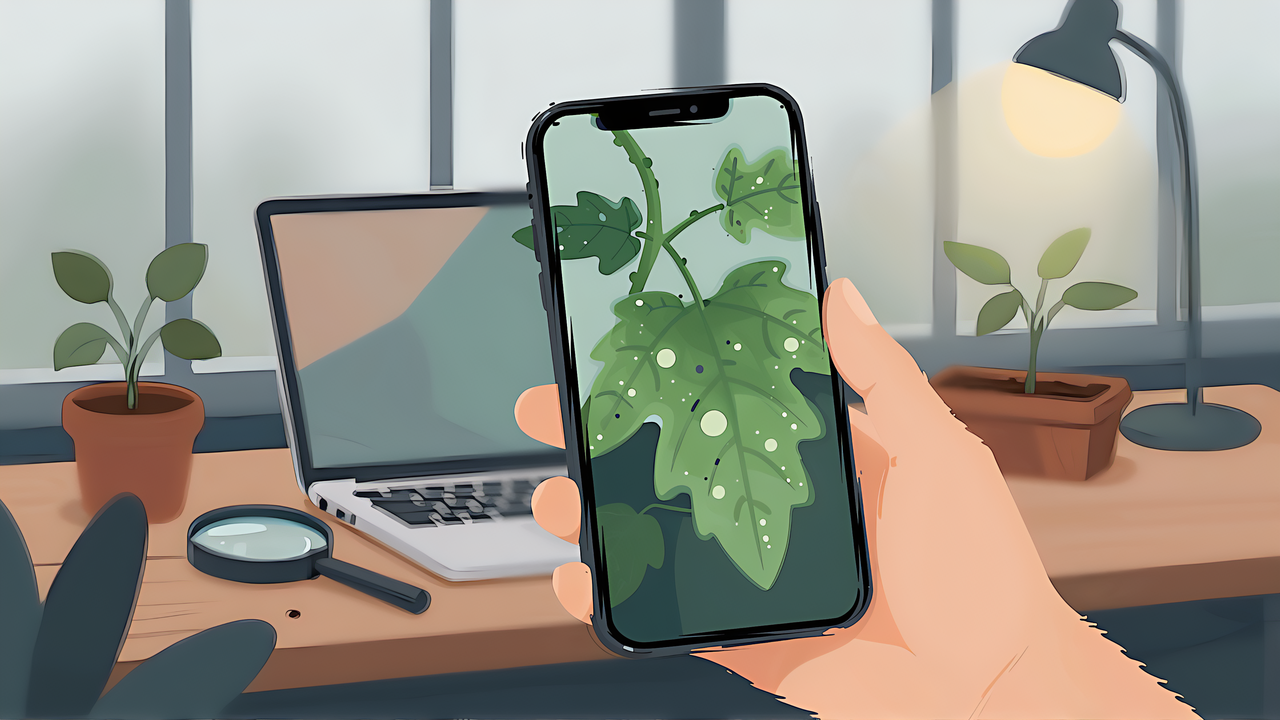
Photos of a potted plant saved on your phone rarely add up to a growth record. Time of day, angle and brightness change every time, so comparing last month with today, you cannot tell whether the plant gained leaves or just looks different in the shot. Ask an AI “is this plant growing?” and from photos taken under inconsistent conditions you get plausible generalities.
This article contains affiliate links. As an Amazon Associate, we earn from qualifying purchases.
This article assembles a setup step by step: a Raspberry Pi 5 and Camera Module 3 take photos automatically from the same position at the same interval, PlantCV turns leaf area as seen by the camera (projected area) and color into numbers, and then the images go to an AI. It covers both sending images to a cloud AI and processing them locally with the Raspberry Pi AI HAT+ 2, comparing network, cost and privacy. Finally, it explains why you should not rush conclusions about slow-growing plants from a short run of photos, and what to record at what interval and when to ask the AI.
We did not build this setup on real hardware. The steps are based on official documentation from Raspberry Pi, Hailo, Home Assistant and PlantCV and on third-party write-ups, cited where relevant. Processing times and power draw are not officially published, so this article gives no numbers for them.
Growing plants, you have impressions: “it seems less healthy lately,” “it seems to have grown.” But there is nothing to test those impressions against. Memory is biased toward the latest look, and phone photos change conditions every time.
The differences are bigger than they seem. Leaf color looks entirely different under morning window light and evening room light. Move the camera a few centimeters closer and leaves look larger. Turn the pot slightly and the number of leaves facing you changes. A person comparing shots may feel it “got bigger,” but cannot say by what percentage the area grew.
The other problem is that records do not last. Shooting from the same position at the same time daily is hard by hand. Miss a few days for travel or late nights and the baseline shifts. The slower the change, as with winter indoor growing, the more gaps hurt.
So before having AI read a growth log, the problem to solve is not AI capability but input quality: photos under the same conditions, at a fixed interval, with no gaps. Only then do numeric comparisons and AI explanations mean anything.
The setup has three layers.
There is a reason to separate numbers from words. A VLM is good at explanations like “leaves are starting to yellow” but is not a tool for measuring area accurately. PlantCV returns area and color distributions as numbers but does not say what they mean. Having a person read the numbers and showing the AI only the images from days with large changes also limits how many AI queries you make.
The official Raspberry Pi news site featured Christopher Barnatt’s build that waters plants and records a growth time-lapse with a Raspberry Pi Zero (Raspberry Pi Zero waters your plants). The shooting and recording part follows the same idea as this article; this setup adds measuring and explaining.
Retail prices in Japan, including tax, checked on the retailers’ product pages on 2026-09-28 (US dollar figures at 150 yen per dollar are approximate):
| Part | Price (tax included) | Where checked |
|---|---|---|
| Raspberry Pi 5 (4 GB) | 22,990 yen (about $153) | Switch Science |
| Raspberry Pi 5 (8 GB) | 35,200 yen (about $235) | Akizuki Denshi |
| Camera Module 3 (standard) | 5,940 yen (about $40) | Akizuki Denshi |
| Camera Module 3 (Wide) | 7,680 yen (about $51) | Akizuki Denshi |
| Raspberry Pi AI HAT+ 2 (Hailo-10H) | 38,390 / 44,000 yen (about $256 / $293) | Akizuki Denshi / Switch Science |
| Raspberry Pi AI HAT+ (13 TOPS / 26 TOPS) | 14,740 / 20,350 yen (about $98 / $136) | Akizuki Denshi |
| Raspberry Pi 5 Active Cooler | 1,100 yen (about $7) | Akizuki Denshi |
| Official Raspberry Pi 27W USB PD power supply | 2,750 yen (about $18) | Akizuki Denshi |
The AI HAT+ 2 differs by 5,610 yen between the two shops. The official price was $130 at launch (announcement); the official product page showed $200 as of 2026-09-28. Raspberry Pi has revised prices on several products since December 2025, citing rising memory costs (More memory-driven price rises), so check current prices on the retailer page before buying.
Camera Module 3 uses a Sony IMX708 sensor, captures 11.9 megapixel stills (4608 × 2592) and has autofocus. Per the official documentation, focus range is about 10 cm to infinity for the standard module and about 5 cm to infinity for the Wide, with horizontal fields of view of 66° and 102°. The product page lists 75° and 120°, which appear to be diagonal figures, so this article uses the documented horizontal values.
For a small pot shot up close, choose the standard module; for a whole shelf or several pots, the Wide. There are four variants: standard, Wide, NoIR and NoIR Wide. NoIR lacks the infrared cut filter. The official documentation describes combining NoIR with the included blue gel to observe the health of green plants. We did not verify how the resulting index is computed or how accurate it is, so we only mention it.
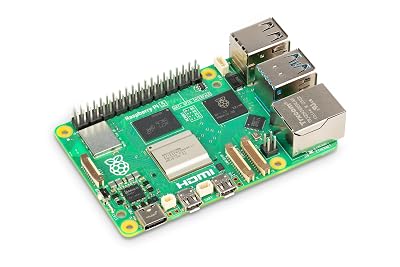
The AI HAT+ 2, announced and released on 2026-01-15, is an add-on board exclusively for the Raspberry Pi 5. It carries a Hailo-10H rated at 40 TOPS (INT4) with 8 GB of dedicated onboard memory, and connects to the Pi 5 PCIe port.
The original AI HAT+ carries a Hailo-8L (13 TOPS, INT8) or Hailo-8 (26 TOPS, INT8) and uses the Pi 5’s main memory. In the official comparison table, the original is “Not supported” for LLMs and VLMs. For image recognition such as object detection, the official description calls the AI HAT+ 2 and the 26 TOPS original “broadly equivalent.”
Do not compare 40 against 26 TOPS directly. The AI HAT+ 2 figure is INT4 and the original’s 13 and 26 are INT8, measured on different bases. The difference between them is not speed but whether generative AI (LLMs and VLMs) can run at all. If you want plant photos described in words, choose the AI HAT+ 2; if you only need to detect fixed objects, the original is enough.
A 12 MP IMX708 autofocus camera compatible with Camera Module 3 is the core of this setup. For a whole shelf or several pots, consider the wide-angle version.

 ポチップ
ポチップShooting uses rpicam-still, the camera command included in Raspberry Pi OS. Older build guides mention libcamera-still or raspistill; the current name is rpicam-still.
The official documentation gives this example. After creating a folder with mkdir timelapse, it runs for 30 seconds (–timeout is in milliseconds), takes one shot every 2 seconds and saves numbered files.
rpicam-still --timeout 30000 --timelapse 2000 -o timelapse/image%04d.jpg–timelapse sets the interval in milliseconds, and %04d becomes a four-digit sequence number. For changes over minutes or hours, such as a bud opening, this is quick.
Plant growth, however, unfolds over weeks to months. Keeping one command running that long is fragile against power cuts and reboots. For long-term records, the cron method below is better.
The official documentation shows a script that takes one photo named with the date and time and runs it periodically with cron. The script looks like this (replace /home/pi with your own home directory):
#!/bin/bash
DATE=$(date +"%Y-%m-%d_%H%M")
rpicam-still -o /home/pi/timelapse/$DATE.jpg
Save it as /home/pi/camera.sh. As in the official steps, create the destination folder and make the script executable. Without the folder rpicam-still cannot write the image, and without execute permission cron cannot start the script.
mkdir -p /home/pi/timelapse
chmod +x /home/pi/camera.sh
Before adding it to cron, run /home/pi/camera.sh once by hand in a terminal and confirm a date-named JPEG appears in the timelapse folder.
Open the editor with crontab -e to register it. The official example uses * * * * * (every minute). For plants that is too often; to shoot at minute 0 of every hour, add this line:
0 * * * * /home/pi/camera.shBecause file names contain the date and time, sorting them gives the time series. rpicam-still also has a –datetime option, but it names files MMDDhhmmss.jpg without the year. Records spanning a new year would sort out of order, so for long-term logs use the date approach above.
One photo per hour is 720 photos a month. Among third-party guides, fiveop.de’s Sprouting time-lapse with RaspberryPi Cam shoots every 15 minutes with date-time file names to record sprouting (a 2020 article using the old picamera library). You might shorten the interval while things change quickly, as during germination, and lengthen it once leaves have filled in.
What helps most with fixed-position shooting is not software but fixing the camera and pot positions. Mount the camera to a stand, mark where the pot sits and return it in the same orientation every time. If you 3D print the stand or camera case, the steps in our electronics enclosure design guide apply directly.
Light matters just as much. Window light changes with time of day and weather, and the same plant photographs in different colors. If you use a grow light, restricting shots to when it is on makes color comparisons easier. Camera Module 3 autofocuses, and if focus shifts from day to day, leaf edges render differently too. If comparison is the priority, check the focus options in the official options list and set it so focus does not move between shots.
The Raspberry Pi Official Magazine article Make a time-lapse video (Phil King) also uses plant growth as an example and explains shooting and making a video. It uses the old command name libcamera-still, so read it as rpicam-still.
Once photos accumulate, turn them into numbers. PlantCV is an open-source image analysis package for plant phenotyping (measuring plant shape and color from images), developed by the Donald Danforth Plant Science Center under the MPL-2.0 license. Version 4.11.3 came out on 2026-07-10. It is used from Python.
Three PlantCV functions matter most for a growth log:
The workflow is to load an image, create a binary mask separating plant from background, and call measurement functions on that mask. A plain single-color board as background makes cutting out the plant easier; green leaves against white or black can be masked by color difference.
Lengths and areas come out in pixels by default. PlantCV has unit, px_height and px_width parameters; tell it how many millimeters one pixel represents and it outputs mm and mm². Put a ruler or grid paper next to the pot and you can derive the conversion from the image.
The area obtained is the area of the plant region in the image, the projected area as seen by the camera. Overlapping leaves hide the ones below, tilted leaves appear smaller and leaves closer to the camera appear larger. It is not the true leaf area, so use it as an indicator for comparing day-to-day changes. The conversion also holds exactly only for parts at about the same distance as the ruler. As the plant grows taller or deeper, the conversion drifts even with a fixed camera. Keeping the ruler in frame every time and recalculating the conversion per image is more reliable.
Put the output in a table by date: area, height and a representative color value, one row per day. A chart makes change far easier to read than flipping through photos one by one. The PlantCV site publishes tutorials that walk from mask creation to measurement with examples.
With a table of numbers, you can have an AI interpret what the changes mean. The easiest route is a cloud AI, either attaching a photo in a chat or sending images through an API.
As a cost example, take Google Cloud Vision API pricing. Vision bills one unit per feature applied to one image. The first 1,000 units per month are free, and label detection costs $1.50 per 1,000 units from 1,001 to 5,000,000. One photo per hour with one feature is 720 units a month, within the free tier. One photo every 15 minutes is 2,880 units a month, and the 1,880 units over the free tier cost $2.82 (both assuming a 30-day month).
Vision returns labels for what is in the image, though, not a narrative like “lower leaves yellowed since last week.” For written explanations of growth you need a chat AI or VLM that accepts images. Pricing models differ by provider, so this article does not compare them. How to think about the cost of cloud versus local AI is covered in our overview of the local AI stack.
Beyond cost, consider privacy. Even if you mean to shoot only the plant, an indoor camera can capture the view out the window, the room and sometimes people. Sending images to an outside server sends all of that too. Narrowing the frame to the pot or cropping before sending helps, but not sending at all is the surest option.
If you want AI to read images without them leaving your home, the AI HAT+ 2 is the option. The official documentation says its 8 GB of memory can run LLMs and VLMs up to about 6 billion parameters, and the official news post shows a VLM describing camera footage.
As the maker puts it, processing everything locally without a network connection brings advantages in latency, privacy and cost. The same post states plainly that small local LLMs that fit in onboard memory are not designed to match the knowledge of large cloud models. The LLMs said to be installable at launch were DeepSeek-R1-Distill 1.5B, Llama3.2 1B, Qwen2.5-Coder 1.5B, Qwen2.5-Instruct 1.5B and Qwen2 1.5B, all in the 1 to 1.5 billion parameter range.
Following the official documentation, the prerequisites are:
If you put it in a homemade case, design cooling and airflow first. Our guide to enclosure heat and ventilation covers the approach.
For describing images, the VLM apps in Hailo’s hailo-apps (MIT license) can be used. vlm_chat takes camera video as input; with a Raspberry Pi camera, pass –input rpi. simple_vlm_chat analyzes one image and returns a description; per the README, the image it loads is a sample from the repository. Both default to Qwen2-VL-2B-Instruct, which the configuration provides only for Hailo-10H. Hailo’s official model list also includes 2B-class VLMs.
Since it takes one image as input, for a growth log we think the fit is to pick the days you want to compare from the cron images and adapt simple_vlm_chat to load that image and question. That is our inference from the README, not an officially documented use. For independent hands-on reviews, CNX Software had vlm_chat with Qwen2-VL-2B-Instruct describe objects in front of the camera, and Jeff Geerling reviewed the AI HAT+ 2 from a local LLM perspective. Per-image processing time is not officially published, so we give none.
Local processing hardware at Akizuki Denshi prices comes to 83,380 yen (about $556): Pi 5 (8 GB) 35,200 yen, AI HAT+ 2 38,390 yen, Active Cooler 1,100 yen, Camera Module 3 5,940 yen and power supply 2,750 yen (storage such as a microSD card not included). If only shooting and recording run locally and the AI is in the cloud, you can start from 31,680 yen (about $211) with a Pi 5 (4 GB, Switch Science price) plus camera and power supply (Akizuki prices). The 4 GB model was out of stock at both shops when we checked.
Which is cheaper depends on how many photos you take, how many plants and how often you ask the AI. With usage that stays within a free tier, as with Vision, cloud cost is almost nothing. Conversely, if you do not want images leaving home or the location has an unreliable network, local processing wins before cost enters the picture. There is no general answer; calculate with your own shooting interval and query count.
The AI HAT+ 2 works only with the Raspberry Pi 5, and the 8 GB model leaves headroom for PlantCV and the rest of the pipeline.
If you already manage devices with Home Assistant, you can put shooting and AI queries into Home Assistant automations.
For shooting, use the camera.snapshot action (Camera integration), which saves a still from a camera to a file. Following the official example, name files by date and time like this:
action: camera.snapshot
target:
  entity_id: camera.plant_shelf
data:
  filename: "/media/plants/{{ now().strftime('%Y%m%d-%H%M%S') }}.jpg"
By default the allowed save locations are /config/www and the media folder (/media by default); anything else must be added to allowlist_external_dirs. The official example saves to /config/www, but do not put photos of your rooms there. Files in /config/www are served at the /local/ URL without Home Assistant authentication, so anyone who knows the URL can see them (HTTP integration). Files in the media folder are protected by Home Assistant authentication (Media source). Home Assistant creates subfolders such as plants automatically when saving (we confirmed this in the Home Assistant source). If you run Home Assistant in a Docker container, map a volume to /media. Run this automation at fixed times and images accumulate. Building it from scheduled camera.snapshot calls is simpler than hunting for a time-lapse integration.
For AI queries, the AI Task integration added in 2025.7 can be used. The ai_task.generate_data action has an attachments field, which the documentation describes as a list of files, such as camera snapshots, to attach for multimodal AI analysis. To use it, you must configure an integration that provides an AI Task entity and select a model that accepts images. Among integrations that connect to a local LLM server, the Home Assistant 2026.9.4 source shows the Ollama integration supporting AI Task and image attachments. The llama.cpp integration provides only a conversation agent and cannot be used for AI Task. We have not verified whether connecting the AI HAT+ 2 hailo-ollama to the Ollama integration answers queries with attached images. If you build it with a local VLM, treat it as an untested configuration.
For example, the idea is an automation that attaches the shelf camera image every Sunday morning, asks for up to three concerns about leaf color or shape, and sends the answer as a notification (we did not confirm it works). The overall local LLM setup is covered in our overview of the local AI stack.
Right after building the system it is tempting to ask the AI about every day’s change. For slow-growing plants such as foliage plants, though, drawing conclusions about growth from a week of photos is hard. Growth tends to slow indoors in winter especially, and a single day’s change cannot be separated from apparent differences caused by changing light or leaf angle. On the other hand, University of Maryland Extension says microgreens are harvested 7–21 days after sowing, so some crops show change in days. How fast change appears varies greatly with species and growth stage, and we did not verify how many days are needed to read changes for any particular plant.
So separate recording from asking:
When you give the AI images, include the events you logged by hand. A note like “repotted three days ago” or “moved to the window last week” tends to turn a generic answer into a specific one.
Treat the AI answer as a draft for care decisions, and let a person make the final call. The maker itself says small local VLMs do not match the knowledge of large cloud models. Even a cloud AI cannot diagnose disease from photos alone. If leaf problems persist, use the AI’s pointers as leads and confirm with horticulture references or local public authorities. If you use pesticides, follow the product label.
The hardware question is whether to buy the AI HAT+ 2. Decide not on TOPS figures but on whether you want generative AI that describes images in words running locally. For shooting and measuring alone, a Pi 5 (4 GB) and a camera are enough to start, and the AI HAT+ 2 can be added later.
What to do in the first week is not to check growth but to check that photos under the same conditions are accumulating without gaps. Fix missed shots, lighting changes and pot drift in the first few days, and in a few months you will be able to read how your plant grew from both charts and images.