AI Slicer Revolution 2026: When Neural Networks Rewrite Your G-code
swiftwand swiftwand.ai
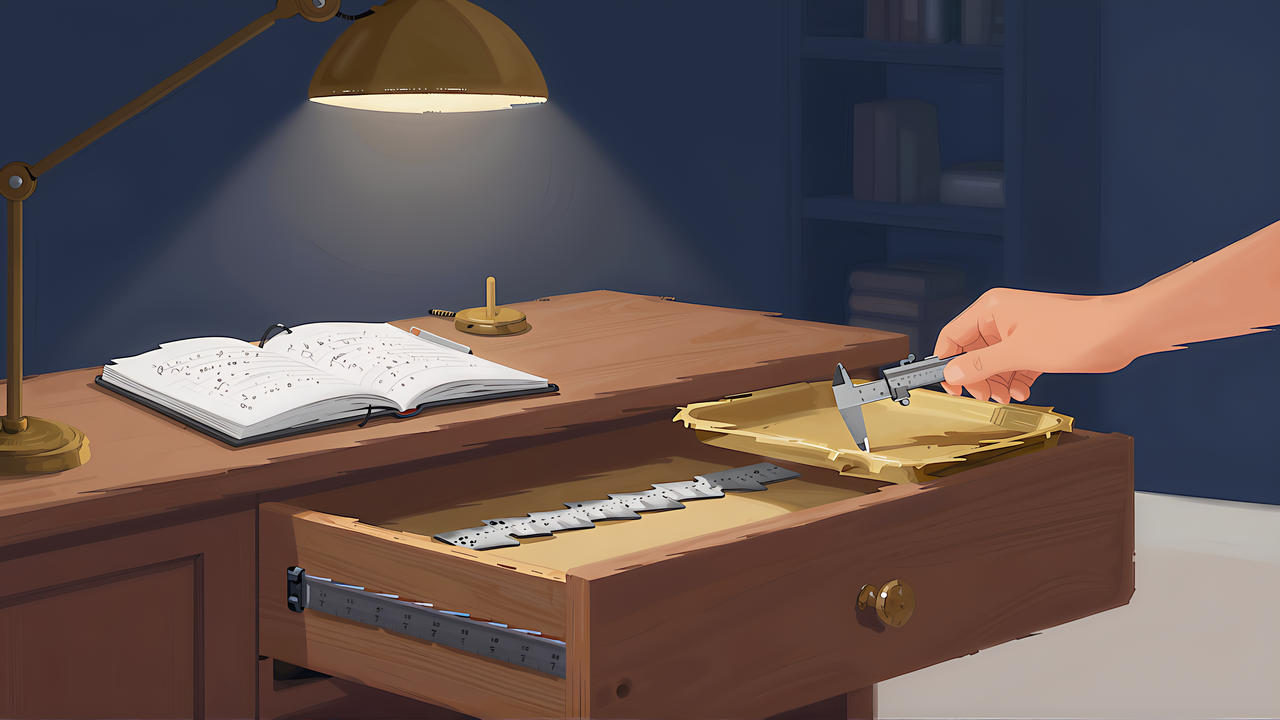
You picked a standard, learned a generator, and worked out the batch estimate. What still sinks the project is almost always the same thing: measurement. The finished box will not go into the drawer, short by two millimetres. Or it goes in, and then catches on the slide when you close it. Dozens of hours of printing lost to one dimension nobody took.
This article contains affiliate links. As an Amazon Associate, we earn from qualifying purchases.
The difficulty is not instrument precision. Nobody struggles to read a caliper. The difficulty is knowing where to measure. A drawer looks like a rectangular box and is not one, and equipment is rarely the size its specification claims. This article is about the where.
The reason people skip it is understandable. It looks like something you can eyeball. You see inside that drawer every day and you have a sense of its size. That sense sits a few millimetres away from reality. And storage feels like a loose requirement, just needs to fit, so attention to precision drops. In practice, once you are dividing by a grid, a few millimetres becomes a whole grid unit of difference.
Start by distrusting the drawer. Most drawer interiors are not true rectangular prisms. Measured properly, differences show up.
The opening and the floor can differ. Metal drawers often have side panels that lean inward, so the top is wider than the bottom. Design to the opening dimension and the box will not reach the floor. Wooden drawers can do the opposite, with a base panel set inside the sides, making only the floor narrower.
Protrusions on the sides are common: the slide bracket, rivet heads, weld beads, stiffening ribs. These exist only at certain heights, so looking down from above will not reveal them. A low box clears them and a tall box does not, which is an awkward property to discover late.
The depth direction hides traps too. The back wall is sometimes not vertical, leaning slightly forward, or there is wiring or a mechanism projecting into the space. The back of a drawer is hard to reach and hard to see, so it is the most commonly missed.
Plastic drawers have a property of their own. Loaded, the sides bow outward slightly and the interior grows. Pack boxes in tightly and they push outward from inside, and the drawer starts to run stiffly. Boxes sized exactly to an empty measurement can behave differently once everything is in place.
The rule that covers all of this: measure the smallest cross section, not the largest. What fits is decided by the narrowest point along the whole path, not by the widest.
Height has its own trap. The nominal depth of a drawer and the height you can actually use are different. Measure with the drawer fully extended and you get one number; what will pass under the frame when it closes is another. People discover the gap at the exact moment they try to shut the drawer on a full box.
Standard boxes come in height units too, so the usable height divided by the unit gives the box heights available to you. A remainder appears here as well, and vertical remainders are harder to use than horizontal ones. Either take a shorter box and leave the space above, or give up stacking and use boxes without a lip.
Leaving the top open has an overlooked benefit: you can see the contents when the drawer opens. High rims block the view from above. Shallow boxes with less in each find things faster. The point of storage is retrieval, not density, and viewed that way the leftover height is an investment rather than a loss.
For lidded containers or tools with handles, measure the contents too. A box that fits does you no good if the drawer will not shut. What decides that is the total height with the contents in, not the height of the box.
Three instruments cover it: a rule for long distances, calipers for precise dimensions, and feeler gauges for gaps.
Use the rule for drawer interiors and other long spans; a steel rule flexes less and registers better against an end. Use calipers on tools and parts. Digital or dial makes no difference, but measure the same feature two or three times and confirm the readings agree. A single reading is an impression, not a measurement.
How you place the jaws matters. The outside jaws of a caliper open slightly more at the tips than at the root, so for a deep feature the reading is steadier near the root. Do not squeeze either: press hard on a plastic or rubber grip and the material compresses and reads small. Read where light contact stops, which is the basic rule of dimensional measurement.
There are conventions worth keeping. Measure a cylinder outside diameter at several angles. Measure plate thickness at the centre, not the edge. Interior dimensions change with jaw angle, so check by eye that you are square to the surface. This overlaps with the material in the article on tolerance and fit.
A 6-inch digital caliper is enough for tools and parts; use a steel rule for drawer interiors.
Even with a correct measurement, the printed part comes out a different size, because machines differ. Knowing whether yours runs fat or thin against the design value tells you how much margin to allow. If you do not know, the gauge described below tells you.
Keep material differences in mind as well. Shrinkage on cooling varies by material, and the absolute amount grows with part size. Negligible on a box tens of millimetres across, it matters on a plate over 300 mm. Same data, different material, means redoing the physical fit check. Even a colour change can shift behaviour slightly through the pigment.
There is no universally correct margin. Favour easy removal and it grows; favour capacity and it shrinks. Decide which you care about and the deliberation disappears. Cradles for tools you handle constantly can be loose, while boxes of spare parts you rarely touch can be tight. Keeping two values by use is more practical than settling on one.
There is a way to clear out all of this uncertainty at once: before printing the real boxes, print one thin gauge.
It can be simple. A thin frame a few millimetres tall carrying only the grid outline. Drop it into the drawer and you can see at a glance whether the width and depth work, whether it clears the slides, and where the leftover strip falls. It costs almost no material and prints quickly.
The same idea covers fit. Print a small test piece with the gap stepped in 0.1 mm increments and try the engagement. Once you know the right gap for your machine, every subsequent design uses that number. One test print pays into all the designs after it.
Skipping this and printing dozens that all fit slightly wrong is the most common failure in this area. Against the time to reprint, one gauge is a rounding error.
The gauge does not have to be disposable. If you stay on the same standard, a thin frame carrying the grid outline works in another drawer or on a desk. Find a new place to put storage, drop the gauge in, and you know immediately how many units fit, which removes the measuring step entirely. A few in different sizes are worth keeping in the toolbox.
Drawers hold more than tools: cables, power adapters, filament offcuts, spare nozzles. Each has its own measurement problem. A coiled cable has a diameter that depends on how tightly you coil it, so the number you measure is a decision rather than a fact. An adapter measured without its plug will not fit with the plug attached.
Boxes carrying heavy items need a reinforced floor. Load a set of socket wrenches into a thin-floored box and it flexes in use. Increase the bottom layer count, or thicken the walls on that box alone. Not every box needs to be strong, and changing settings for the few that carry weight is enough. Being able to set wall and floor counts per box is part of why generators are useful.
There is noise, too. Hard plastic boxes sliding inside a metal drawer sound on every open and close. Felt or a thin rubber sheet on the underside fixes it and eats that thickness in height. The remedy feeds back into the dimensions, so allow for it up front.
Dust collects in shallow open boxes. Putting lids on the ones holding rarely used items handles it, and lids consume height, which returns you to the height calculation again.
The saving grace is that all of these can be added later. Anti-slip, felt, lids: none require rebuilding the storage. So the first design does not need to be perfect. Put things in, use it, and treat the specific problems that appear. Chasing perfection before printing dozens means never starting.
The order exists for a reason. Start from the contents and you will design a layout that does not fit the drawer. Fix the constraints of the container first, then place the contents inside them. Ordinary design practice, but storage invites you to start from what you want to store, so it is worth consciously inverting.
Photographing before you work helps too. One shot of the open drawer records the slide positions and what is currently inside. You stop walking back to the drawer to check a dimension, and you can do the design in another room. Separating measuring from designing in time is a real convenience.
One more note on shared spaces. If the shelf is used by family or colleagues, other people need to know where things go back. A shaped cradle is strong here, because the shape decides where the tool returns. A row of similar-looking divided boxes just invites everything to be dropped in the nearest one. The more shared the space, the more it needs shape or labels to distinguish things.
Measurement decides whether storage fits, and the hard part is where rather than how precisely. To recap:
With the dimensions in hand, generating the bins is the parametric generator comparison, and printing dozens is the batch printing article. The series index is the workshop reverse guide.