BOOTH vs Creema vs Mercari Shops: Japan Marketplace Fees Compared in 2026
swiftwand swiftwand.ai
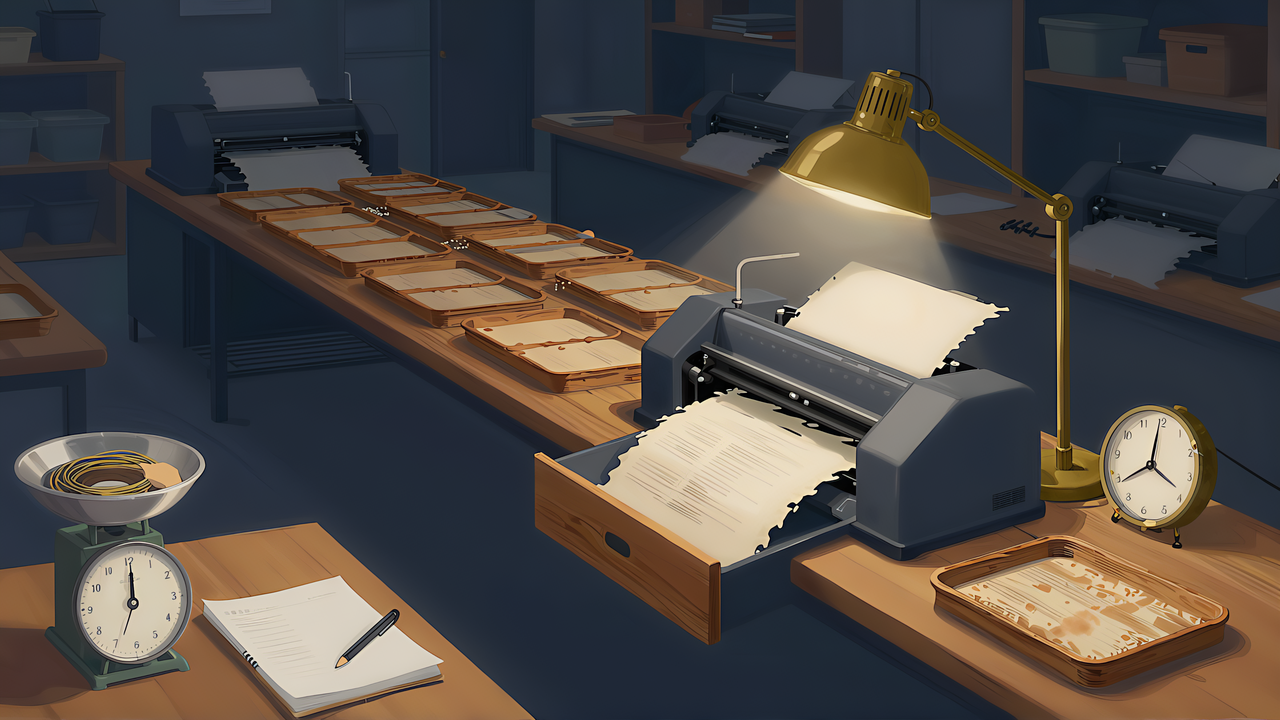
Printing one bin is easy. Printing the forty that fill one drawer is the hard part. A single print and a batch are different problems: with one bin a settings choice costs you minutes, and at forty the same choice costs hours. The disappointment of a failure partway through also means something different at bin thirty-eight than at bin one.
This article contains affiliate links. As an Amazon Associate, we earn from qualifying purchases.
One thing up front. This site has no measured production run for this setup, so there will be no claim that forty bins take a specific number of hours. Instead the calculations are built so that you plug in the numbers your own slicer shows. An estimate whose inputs you can see beats a figure measured on someone else machine.
The number forty is not arbitrary either. Dividing a typical tool drawer interior by the grid usually yields thirty to fifty compartments. In other words, the smallest meaningful goal, filling one drawer, already means dozens of prints. At that scale a few minutes per bin becomes hours in total and the filament approaches a kilogram. Start on impulse and you either run out of material or lose interest. That is what makes estimating the total worth doing first.
| Item | Relationship to count |
|---|---|
| Filament used | Proportional |
| Print time | Roughly proportional |
| Electricity | Proportional to print time |
| Machine wear | Proportional to print time |
| Pre-print preparation | Not proportional, once per job |
| Loss from a failure | Proportional to the volume in one job |
The proportional items are easy: measure one and multiply. The last row is the problem. Only the failure loss depends on how you arrange the printing, and that one line is the reason batch settings differ from single-print settings.
If you print forty in four jobs, one failure costs ten bins. Print all forty at once and a failure late in the job can cost everything. Throughput favours the second; expected value can favour the first. Which one wins depends on how often your printer actually fails.
The non-proportional side deserves attention too. Cleaning the plate, arranging models, slicing, swapping filament: fixed cost per job. With a single print that fixed cost dominates, which is exactly why batching helps at all.
The baseplate is the part most likely to fail, because a large area with a low profile concentrates cooling shrinkage at the edges. A brim improves adhesion, and forty plates means removing forty brims. Even at tens of seconds each, multiply by the count and it stops being free. Reducing the number of plates, or moving to a material less prone to warping, shortens total working time more than the post-processing does.
There is also the option of skipping the plate entirely. If the boxes do not move inside the drawer, you do not practically need the grid foundation. The plate exists to fix position, and bins packed tightly support each other. Printing bins first and adding a plate only if things shift lowers the initial investment substantially. On a wall this shortcut does not exist, because the board is the structure.
Most of these failures end with removing a part or clearing a nozzle, so a basic tool kit earns its place.

 ポチップ
ポチップ| Aspect | Batched on the plate | One at a time |
|---|---|---|
| Total time | Shorter, heating and prep happen once | Longer |
| Loss on failure | Large | Small |
| Interference between parts | Contact risk during travel | None |
| Stringing and ooze | More likely, more travel | Less likely |
| Stopping partway | Hard | Easy |
On total time alone, batching wins. Heating and preparation happen once and the plate cycles less. Against that, batching complicates the toolpath: the nozzle travels between parts more often, which causes stringing, and one part coming loose can take others with it.
The realistic compromise is groups of four to six. A single job does not run too long, a failure stays bounded, and you can check results between groups and adjust.
As a sequence, print exactly one first and check the physical part. Confirm the dimensions, that it seats in the grid, that the lid closes. Then move to group production. Skip that and a dimensional error propagates to all forty. The single test print looks wasteful and is actually insurance on the other thirty-nine.
Storage parts live indoors under limited load, so the material field is wide. The deciding factors are printability, dimensional stability and appearance rather than strength. Standard PLA handles most of it. It will deform where temperatures climb, such as a car interior in summer, so for tools carrying oil or solvent, or an unheated shed in August, something with more heat resistance and toughness like PETG becomes the candidate. Guidance on heat deformation by material sits in the article on heat and ventilation in enclosures.
Batches add a practical constraint: can you secure enough of the same brand and colour. Run out at bin twenty-five and switch to another spool, and the colour shifts slightly. Function is unaffected and it is visible when the bins sit side by side. This is one of the few cases where buying in bulk genuinely pays.
Colour has practical consequences too. Dark bins hide their contents. Light colours and white show contents clearly and also show oil stains from tools. Choosing with the thought that a box is a tool for finding things leads to fewer regrets than choosing on looks. Using different colours for dividers and boxes, or colour-coding by category, only starts paying at this scale.
Two inputs, both displayed by the slicer:
Multiply by count for the totals. If one bin were two hours and thirty grams, forty bins would be eighty hours and 1,200 grams. Replace both assumptions with what your own slicer reports, because shape, layer height and wall count move them by nearly a factor of two.
Then divide the total back into job units. Five bins across eight jobs is ten hours per job, and only at that point does it become a schedule, one overnight and one during the day. Looking only at the total leaves you without a plan for fitting it into a week.
Slicer time estimates drift with acceleration settings and real machine behaviour. Print a few and learn whether your machine runs faster or slower than the display, and every subsequent estimate becomes a multiplication.
The item most often left out is human time around the print. Removing parts from the plate, cleaning up strings, collecting a group and loading the next. At five minutes per job, eight jobs is forty minutes. Watch only the print time and those forty minutes vanish from the plan.
Calibration work goes faster on a filament that behaves predictably, which is what PLA+ is for.
 ポチップ
ポチップThree defences, in order. First, cap the volume in a single job, which is where the group size returns. Second, watch the first layer before walking away; storage parts have large footprints and generally finish if the first layer holds. Third, add monitoring. Camera-based detection options are compared in the article on built-in versus add-on print monitoring.
In a batch, it is the delay in noticing that sets the loss. The same failure costs ten minutes if you catch it at minute ten and eight hours if you catch it after eight. Detection is worth more the longer the job runs.
Classifying failures helps you respond. First-layer adhesion problems announce themselves immediately and cost little. Detachment mid-print happens in the middle and costs that job. Filament running out or jamming happens on long jobs and is the hardest to notice. Of these, running out is the one an estimate prevents completely: total the filament first, confirm the remaining spool covers it, then start. Twelve hundred grams for forty bins may well exceed a fresh spool.
Jams deserve a note of their own, because a batch is itself a load. Longer continuous running wears the nozzle and the motion system. After tens of hours of printing, one inspection before the next job prevents more failures than it costs. Counting machine cost as purchase price divided by expected running hours also means you are consuming the machine in proportion to running time, which is the formula reflecting reality.
Last, build the mechanism for repeating. Three months after finishing forty bins, when you want ten more, you cannot match texture or dimensions without reproducing the settings.
There is not much to record: the dimensions you entered into the generator, the slicer profile name, layer height, wall count, filament brand and colour, plate type, and the time it actually took. The last one determines the accuracy of your next estimate. Take the ratio of displayed to actual once and every future estimate is a multiplication.
A ledger also helps diagnosis. You can trace which conditions produced warping later. Dozens of prints is a large enough sample to learn from.
It even tells you when to make more. Storage reveals its gaps about two weeks after you start using it: not enough dividers, wrong depth, one box that never gets used. Planning a second round from the start beats treating the first as final.
Filling one drawer means dozens of prints, and dozens is a different problem from one. To recap:
Producing the bins themselves is the parametric generator comparison, and getting the dimensions right before any of this is the article on measuring. The series index is the workshop reverse guide.