"Looking Good" Is Calculable: How AI Product Photography Transforms 3D Print Sales
swiftwand swiftwand.ai
This article organises general information. It is not construction or tenancy advice. Whether a given installation is possible depends on the structure of your home and the terms of your lease. For heavy items, or when in doubt, check with a contractor or your building manager.
This article contains affiliate links. As an Amazon Associate, we earn from qualifying purchases.
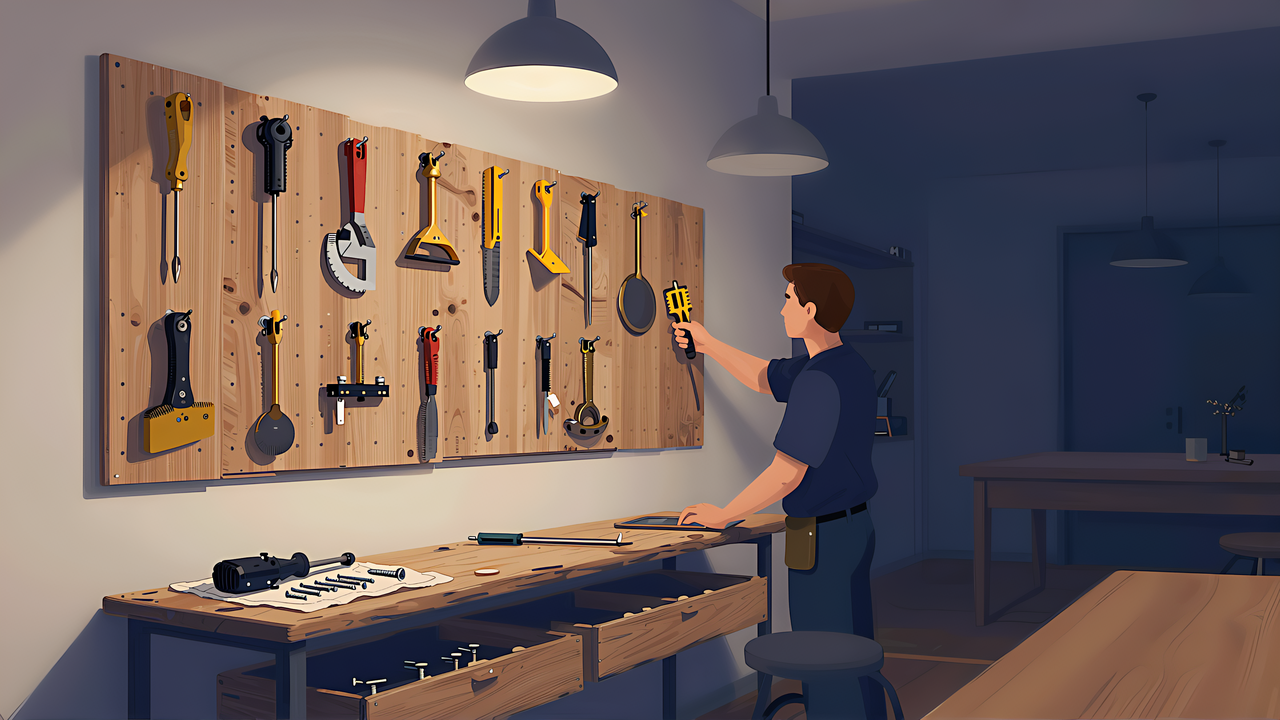
Once the drawers are full, attention turns to the wall. The desk is already covered and the floor is not an option. Vertical surfaces are the last unused area in the house, and that plain fact is why 3D printed wall storage draws attention.
Area is part of it. Two drawers thirty centimetres deep hold only so much, while a wall offers everything from floor to ceiling. And what hangs on a vertical surface is visible at a glance. A drawer hides its contents until opened; a wall shows all of it the moment you stand up. In terms of time saved finding things, that may matter more than the capacity.
But a wall differs from a drawer in one decisive way. A drawer is finished when you put the box in; a wall has to be attachable first. The failure mode is different too. A box that does not fit a drawer gets rearranged. A wall fixing that does not hold drops what it is carrying. A falling tool damages the floor, and if someone is underneath, it injures them.
That changes the order of work. Drawer storage lets you build boxes and then fit them. Walls run the other way: survey the wall, then decide what to build. Print dozens of boards first and discovering that the fixable positions are limited means starting over, and large-area parts are expensive to reprint.
| Layer | Role | What it decides |
|---|---|---|
| The board | Provides the grid | Which standard you commit to |
| The fixing | Holds the board to the wall | Screws, anchors, presence of studs |
| The hanging side | Holds objects to the board | Snaps, hooks, cradles |
Discussion gets muddled when these are treated as one. The question of how many kilograms a standard can hold has no answer, because the result is set by the weakest of the board, the wall, and the fasteners. In a typical Japanese home, the wall is usually the weakest.
openGrid publishes two boards on a 28 mm grid: a Full board at 6.8 mm described for heavy-duty applications holding substantial weight, and a Lite board at 4 mm, roughly half the thickness, for light applications and confined spaces. Deciding which one you need is a question about what you intend to hang, answered before you print anything.
On the hanging side, the documentation describes several snap types. Three matter for most people:
The documentation recommends the lock snap for under-desk use and where you need maximum holding strength. That distinction makes sense. A push-in snap is fast to attach and detach and weak against pull-out. A snap you rotate to lock takes an extra motion and holds better. Choose on how often you detach it and how much a fall would cost.
That the lock snap prints as a working mechanism matters practically: no parts to assemble, so preparing dozens costs the same per unit as preparing one. Printing a moving mechanism in one piece is the same idea as a living hinge or a sprung catch, adding function without adding part count. Moving parts are sensitive to fit tolerance, though, which is another reason for a test print. The general approach is in the article on snap-fit design.
This gets missed. The argument that a thin-walled hollow storage box gains little from infill is sound. Boards and snaps, however, carry load, and settings chosen by the same instinct come out weak.
The openGrid printing guidance gives these values.
| Item | What the documentation says |
|---|---|
| Nozzle | Designed with a 0.4 mm nozzle in mind |
| Layer height | 0.2 mm |
| Infill | At least 15 percent. The pattern normally does not matter much |
| Perimeters | Recommends increasing to 3 if you want to attach more weight |
| Material | PLA is fine. PETG or ASA/ABS for demanding use. Flexibles not recommended |
| Before committing | Do a test print. Faster profiles can reduce quality and ruin the tolerances |
PLA being explicitly fine simplifies the decision. Near a sunlit window or a heating outlet, a material with more thermal headroom is still the safer call.
The last row is the important one. Print one and check the fit first. Board and snap engagement is decided by tolerance, so your machine dimensional habits carry straight through. Printing dozens of boards and then discovering they do not mate is the most expensive failure in this area.
The perimeter count matters for a structural reason. Extruded prints are weakest between layers, and a snap being pulled out of a board loads exactly that interface. More perimeters put more continuous material around the path the load takes.
If you print boards and snaps in PETG, a standard 1 kg spool is enough.
The question of how many kilograms a wall system holds has no answer on the standard side. The openGrid documentation publishes no load ratings. It gives qualitative guidance, a thicker board and a lock snap for heavier items, and nothing numeric.
That is not unhelpfulness, it is honesty. The same board screwed into a stud and anchored into plasterboard hold completely differently. Wall material, board thickness, anchor type, screw count, and whether the load is pull-out or shear. Too many variables for the standard to guarantee a number.
One factor works quietly against you. The hanging weight may be constant, but removing an item applies a brief spike. Yanking a screwdriver off its hook loads the fixing harder than the screwdriver hanging still. Wall storage is touched many times a day, so that dynamic load repeats. The reason to keep margin is the repetition, not the static weight.
So the numbers you need are on the fastener side. Anchor and hook products publish conditional load ratings. Three things to watch when reading them:
This article does not copy those numbers across. Conditions differ per product, and presenting figures this site has not verified as a basis for your decision would not be appropriate. Read the packaging and instructions for the product you actually use.
Also, published figures assume correct installation. A pilot hole of the wrong diameter reduces holding, and overtightening crushes the board out of the assumed condition. The same product performs differently depending on care, which is the flip side of not taking any number at face value.
An example of a drywall anchor assortment for fixing points without a stud behind them.

 ポチップ
ポチップA stud finder tells you more than whether a stud exists. It tells you how deep it sits. Boards are sometimes doubled, in which case a screw sized for a single layer never reaches the framing behind it. A pin-type finder gives you the depth directly by how far the pin goes in.
Plan the layout around the stud positions rather than the other way round. Measure the wall, mark where the studs are, then lay the board outlines over that. Thinking in grid units shows where the seams fall and whether the fixing points land on framing. All of this happens on paper before a single board is printed, which is why it is cheap.
You can have vertical surface without touching the wall at all.
| Method | Surface used | Constraint |
|---|---|---|
| Mount to the side of a desk or shelf | A furniture vertical face | Depends on the material, and on the owner permission |
| Print a free-standing panel | Sits on the desk | Takes footprint, needs a low centre of gravity |
| Mount onto an existing pegboard | A wall surface you already have | The hole spacing may not match the grid |
| Go back to the drawer | Horizontal | No wall, and no hanging |
The side of a desk is the most practical of these. Tools land right beside where you work, which beats reaching for something high on a wall. The documentation itself cites under-desk use for the lock snap, so wanting vertical surface around a desk is not unusual.
The free-standing panel costs more printing and touches the building not at all. Where you move often, that portability is worth the filament.
Adhesive mounting deserves care. It is convenient, and its holding depends on surface condition and temperature and changes over time. That is too much uncertainty for anything you would mind having fall. Draw the line at items that are light and safe to drop and it remains a useful option. Heavy tools to studs, light items to adhesive or free-standing, is a workable split.
Settle those three and the board type and snap type follow automatically. Skip them and print boards first, and a reprint is likely. Boards are large-area parts, so a reprint costs accordingly.
Wall storage is a different problem from drawer storage, because attachment comes before shape. To recap:
Choosing the standard in the first place is the grid standards comparison, and printing many boards is the batch printing article. The series index is the workshop reverse guide.