AI 3D Print Workspace Setup: Build Your Home Fab Lab
swiftwand swiftwand.ai

Klipper has three primary user interfaces — Mainsail, Fluidd, and KlipperScreen — and choosing between them shapes the daily workflow of a maker. Mainsail and Fluidd are web UIs you reach from a browser; KlipperScreen is the touchscreen UI that runs on a 5–7 inch display attached to the printer. The Creality Sonic Pad and BIGTREETECH Pad 7 are commercial all-in-ones that bundle these UIs into a packaged product. This guide compares them on philosophy, feature, ergonomics, hardware, and remote access — using the Klipper, Mainsail, Fluidd, KlipperScreen project sites and vendor specs as of May 2026.

Both Mainsail and Fluidd are web UIs for Klipper — open-source, GPL-licensed, and free. Both talk to Klipper via the same Moonraker API. So what’s the difference?
Mainsail emphasizes feature breadth. Macro Store (a community library of pre-made macros), system resource monitoring, syntax highlighting in the config editor, and a rich print-history view make it the better fit for makers who want all the data on screen. Recent versions add a built-in tool for viewing per-print thumbnails, and the project pushes regular feature updates.
Fluidd emphasizes responsiveness. The single-page design loads fast, settings changes apply immediately without page reloads, and the UI feels snappy on even modest hardware (like a Pi 4 with 2 GB RAM). It exposes most of the same Moonraker capabilities as Mainsail but with a tighter, more opinionated UI.
Practical observations from running both: Mainsail is the right choice if you spend a lot of time tweaking macros and configs in the browser. Fluidd is the right choice if you mostly print and only occasionally need to interact with the UI.
| Aspect | Mainsail | Fluidd |
|---|---|---|
| License | GPL / Open source | GPL / Open source |
| Price | Free | Free |
| Strengths | Macro Store, resource monitor, syntax highlighting, print history | Responsive, single-page, immediate setting reflection |
| Weaknesses | Feature-rich; potentially overwhelming for beginners | Lighter on history and stats features |
You can install both on the same Pi via KIAUH (they coexist on different ports), and many users do exactly that — switching between them based on what they’re doing. Mainsail for editing, Fluidd for monitoring during a print.

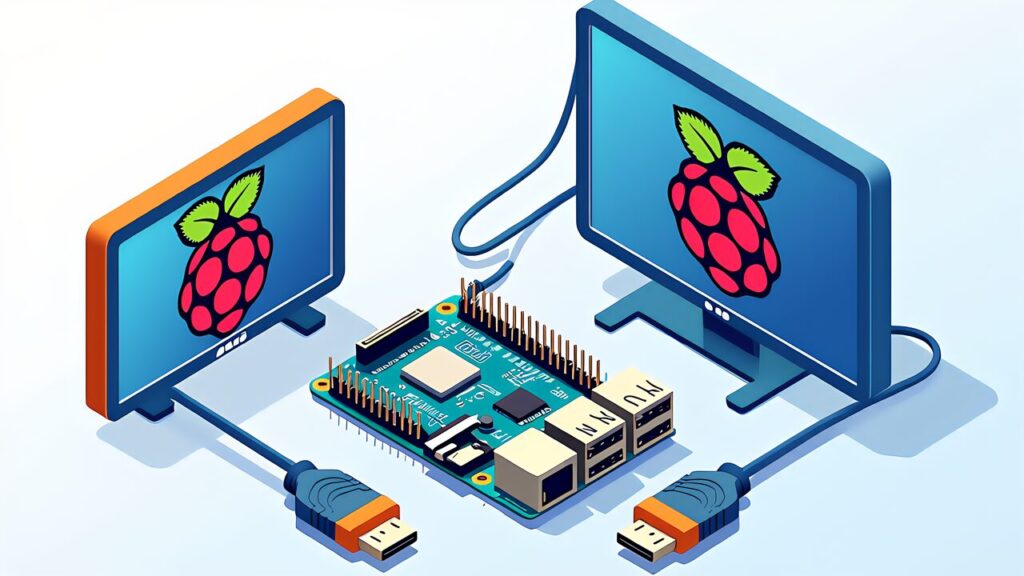
KlipperScreen is the dominant touchscreen UI for Klipper. It runs on a Raspberry Pi (or compatible SBC) with an attached touchscreen display, providing a fullscreen Klipper interface that doesn’t require a separate browser. The project is GPL-licensed and ships as part of every major Klipper distribution.
Hardware: any 5- or 7-inch HDMI or DSI touchscreen works. Common choices are the official Raspberry Pi 7-inch DSI screen (~$80) or aftermarket 5-inch HDMI touchscreens (~$30). Both are well-documented in the KlipperScreen wiki.
Functionally KlipperScreen exposes most of what Mainsail/Fluidd offer, but optimized for touch input and at-the-printer use. It’s the right tool for the moment when you want to start a print without walking back to your computer, or when you’re mid-print and just want to bump bed temp.
A common topology is to run all three: web UI for serious editing/monitoring from a desk, KlipperScreen on the printer for quick at-the-machine control, and remote access (covered later) for monitoring from anywhere.

The Creality Sonic Pad is Creality’s commercial all-in-one Klipper terminal: a 7-inch touchscreen with a Linux-based controller (Tina Linux on Allwinner R818) running Creality’s own Klipper distribution. It’s pre-configured for Creality printers (Ender 3 V2/V3, Ender 5 S1, etc.) and ships at $159 (US, late 2025).
What you get: plug it in, follow a 10-minute setup wizard, and your Ender prints from a Klipper-driven workflow. No SSH, no kiauh, no printer.cfg editing required to get started. The included calibration sequences walk you through Pressure Advance and Input Shaping in a guided UI.
What you give up: Creality’s Klipper distribution is locked down. Updates come from Creality on Creality’s schedule. Upstream Klipper features that haven’t been backported aren’t available. SSH root access is not provided. If you need a feature that’s not in Creality’s build, you can’t add it.
A common path: start with Sonic Pad to learn Klipper, outgrow its limits in 6–12 months, switch to a Raspberry Pi + KIAUH setup for full upstream Klipper. The Sonic Pad becomes a backup terminal or gets sold on the second-hand market.
The BTT Pad 7 is BIGTREETECH’s answer to Sonic Pad: a 7-inch touchscreen all-in-one running Debian Linux (CB1 OS, Allwinner H616) with KlipperScreen pre-installed. It’s priced at $166.59 (3DJake retail, May 2026) — about $7 more than Sonic Pad.
What you get vs Sonic Pad: full SSH root access, full upstream Klipper via KIAUH (no vendor lock-in), an integrated ADXL345 accelerometer for Input Shaping out of the box, support for any Klipper-compatible printer (not just BTT-branded), and the option to swap the included CB1 for a CM4 if you want more compute.
| Aspect | Creality Sonic Pad | BTT Pad 7 |
|---|---|---|
| US MSRP | $159 | $166.59 |
| Shipping OS | Creality OS (proprietary) | Debian Linux + KlipperScreen |
| Klipper updates | Creality-distributed only | Free via KIAUH |
| SSH root | No | Yes |
| Built-in ADXL345 | No (separate purchase needed) | Yes |
| Compatible printers | Mostly Creality | Any Klipper printer |
| Learning curve | Low | Moderate |
| Extensibility | Low | High (CB1 to CM4 swap possible) |
Practically, BTT Pad 7 is the better unit for anyone who plans to grow beyond out-of-the-box Klipper. Sonic Pad is the better unit for someone who values guided setup and never expects to need root access.
A common upgrade path: starts with Sonic Pad on an Ender 3 (5-minute setup), eventually moves to BTT Pad 7 to support a Voron build. The Sonic Pad either gets sold or remains on the Ender as a dedicated terminal.
A Raspberry Pi 5 plus a 7-inch touchscreen plus MainsailOS gives you the same end-state as Sonic Pad/BTT Pad 7 — for roughly $80–120 instead of $159–166. The trade-off is your time: you have to do the assembly, install MainsailOS, install KIAUH, install Klipper/Mainsail/KlipperScreen.
Total time investment for a first-time DIY: 2–4 hours, including printing a touchscreen mount. For someone who has built one before: under an hour.
The DIY route is the right answer if you’re running multiple printers (one Pi can host multiple printers), need Pi-level compute for Obico AI inference, or want flexibility to swap displays/peripherals as needs evolve. It’s also the only path if you want a Pi 5 16 GB for combined Klipper + Obico + camera streaming.
It’s the wrong answer if your primary value is “don’t want to set things up.” Sonic Pad/BTT Pad 7 exist for a reason; for some makers, the $80 premium over DIY buys back several hours of setup time and considerable cognitive load.

The decision tree by maker profile:
Most users end up with a hybrid: web UI as primary, with a touchscreen for at-printer convenience. If you only have desk space for one approach, web UI from a phone/laptop is enough — KlipperScreen is convenience, not necessity.
Mainsail/Fluidd run on HTTP by default and don’t require authentication out of the box. Exposing the printer UI directly to the internet via port-forwarding is a major security risk: anyone who finds the IP can pause/cancel prints, change configs, and potentially issue G-code that damages hardware.
Safe options, in order of recommendation: Tailscale or WireGuard VPN to your home network (no port-forwarding required, encrypted, free for personal use); Obico for a managed remote-access service with proper authentication ($4/month Pro tier or self-host); Cloudflare Tunnel for HTTPS-fronted access with Cloudflare Access authentication.
Avoid: direct port-forwarding without HTTPS + authentication, public access from any IP, and dynamic DNS without a VPN layer. The convenience savings are not worth the risk.
Tailscale specifically is the easiest path. Install on the Pi (single-line script from tailscale.com), sign in with your account, install on your phone/laptop. Suddenly your printer’s Mainsail UI is reachable from anywhere via your Tailscale-issued IP — no port-forwarding, no public exposure.

Klipper’s state lives in printer.cfg, the Klipper repo at ~/klipper, the Moonraker config, and the slicer config separately on your computer. The microSD card running MainsailOS is the most fragile part — corrupt the SD and you lose everything if you haven’t backed up.
Minimum backup discipline: keep printer.cfg in a Git repo. Mainsail’s syntax-highlighted config editor has a “save” hook you can wire to push commits to GitHub or a private Git server. Or use Moonraker’s built-in config history (Klipper logs every config change to ~/printer_data/config/printer-*.cfg).
For full SD-card resilience, periodically image the SD card with Pi Imager or dd. A 16 GB image takes 5–10 minutes and saves you from a “the SD card died and I lost three months of tuning” scenario. Store the image somewhere off-Pi.
Mainsail vs Fluidd is a philosophy choice, not a feature gap — both reach the same Moonraker API. KlipperScreen vs commercial Sonic Pad / BTT Pad 7 is a build vs buy choice — same UI, different packaging. The right answer depends on what you optimize for: tinkering vs zero-setup, single-printer vs multi-printer, beginner vs Voron-builder.
In 2026, the recommended starter setups: Ender 3 owner who values simplicity → Creality Sonic Pad. Voron builder → Raspberry Pi 5 + Mainsail + KlipperScreen on a 7-inch DSI screen. Multi-printer maker → Pi 5 16 GB hosting Mainsail with multiple Klipper instances, plus separate KlipperScreens on each printer if desired.
The good news: any of these paths works, the open-source community keeps all the UIs in lockstep with Moonraker, and switching between them later is a matter of installing the alternative via KIAUH and pointing your browser at it. There’s no irreversible UI commitment.
Up next: Obico AI × Klipper — the AI failure-detection layer that pairs naturally with whichever UI you pick. Detection runs against the camera stream that Mainsail/Fluidd already manage, integrating without UI conflict.