AI Mesh Repair Complete Guide 2026 — Turn Raw Scans into Printable STL
swiftwand swiftwand.ai
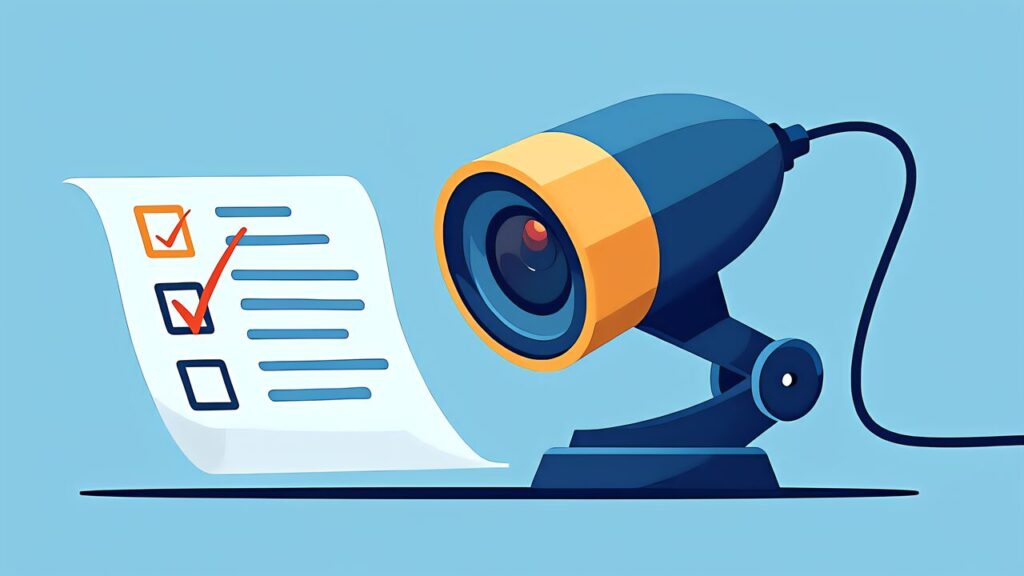
Klipper monitors temperatures and motor currents, but it can’t see what the print actually looks like. The most common failure modes — spaghetti (the print breaking off the bed and tangling around the nozzle), supports falling off, first-layer adhesion failure — are silent to Klipper. Obico is the AI camera-based monitoring layer that fixes this. It watches a webcam attached to your printer, classifies the print state in real time, and pauses the print before failures escalate. This guide covers Obico’s setup, pricing, comparison with OctoEverywhere and Bambu Cloud, the local-AI route for cloud-skeptics, and the May 2026 next-generation detection model.
All references in this guide come from Obico’s official site, the Obico for Klipper repository, OctoEverywhere’s official site, and Bambu Lab’s public docs — verified as of May 2026.

Modern 3D prints are long. A 200 mm Voron benchmark print can run 8–24 hours. Few makers literally watch the printer for that whole time — the practical workflow is “start the print, walk away, check progress on phone.” That convenience comes with risk: a failure that happens at hour 4 of a 12-hour print wastes 8 hours of filament and prints onto a tangled mess if undetected.
Klipper alone catches some failures. Thermal runaway protection cuts power if temperature behavior is wrong. Filament runout sensors pause on filament end. But the failure modes that AI camera monitoring catches are different:
| Failure mode | Cause | Detected by Klipper alone |
|---|---|---|
| Spaghetti (tangle after detachment) | Bed adhesion loss, support failure | No (extrusion continues) |
| First layer adhesion failure | Leveling, temperature, Z-height | No |
| Support detachment | Support design, print temperature | No |
| Over-extrusion head crash | Flow miscalculation, over-temperature | No |
| Thermistor disconnect (heat creep) | Hardware failure | Partially (thermal_runaway) |
AI camera monitoring catches the visual failures Klipper is blind to. For unattended operation — overnight prints, multi-day prints, or just “leave the printer running while at work” — the AI layer makes the difference between recoverable and unrecoverable.

Obico (formerly The Spaghetti Detective, rebranded in 2022) is the longest-running AI failure-detection service for 3D printing. The original 2018 launch focused exclusively on spaghetti detection; the 2022 rebrand to Obico expanded the scope to include first-layer monitoring, multi-camera support, remote control, and a managed mobile app.
Obico’s underlying detection model has been retrained continuously since 2018, drawing from the largest public dataset of failed-print images in the industry. The May 1, 2026 release of the next-generation AI detection (announced on Obico’s blog) marks another model upgrade with measurable improvements to false-positive rate.
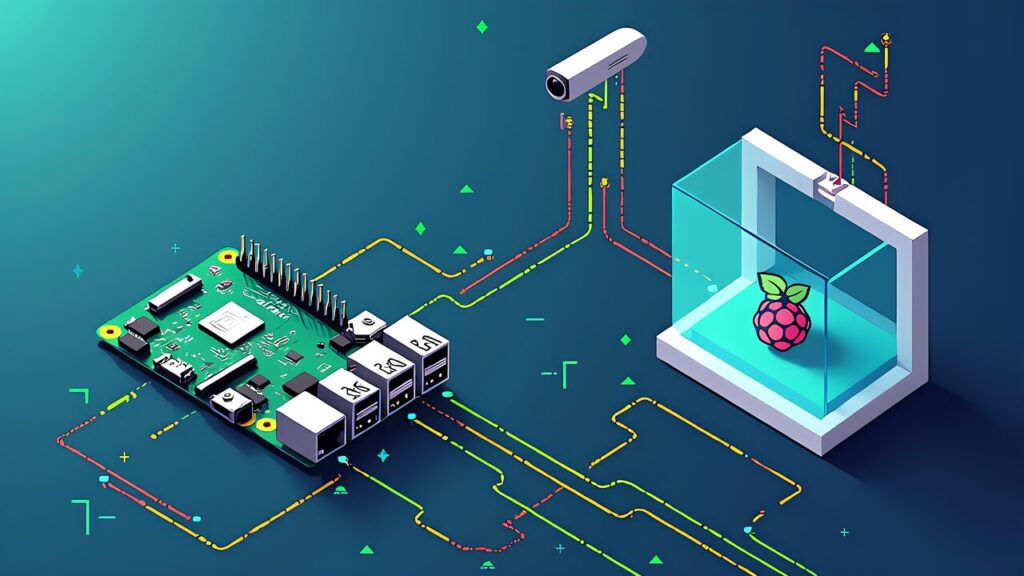
Architecturally, Obico has three components: a Klipper plug-in that runs on your Pi (streams camera frames + receives pause commands), a backend server that runs the detection model (cloud-hosted or self-hosted), and a mobile app + web UI for users. The plug-in is open-source under AGPL; the cloud backend is commercial.
Setup is one command via KIAUH plus account linkage. From the Pi:
cd ~
git clone https://github.com/TheSpaghettiDetective/moonraker-obico.git
cd moonraker-obico
./install.sh
The installer prompts for the Moonraker config path (default ~/printer_data/config/moonraker.conf) and adds the necessary [update_manager moonraker-obico] block. After install, restart Moonraker, and a “Set up Obico” prompt appears in Mainsail/Fluidd.
In the Obico cloud (or self-hosted instance), create an account and add a printer. The pairing flow generates a one-time code; paste it into the Mainsail prompt. Within 30 seconds the printer shows up in the Obico app, with the camera stream live.
Configuration knobs: detection sensitivity (default is fine), pause-on-detection vs alert-only, mobile push notifications, and SMS escalation (Pro only). For a first install, leave detection on auto-pause and notifications on push only.
A practical confirmation test: print something easy, manually trigger a “spaghetti” by lifting the print mid-way, and watch Obico detect it. If it pauses within ~30 seconds, the integration is healthy.

Obico’s pricing structure (per the official Obico Pricing Guide, May 2026):
| Plan | Monthly (annual billing) | Included |
|---|---|---|
| Free | $0 | 1 printer, 10 hours of AI detection per month, remote access, mobile app |
| Pro | $4 (annual $48) | 1 printer, unlimited streaming, SMS plus push notifications, tunneling (remote web UI) |
| Additional printers | $2 per printer per month | On Pro tier; 3 printers equivalent to $8/month |
| Extra AI detection hours | $20 per 2,500 hours | Print farm pricing |
Practical breakdown: 10 hours/month of AI on Free is enough for one or two long unattended prints per month, not for “AI on every print.” Pro’s unlimited AI is the right tier if you actually want detection on every print. SMS notifications matter when you’re not at the device — for a print at home while you’re at work, push is enough; for prints at a workshop while you’re traveling, SMS is the right escalation.
Comparison reference: a single failed 12-hour PETG print costs roughly $4–6 in filament. Pro pays for itself if it catches one failure per month — which it absolutely does for unattended operation.

OctoEverywhere is Obico’s primary competitor — also a Klipper plug-in, also AI camera monitoring, also remote access. Comparison points:
| Aspect | Obico | OctoEverywhere |
|---|---|---|
| Free tier ceiling | 1 printer, 10 hours of AI per month | Up to 3 printers, unlimited AI detection |
| Paid plan | Pro $4/month annual | Supporter $2.49/month |
| Paid additional printers | $2 per printer per month | $1 per printer per month |
| AI detection history | Since 2018 (oldest) | Since 2022 |
| Dataset scale | Largest in the industry | Mid-scale |
| Open source | Yes (AGPL) | Server-side closed |
OctoEverywhere is genuinely competitive on price (cheaper Pro tier, more generous free tier on number of printers). Obico has the longer track record and the larger training dataset, which translates to fewer false positives in practice.
My practical recommendation: try OctoEverywhere first if you have multiple printers (free tier handles up to 3 with unlimited AI). Try Obico first if you have 1 printer and value the maturity. Both are easy to switch between later if needed.
Bambu Lab’s X1C, P1S, and A1 series ship with built-in AI failure detection that runs on the Bambu Cloud. It’s tightly integrated with Bambu Studio and the Bambu Handy mobile app, and the user experience is genuinely seamless — no setup, just buy the printer and it’s already monitored.
The trade-off is well-documented: Bambu’s AI is a closed system, runs against Bambu Cloud (not self-hostable), and is not portable to non-Bambu printers. The “open vs closed” debate that Klipper users have been having since the X1C launch applies here directly.
For a Klipper user choosing whether to add Bambu, the AI-monitoring story is comparable to Obico × Klipper. Bambu wins on out-of-box experience; Klipper + Obico wins on portability and self-hostability. The actual detection quality difference is marginal — both are good in 2026.
Obico’s server is open-source under AGPL, which means you can self-host the entire detection stack on your own hardware. The official self-host repo includes a Docker Compose setup that’s “deploy and forget” on a reasonably capable Linux box.
Hardware: a Raspberry Pi 5 16 GB can self-host detection for one printer at modest frame rates (~5 fps). A mini PC with an Intel iGPU or a low-end NVIDIA GPU handles multiple printers at higher frame rates. The detection model itself is the same one Obico Cloud runs.
Why self-host: zero cloud dependency (your camera footage never leaves your network), no monthly fee, full control over retention. Why not: setup is 1–2 hours of Docker work, you’re responsible for backups and updates, and the mobile app needs to point at your self-hosted server (which means VPN or public HTTPS to make it work from outside your network).
For most makers, the $4/month Pro tier is the right answer. For makers building a print farm, deploying to a custom internal infrastructure, or strongly opposed to cloud video processing, self-host is a real option in 2026.
“AI never triggers, even when there’s spaghetti.” Camera angle is wrong. The AI was trained on top-down or 45-degree angle views of the print bed; a side-on view or a too-far view confuses it. Mount the camera to see the print bed clearly with the print object visible from above.
“AI triggers false positives constantly.” Bed surface texture is matching the model’s “tangle” pattern. Common cases: very rough textured PEI sheets, certain glass beds with reflections. Mitigate by tuning the detection sensitivity down a notch in the Obico app, or by using a less reflective bed surface.
“Camera disconnects mid-print.” USB power. Webcams draw 100–500 mA; if you’re running the camera off the same USB hub as something else, voltage drops cause disconnects. Use a powered USB hub or wire the camera directly to the Pi’s dedicated USB port.
“Pi 5 fps is low.” Camera is auto-exposing for the LED-lit chamber and sensor processing is bottlenecked. Use a fixed exposure setting in the camera config (mjpg-streamer config), or upgrade to a Pi 5 8 GB+ to handle the encode-decode load.

Obico’s iOS and Android apps are the primary user surface for most makers. Open the app and you get the live camera stream, current print progress, the AI prediction state (printing normally vs needs attention), and one-tap pause/resume.
Push notifications fire on: print start, print pause (manual or AI-triggered), print finish, and detection alerts. SMS escalation (Pro only) fires when push hasn’t been acknowledged within a configurable window — useful for “I’m at work and didn’t see the push, but the printer paused 2 hours ago.”
A common workflow: start the print from PrusaSlicer or Mainsail at the desk, switch to the Obico app on phone, glance at progress over the day, get a push notification if anything goes wrong. The mobile UI is the practical justification for the Pro tier — without remote control, the AI detection is half useful.
Obico × Klipper turns “the printer is running, hope nothing goes wrong” into “the printer will pause itself if something goes wrong, and I’ll know immediately.” That’s a meaningful change for any maker who does unattended prints.
In 2026, the install is one KIAUH command, the Free tier covers basic monitoring, the Pro tier is $4/month for unlimited AI plus tunneling, and the May 2026 next-gen detection model has the lowest false-positive rate yet. Bambu Lab’s closed-system AI is competitive on out-of-box experience but lacks portability; Obico’s open-source AGPL stack lets you self-host if you ever want to.
A practical setup recommendation for a Klipper user starting in 2026: install Obico, use Free for the first month to evaluate, upgrade to Pro if you find yourself relying on it. The decision is reversible at any time — uninstall is also one command.
Up next, the final article in this Klipper series: Klipper Complete Roadmap 2026 — three concrete budget plans from “Klipper-ify your existing Ender 3” through “Voron Trident DIY,” with a decision tree for which path matches your situation.